 Explore the User Interface
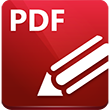
The PDF-XChange Editor user interface appears as below:

Figure 1. PDF X-Change Editor User Interface
The Menu Toolbar is located at the top of the window and composed of eleven tabs:
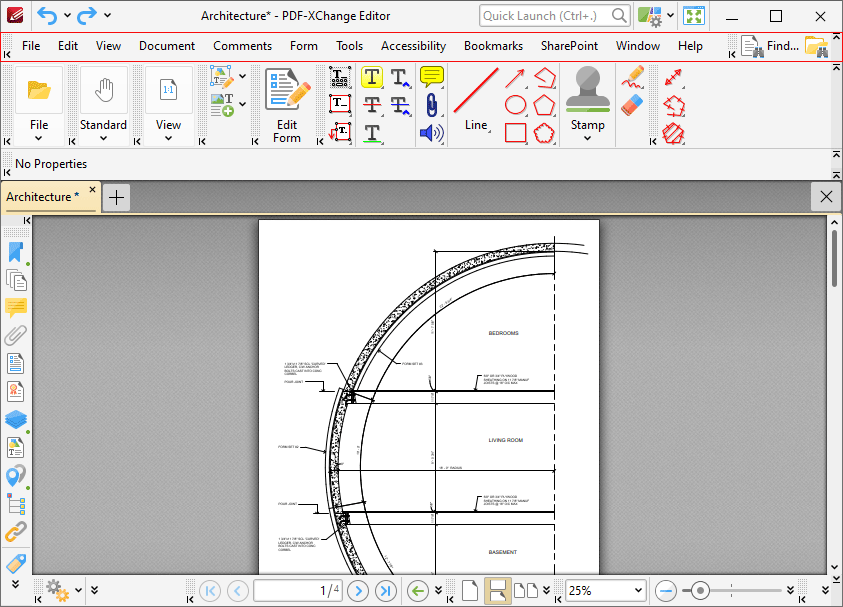
Figure 2. Menu Toolbar
Click the links below to view the options and functionality of each tab:
•File contains file-level operations such as open, close, save and print documents.
•Edit contains editing options such as cut, copy, paste and delete selected content.
•View contains options that determine what is displayed in the main window such as toolbar shortcuts and editing panes. Document layout options are also available in this tab.
•Document contains document editing options such as add/remove watermarks, edit backgrounds, crop pages and digital signature options.
•Comments contains options for editing document comments, such as converting comments to base content, importing/exporting comments and creating a comment summary.
•Form contains options for managing, highlighting and creating document form fields such as radio buttons, dropdown menus and barcodes.
•Tools contains submenus of the PDF-XChange Editor tools, which can be used to manipulate, edit and annotate documents.
•Bookmarks contains options that relate the creation and management of document bookmarks.
•SharePoint contains options that relate to files associated with the Microsoft Office SharePoint Server.
•Window contains options that relate to the display of the main window.
•Help contains links to software assistance, such as the PDF-XChange main website and user-forum.
The Menu Toolbar can be repositioned as desired. Hover the pointer over the grid of dots on the left side the of the Menu Toolbar to reposition it. The pointer will change from a standard icon to an icon with four arrows. Click and hold the Menu Toolbar to reposition it. Press F9 to show/hide the Menu Toolbar. It is also possible to customize the Menu Toolbar. See here for further details.
There are also some options in the space immediately above the Menu Toolbar:
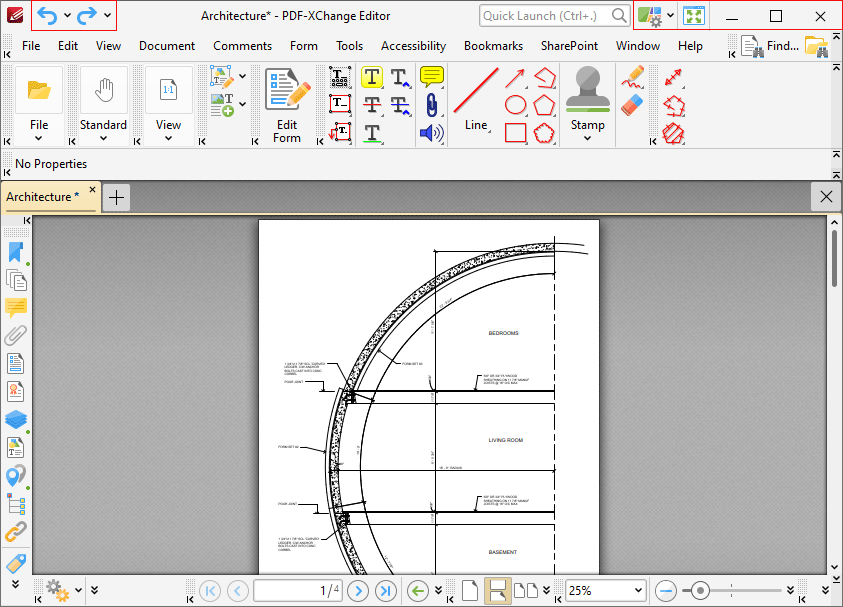
Figure 3. Additional UI Options
•Click ![]() Undo to undo the most recent editing action.
Undo to undo the most recent editing action.
•Click ![]() Redo to reverse the most recent undo action.
Redo to reverse the most recent undo action.
•Click ![]() Find to activate the Find function and locate specified text in the active document.
Find to activate the Find function and locate specified text in the active document.
•Click ![]() Search to open the Search pane and search documents open in PDF-XChange Editor or folders on the local computer.
Search to open the Search pane and search documents open in PDF-XChange Editor or folders on the local computer.
•Click ![]() Full Screen Mode to view the active document in full screen mode.
Full Screen Mode to view the active document in full screen mode.
•Click ![]() Quick Launch to find and launch commands in PDF-XChange Editor - enter search terms in the text box and then click search results to activate them.
Quick Launch to find and launch commands in PDF-XChange Editor - enter search terms in the text box and then click search results to activate them.
•Click ![]() UI Options to toggle between the options for the display of the user interface:
UI Options to toggle between the options for the display of the user interface:
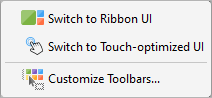
Figure 4. UI Options
•Click Switch to Ribbon UI to switch to the ribbon layout:
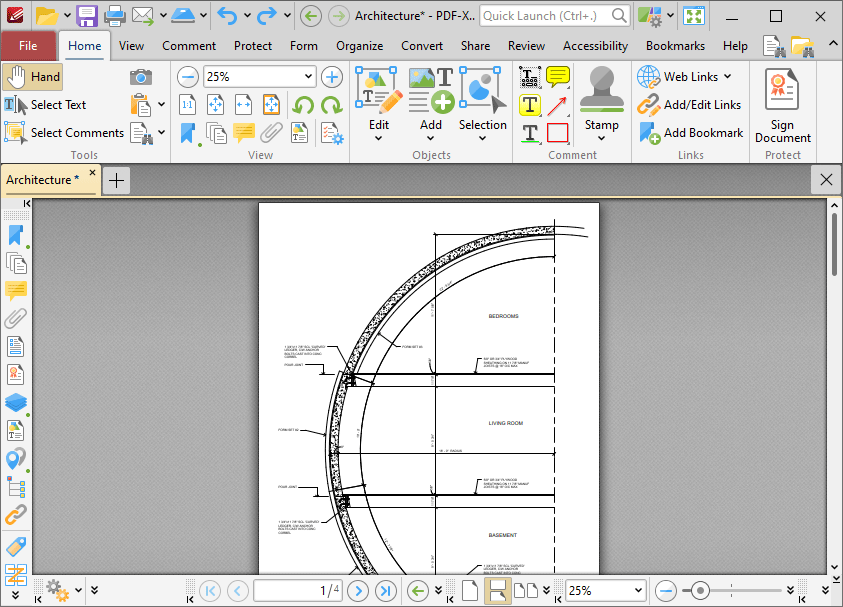
Figure 5. Ribbon UI Layout
The ribbon layout utilizes contextual tabs instead of menus and submenu items. This means that the submenu items displayed in the classic UI layout are displayed instead as icons in the user interface, which eliminates the need for several parallel toolbars and streamlines the use of PDF-XChange Editor. The layout of the features and functionality in the ribbon UI varies from the classic UI. The ribbon UI version of the manual for PDF-XChange Editor is available here.
•Click Switch to Touch-optimized UI to switch from Mouse-optimized UI to Touch-Optimized UI and vice versa. The Touch-optimized UI features larger icons and is intended for use in conjunction with tablets, smartphones and similar devices. When the Touch-Optimized UI is enabled you can use single/double taps in the place of singe/double mouse clicks in standard UI mode, and you can tap-and-hold to open context menus. Additional options for customizing the touch UI are available in the commenting preferences detailed here.
•Click Customize Toolbars to customize the layout of toolbars, the commands that they contain and their display/locking options. See here for further information.
The Shortcut Toolbar is located at the top of the main window:

Figure 6. Shortcut Toolbar
This toolbar contains several shortcuts to functions and tools within PDF-XChange Editor:
Click File to view file-level operations:
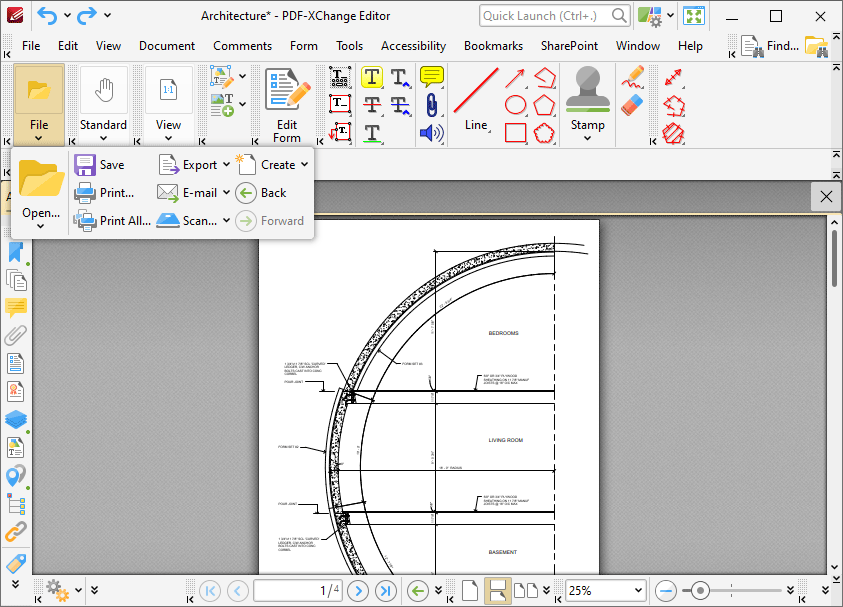
Figure 7. File Options
•Click Open to open files.
•Click Save to save the active document.
•Click Print to print the active document.
•Click Print All to print all open documents to a single document.
•Click Export to export a copy of the active document to image format, Microsoft Word (*.doc/.docx) format, Microsoft Excel (*.xlsx) format or Microsoft Powerpoint (*.pptx) format.
•Click Email to email the active document.
•Click Scan to create a new document from scanned material.
•Click Create to create a new document, as detailed here.
•Click Back/Forward to move to the previous/next document location.
Click Standard to view the most commonly-used tools:
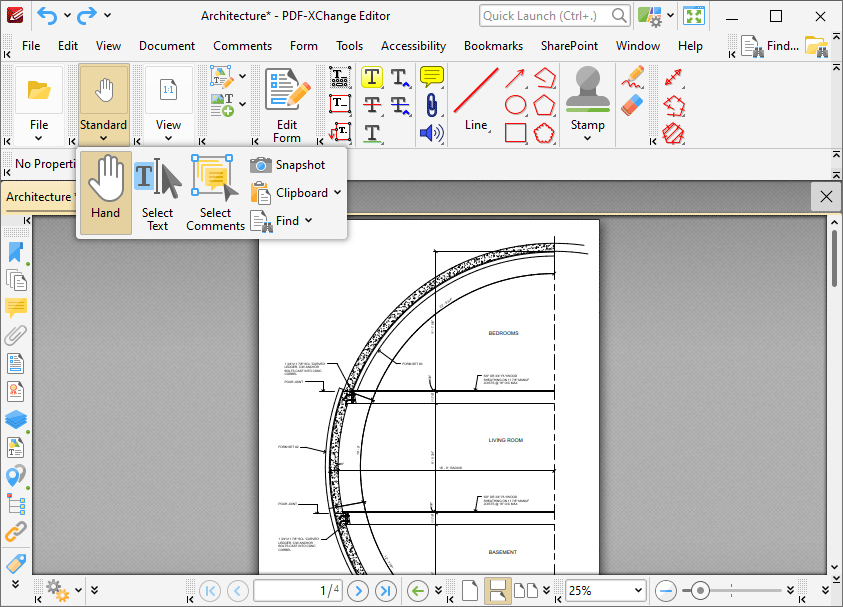
Figure 8. Standard Options
•Click Hand to activate the Hand Tool, which is used for simple document navigation. Click and drag the pointer to scroll through documents when the Hand Tool is enabled.
•Click Select Text to activate the Select Text Tool, which is used to select and edit document text.
•Click Select Comments to select and edit document comments, such as sticky note and shape annotations.
•Click Snapshot to activate the Snapshot Tool, which is used to capture document snapshots and copy them to the clipboard.
•Click Clipboard to interact with the current content of the clipboard.
•Click Find to launch the Find function, which is used to locate specified document text.
Use the options in the View Toolbar to manipulate the page view and enable the Zoom Tools:
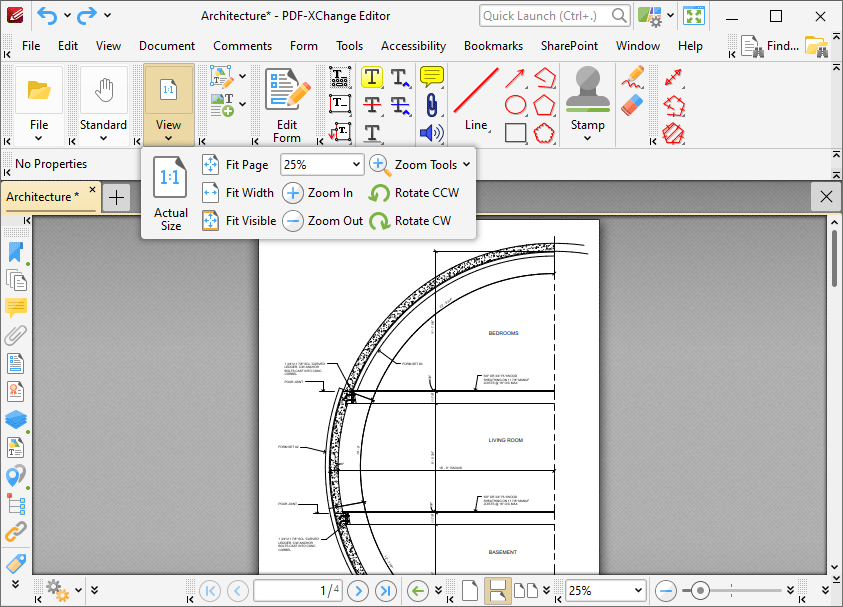
Figure 9. View Toolbar
•Click Actual Size to set the zoom level to 100% and view pages at their actual size.
•Click Fit Page ![]() to fit the page length to the editing space of the user interface.
to fit the page length to the editing space of the user interface.
•Click Fit Width ![]() to fit the page width to the editing space of the user interface.
to fit the page width to the editing space of the user interface.
•Click Fit Visible ![]() to fit the page width to the editing space of the user interface and ignore white page margins.
to fit the page width to the editing space of the user interface and ignore white page margins.
•Click Zoom In/Zoom Out to zoom in on/out from the active document.
•Click Zoom Tools ![]() to activate the Zoom Tools:
to activate the Zoom Tools:
•The Zoom In/Out Tool is used to zoom in on/out from the active document. The pointer becomes a magnifying glass icon when this tool is enabled. Move it to the desired location and then click to zoom. Hold down Ctrl and click to zoom out.
•The Loupe Tool utilizes a zoom pane that magnifies page portions to assist in document editing. See here for further information.
•The Pan and Zoom Tool utilizes a zoom pane that enables dynamic page navigation. See here for further information.
•The Continuous Zoom Tool allows you to zoom in/out continuously. When this tool is enabled, click and hold the mouse button and then move the mouse up/down to scroll in/out.
•Click Rotate CCW ![]() to rotate the current view ninety degrees counter-clockwise.
to rotate the current view ninety degrees counter-clockwise.
•Click Rotate CW ![]() to rotate the current view ninety degrees clockwise.
to rotate the current view ninety degrees clockwise.
Use the options in the Edit Toolbar to edit the base content of documents:

Figure 10. Edit Toolbar
•Click Edit Content ![]() to edit base content text and images. See here for further information.
to edit base content text and images. See here for further information.
•Click Add ![]() to add Text, Images or Barcodes to documents.
to add Text, Images or Barcodes to documents.
Click Edit Form to enable the Form Toolbar:
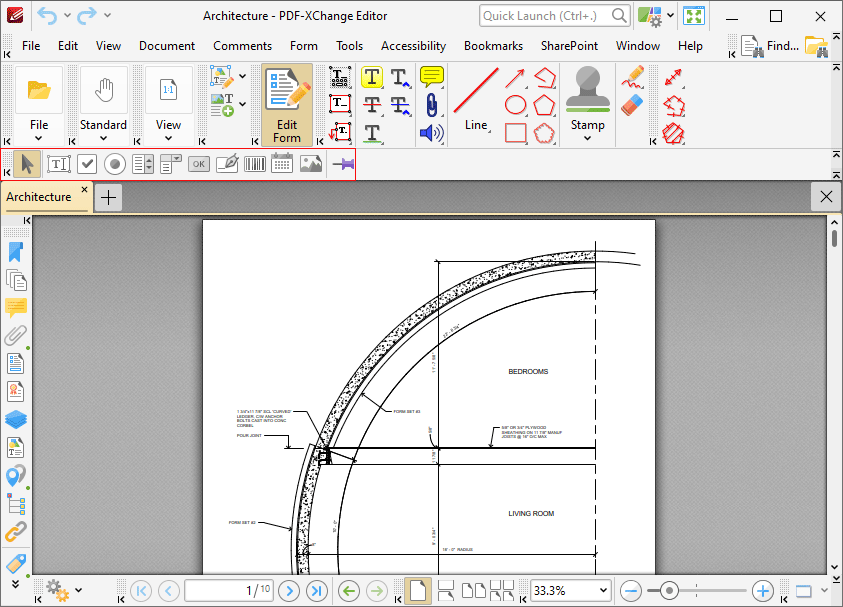
Figure 11. Edit Form Button and Form Toolbar
The options in the Form Toolbar are used to create/edit forms such as check boxes, digital signature fields and dropdown menus. See here for further information.
Use the options in the Comments Toolbar to add comments and shape/stamp annotations to documents:
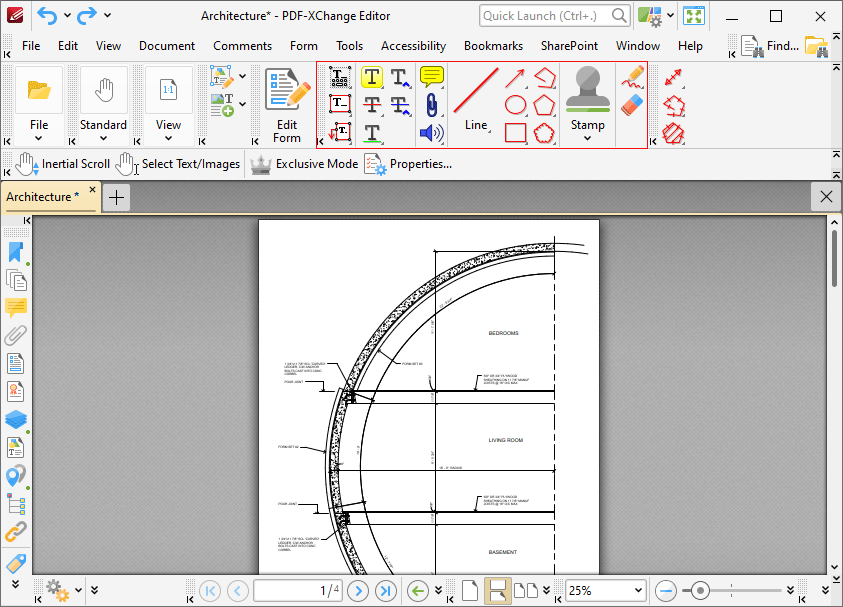
Figure 12. Comments Toolbar
•Click ![]() Typewriter Tool to add typewriter-style comments to documents. See here for further information.
Typewriter Tool to add typewriter-style comments to documents. See here for further information.
•Click ![]() Text Box Tool to add interactive text-box comments to documents. See here for further information.
Text Box Tool to add interactive text-box comments to documents. See here for further information.
•Click ![]() Callout Tool to add interactive callout annotations to documents. These annotations are used to highlight specific areas within documents. See here for further information.
Callout Tool to add interactive callout annotations to documents. These annotations are used to highlight specific areas within documents. See here for further information.
•Click ![]() Highlight Text Tool to highlight existing document text. See here for further information.
Highlight Text Tool to highlight existing document text. See here for further information.
•Click ![]() Strikeout Text Tool to strike-through existing document text. See here for further information.
Strikeout Text Tool to strike-through existing document text. See here for further information.
•Click ![]() Underline Text Tool to underline existing document text. See here for further information.
Underline Text Tool to underline existing document text. See here for further information.
•Click ![]() Sticky Note Tool to add sticky note annotations to documents. Sticky notes display as yellow note icons in documents. The information they contain is displayed when the pointer is hovered over icons or when icons are double-clicked. See here for further information.
Sticky Note Tool to add sticky note annotations to documents. Sticky notes display as yellow note icons in documents. The information they contain is displayed when the pointer is hovered over icons or when icons are double-clicked. See here for further information.
•Click ![]() File Attachment Tool to attach files to documents. When this process is complete an icon will be displayed. When icons are clicked the associated file will open. See here for further information.
File Attachment Tool to attach files to documents. When this process is complete an icon will be displayed. When icons are clicked the associated file will open. See here for further information.
•Click ![]() Sound Tool to add audio content to documents. When this process is complete an icon will be displayed. When icons are clicked the associated audio file will open. Audio files can be uploaded from the local machine or a microphone can be used to create them. See here for further information.
Sound Tool to add audio content to documents. When this process is complete an icon will be displayed. When icons are clicked the associated audio file will open. Audio files can be uploaded from the local machine or a microphone can be used to create them. See here for further information.
•Click ![]() Line Tool to add line annotations to documents. See here for further information.
Line Tool to add line annotations to documents. See here for further information.
•Click ![]() Arrow Tool to add arrow annotations to documents. See here for further information.
Arrow Tool to add arrow annotations to documents. See here for further information.
•Click ![]() Oval Tool to add oval annotations to documents. See here for further information.
Oval Tool to add oval annotations to documents. See here for further information.
•Click ![]() Rectangle Tool to add rectangle annotations to documents. See here further information.
Rectangle Tool to add rectangle annotations to documents. See here further information.
•Click ![]() Polygon Line Tool to add polygon line annotations to documents. See here for further information.
Polygon Line Tool to add polygon line annotations to documents. See here for further information.
•Click ![]() Polygon Tool to add polygon annotations to documents. See here for further information.
Polygon Tool to add polygon annotations to documents. See here for further information.
•Click ![]() Cloud Tool to add cloud annotations to documents. See here for further information.
Cloud Tool to add cloud annotations to documents. See here for further information.
•Click ![]() Stamp Tool to add stamp annotations to documents. Several default stamps are available and it is also possible to create custom stamps. See here for further information.
Stamp Tool to add stamp annotations to documents. Several default stamps are available and it is also possible to create custom stamps. See here for further information.
•Click ![]() Pencil Tool to add freehand annotations to documents. See here for further information.
Pencil Tool to add freehand annotations to documents. See here for further information.
•Click ![]() Eraser Tool to erase Pencil Tool annotations. See here for further information.
Eraser Tool to erase Pencil Tool annotations. See here for further information.
Use the options in the Measure toolbar to access the measurement tools:

Figure 13. Measure Options
•Click ![]() the Distance Tool to measure the distance between two points. See here for further information.
the Distance Tool to measure the distance between two points. See here for further information.
•Click ![]() the Perimeter Tool to measure the distance between multiple points. See here for further information.
the Perimeter Tool to measure the distance between multiple points. See here for further information.
•Click ![]() the Area Tool to measure the area within user-specified lines. See here for further information.
the Area Tool to measure the area within user-specified lines. See here for further information.
The Properties Toolbar is located beneath the Shortcut Toolbar. The appearance and options of the Properties Toolbar depend on the content currently selected in the active document:

Figure 14. Properties Toolbar
•The properties available when tools are in use are detailed on the tool pages, which are available here.
•Text editing options are detailed in the Properties Toolbar when tools that feature text options are in use. See here for further information.
The bottom section of the user interface is composed of four toolbars:

Figure 15. Lower Toolbars
The Document Options Toolbar is located in the left section of the lower toolbar:
![]()
Figure 16. Document Options Toolbar
The dimensions of the active document and the current pointer location are displayed on the right. Click Options to open/close the document editing panes and access editing aids. See here for further information.
The Page Navigation Toolbar is located in the center of the lower toolbar:
![]()
Figure 17. Page Navigation Toolbar
These buttons are used to navigate files and file pages. See here for further information.
The Page Layout Toolbar is located in the right section of the lower toolbar and appears as below:
![]()
Figure 18. Page Layout Toolbar
These options determine the page display. See here for further information.
The Launch Application Toolbar is located on the right of the Page Layout Toolbar and appears as below:
![]()
Figure 19. Launch Application Toolbar
This toolbar can be used to create convenient shortcuts to third-party applications. See here for further information.
The Quick Tools toolbar is available on the left side of the window:
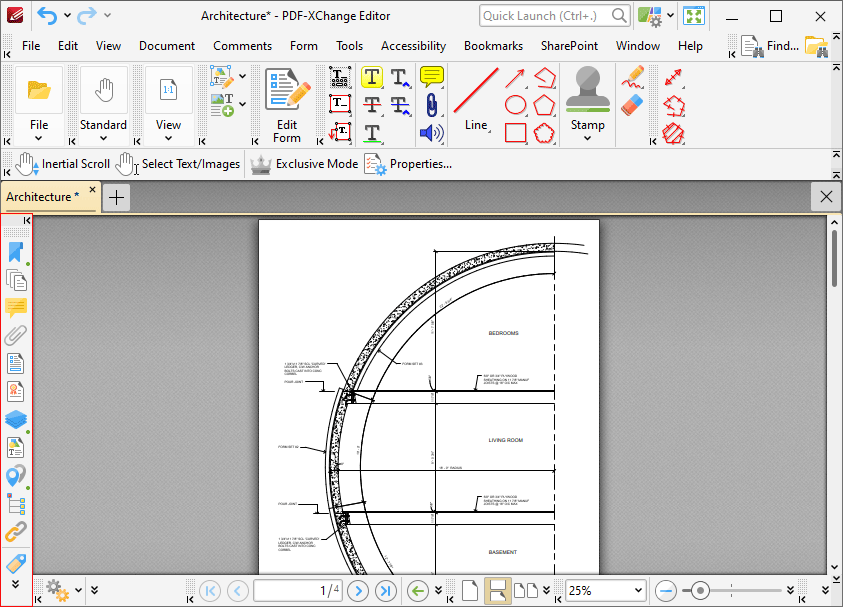
Figure 20. Quick Tools Toolbar
This toolbar provides quick access to the editing panes used in PDF-XChange Editor. The editing panes are detailed here.
Note that the arrow icons on the left of toolbars can be used to expand/collapse toolbars, and the grid of dots above the arrow icon can be used to click and drag toolbars to a different location in the user interface.
Additionally, please note that several of the keyboard shortcuts relate to the commands displayed on the user interface. See here for a comprehensive list of available keyboard shortcuts.