 Number Pages
Click Number Pages to number document pages and create number ranges:
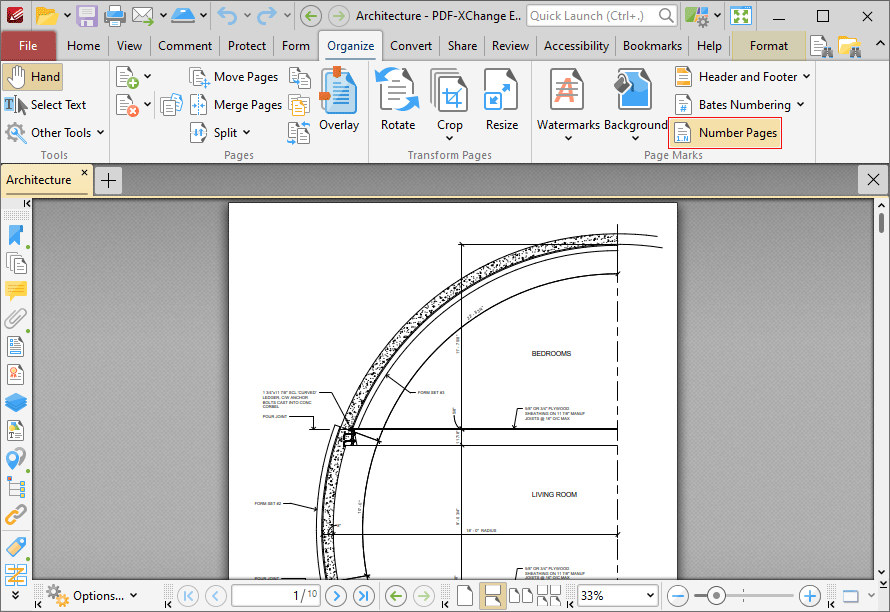
Figure 1. Organize Tab, Number Pages
Please note that this feature relates to page numbers/ranges as they appear in the Thumbnails pane and the Page Navigation toolbar. (The Header and Footer feature can be used to create/edit physical page numbers). The main purpose of this feature is to rectify cases where the page numbers on document pages do not match the page numbers that appear in the Thumbnails pane and the Page Navigation toolbar. This is often the case in documents that feature 'front matter' such as copyright pages and/or a table of contents and other similar pages. Additionally, it is necessary to select the Use logical page numbers box in the Page Display preferences tab, as detailed in (figure 7), in order for changes made with this feature to be visible.
When this option is selected, the following dialog box will open:
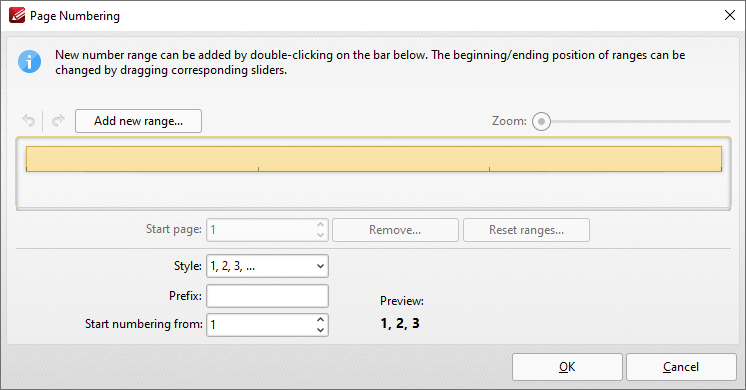
Figure 2. Page Numbering Dialog Box
•Existing page ranges are detailed in the dialog box. Click Add new range to add a new page range to the active document. The Add new range dialog box will open. Enter the number of the first page in the number box and click OK to create the page range.
•Use the sliders detailed in (figure 2) to adjust page ranges.
•Click Remove to remove the selected page range.
•Click Reset ranges to reset all page ranges.
•Use the Style menu to set the numbering style of the selected page range.
•Use the Prefix box to add a prefix to page numbers in the selected page range.
•Use the Start numbering from box to determine the first number of the selected page range.
•Use the arrow icons on the left of the Add New Range button to redo/undo operations.
Click OK to apply changes.
Number Pages Example
The document detailed below contains a table of contents that results in a two-page difference between the page numbering of pages in the Thumbnails pane and the Page Navigation toolbar in comparison to the page numbers of the document:
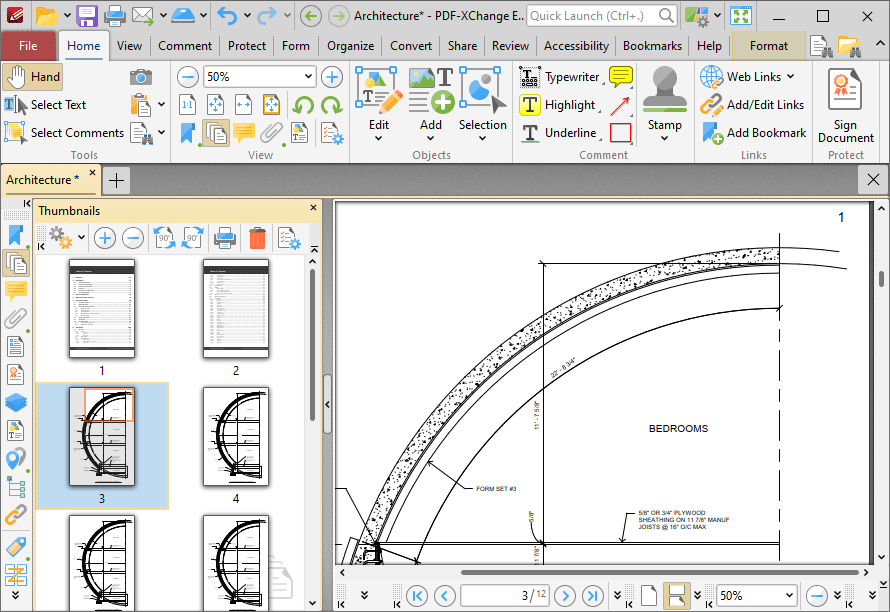
Figure 3. Number Pages Example. Page Number Disparity
Follow the steps below to resolve this issue:
1. Click the Organize tab, then click Number Pages:
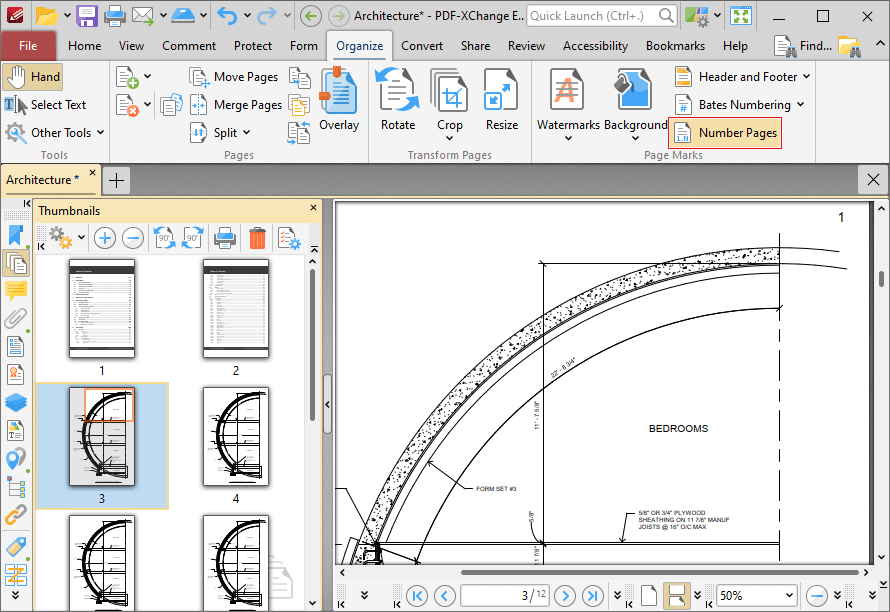
Figure 4. Number Pages Example. Organize Tab, Number Pages
The Page Numbering dialog box will open.
2. Click Add new range. The Add New Range dialog box will open:
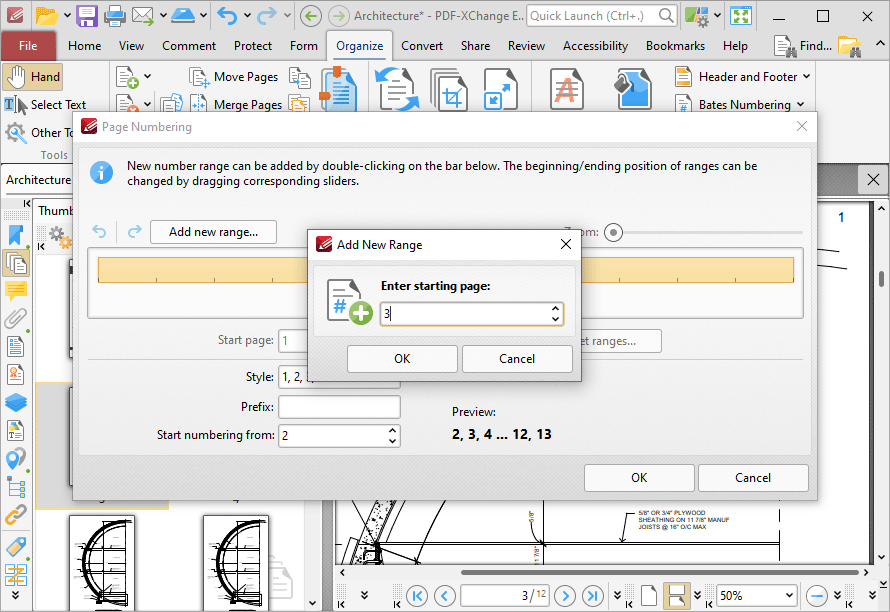
Figure 5. Page Numbering Feature, Add New Range Dialog Box
3. Enter the desired starting page for the new range. (Note that the issue detailed above requires page three to be the first page of the new range).
4. Click OK in the Add New Range and Page Numbering dialog boxes.
5. Click the File tab, then click Preferences:
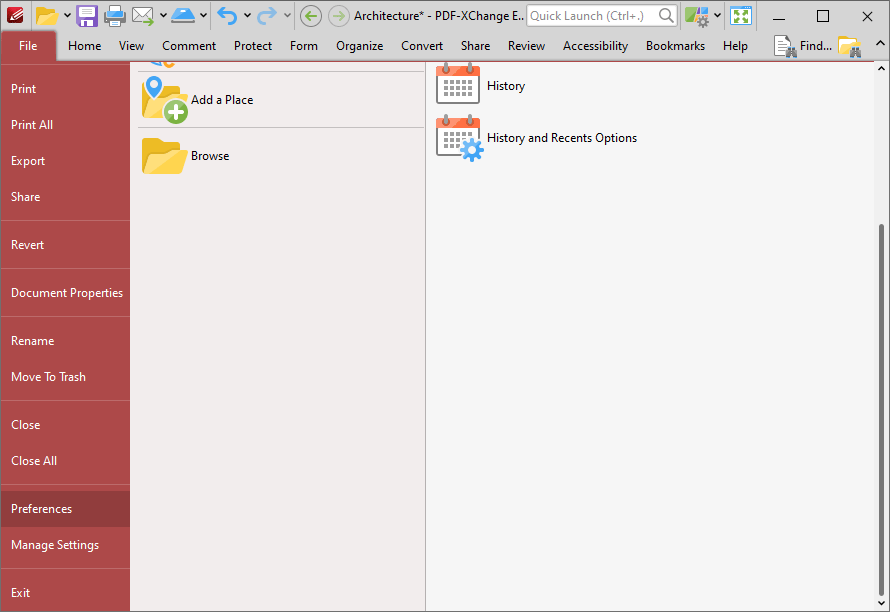
Figure 6. File Tab, Preferences
The Preferences dialog box will open.
6. Click Page Display in the Categories menu, then select the Use logical page numbers box:
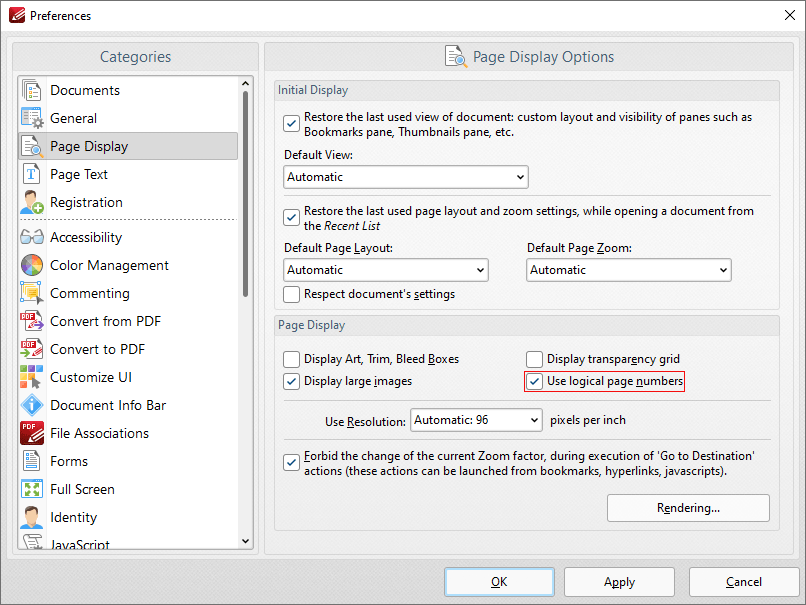
Figure 7. Page Display Preferences, Use Logical Page Numbers Highlighted
7. Click Apply and then click OK.
The page numbering of pages in the Thumbnails pane and the Page Navigation toolbar will then match the page numbering of the main document:
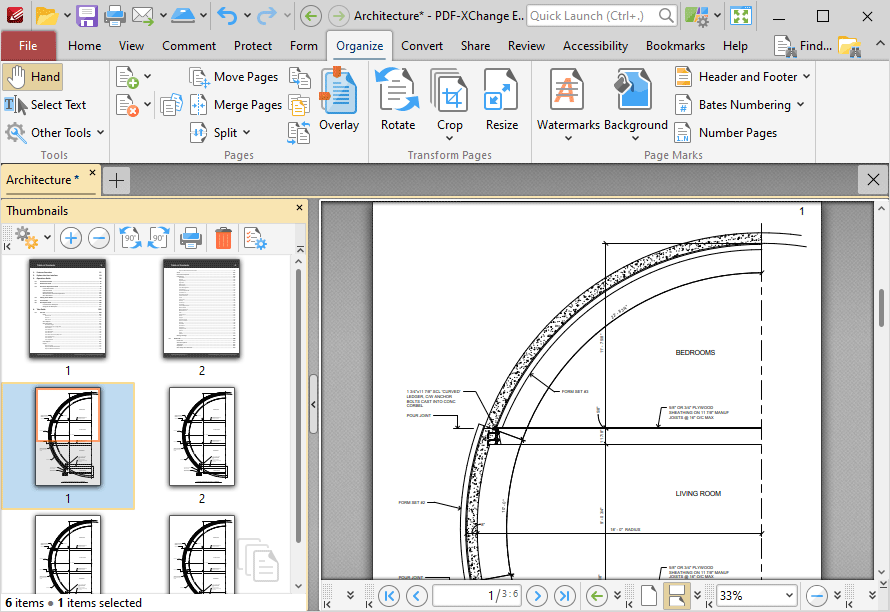
Figure 8. New Page Range
Note that the physical page numbers are also displayed in the Page Navigation toolbar. Additionally, the copyright and table of contents pages retain their existing page numbering. If desired, this can be adjusted as follows:
1. Click the Organize tab, then click Number Pages:

Figure 9. Organize Tab, Number Pages
The Page Numbering dialog box will open.
2. Click the page range that contains the copyright and table of contents pages, then click the Style dropdown menu and select a new style, such as Roman numerals:
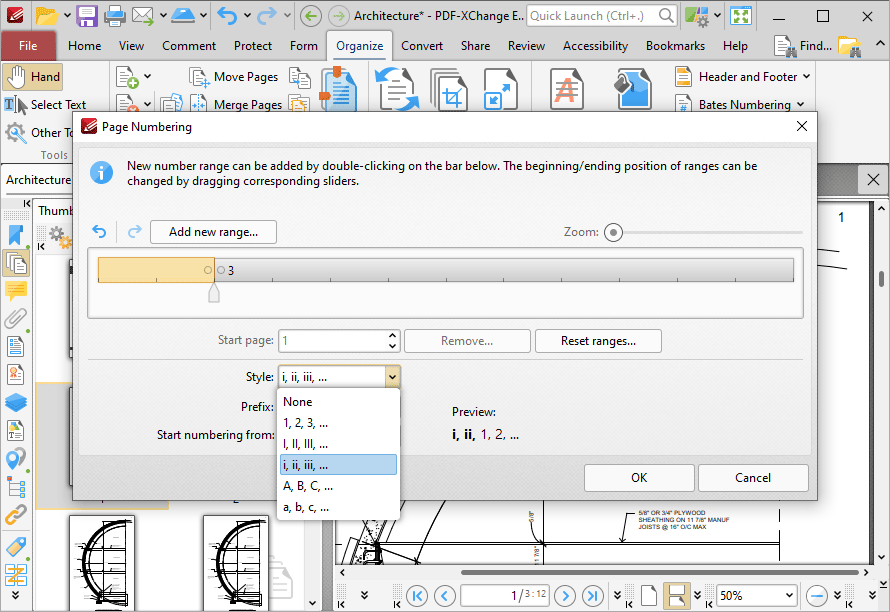
Figure 10. Page Numbering Dialog Box, Roman Numerals Selected
3. Click OK. The process is then complete:
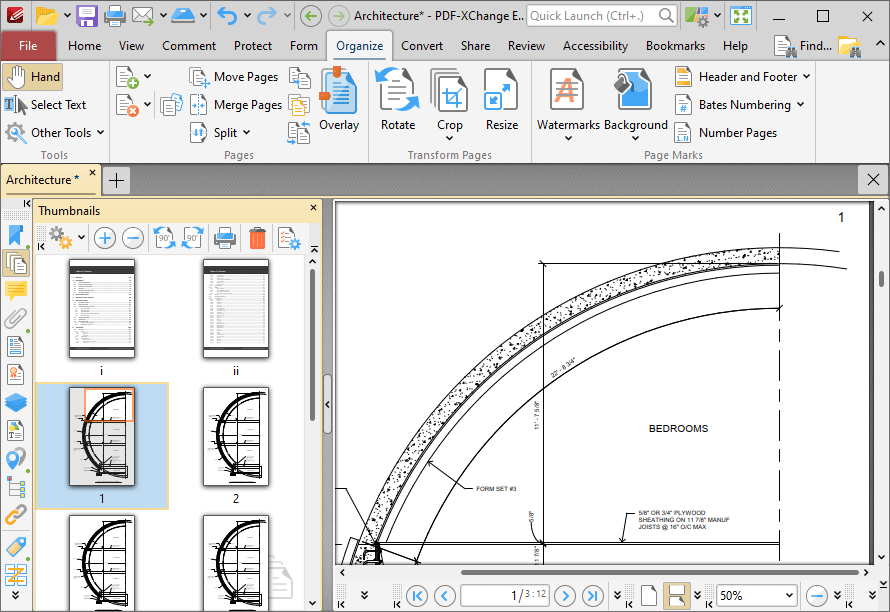
Figure 11. Number Pages Process Complete