 Create DocuSign Envelope
Click Create Envelope to create a DocuSign envelope:
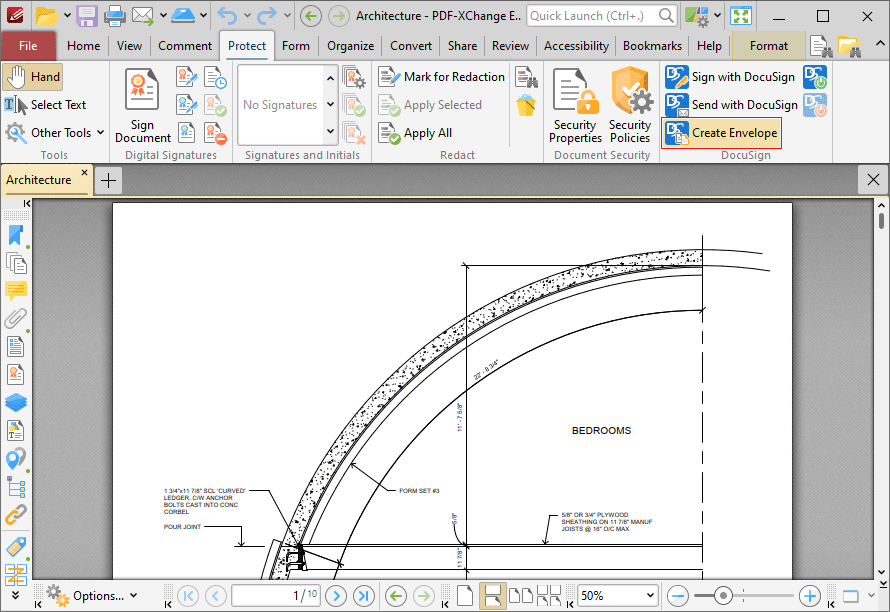
Figure 1. Protect Tab, Create Envelope
The Choose Files dialog box will open:
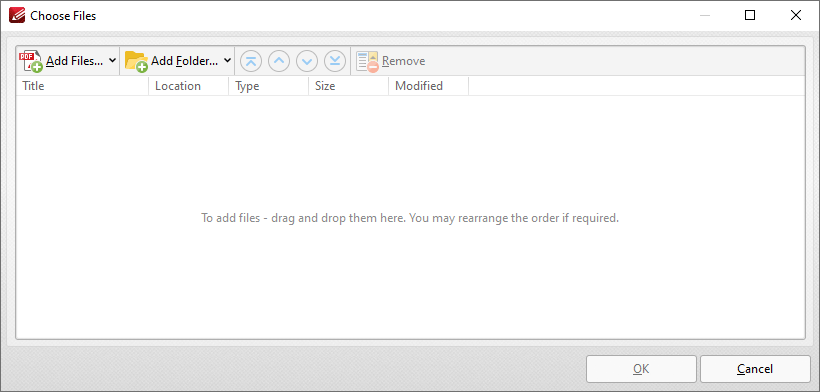
Figure 2. Choose Files Dialog Box
•Click Add Files to select files from the local computer to add to the list of source files. Click the dropdown arrow for additional options:
•Click Add All Opened Documents in Opened Order to add all open documents in the order in which they were opened.
•Click Add All Opened Documents in the Current Tab Order to add all open documents in their current order in the document tab.
•Click Add Folder to add entire folders to the list of source files. Click the arrow adjacent to the button to determine further options. The Add Files From Folder Options dialog box will open. This is detailed in (figure 3).
•If you want to use a custom page range from a document in the list, then double-click it and specify the desired page range in the Page Range Setup dialog box. Page range settings are detailed here.
•Use the arrow icons (or click and drag) to reorder selected documents in the list. This determines the order in which they appear in the new document.
•Click Options to determine the actions taken with objects contained within combined files. The Options dialog box will open. The available actions relate to comments, form fields and bookmarks. Select the Add root bookmark with file name box as desired.
Click OK to create a DocuSign envelope from all files in the Combine Files dialog box.
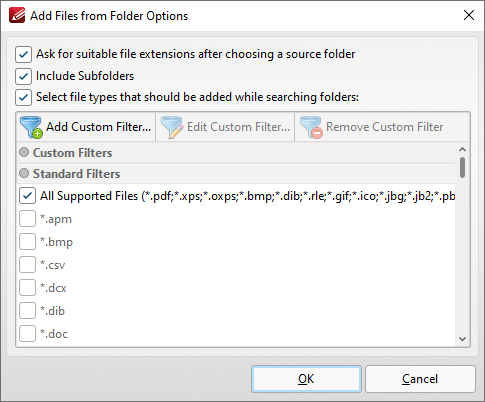
Figure 3. Add Files From Folder Options Dialog Box
•Select the Ask for suitable file extensions after choosing a source folder box to launch this dialog box when folders are selected using the Add Folder button.
•Select the Include Subfolders box to include subfolders of the parent folder when the software searches for files to add to the list of source files.
•Select the Select file types which should be added while searching folders box to determine file types to be included when the software performs a search.
•Custom filters can be added using the Add Custom Filter option. This facilitates the creation of custom profiles for subsequent use that search for specific file extensions. Click Add Custom Filter to open the Add Custom Filter dialog box:
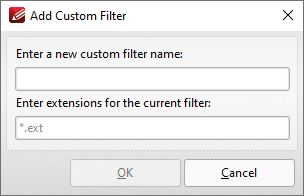
Figure 4. Add Custom Filter Dialog Box
•Enter a name for the custom filter.
•Enter the desired file extensions. File extensions must begin with an asterisk and a period, for example: *.apm, *.bmp.
•When the desired details have been entered, click OK to save the custom filter.