 Protect Tab
When the Protect tab is selected, the following options are available:
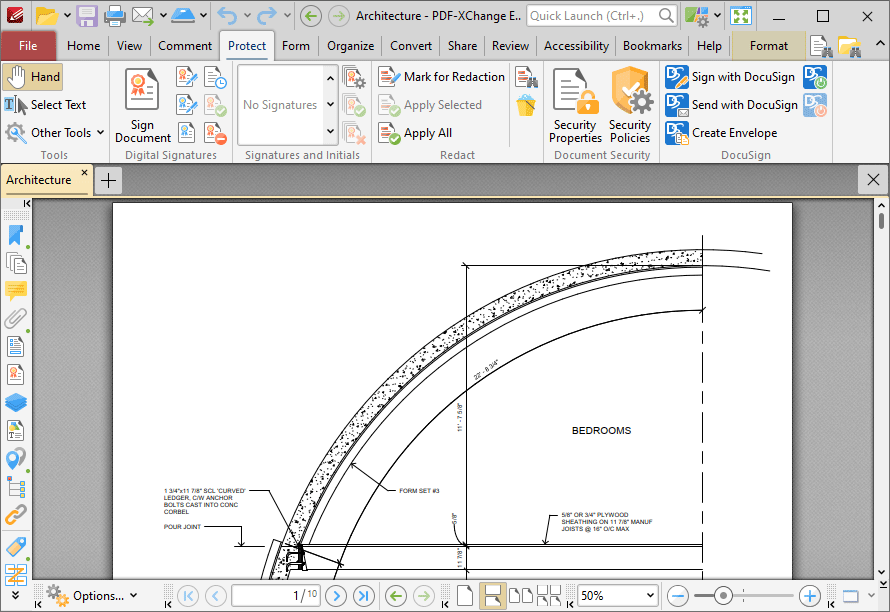
Figure 1. Protect Tab
The options in this tab are used to enhance/edit document security. There are six groups in the Protect tab:
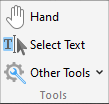
Tools
The Tools group contains shortcuts to tools and other features:
•The Hand Tool is used as a basic scrolling device and navigation aid when browsing through documents. Click to enable the Hand Tool, then click and drag the page in the desired scrolling direction in order to browse through documents. Further information about the Hand Tool and its settings is available here.
•The Select Text Tool is used to select base-content text. Click to enable the Select Text Tool, then click and drag the pointer to select text. Double-click to select words, triple-click to select paragraphs and quadruple-click to select all text on the current page. Right-click selections for editing options, as detailed here. Note that the default setting of the Select Text Tool results in it selecting entire lines of text. If you instead want to select a custom area of text, such as text that is located over several lines at the center of a larger block of surrounding text, simply press and hold the Alt key and then select the desired text. Additionally, please note that when text is copied from PDF documents and pasted into applications/locations outside of PDF-XChange Editor (such as Microsoft Word) additional page breaks may appear. This is a recognized issue with PDF documents. The Edit Content Tool should be used instead of the Select Text Tool in order to avoid this issue when copying text.
•Click the Other Tools dropdown menu to view/select additional tool options:
•The Select Comments Tool is used to select and edit comments. Click to enable the Select Comments Tool, then click to select comments. Click and drag to select multiple comments. Selected comments can be edited, as detailed here.
•The Snapshot Tool is used to take screenshots of pages/selected page content. Click to enable the Snapshot Tool, then click or click and drag to take snapshots. Further information about this tool is available here.
•The options in the Clipboard dropdown menu is used to interact with the current content of the clipboard. Click the dropdown menu to cut/copy/paste clipboard content.
•The Find feature is used to Find or Search text, or to search the internet for text selected with the Select Text Tool in the current document.
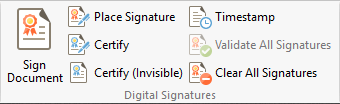
Digital Signatures
The Digital Signatures group contains options and adding and interacting with digital signatures:
•Click Sign Document to sign an existing signature field in the current document. If more than one signature field is present then it is necessary to select the desired field. If there are no existing signature fields then the pointer will become a blue rectangle. Move the rectangle to the desired location then click to add a new signature field. These operations are detailed here.
•Click Place Signature to create and sign a digital signature field in one step. The pointer will become a blue rectangle. This rectangle represents the new signature field. Move it to the desired location and then click to add it to the document. The Sign Document dialog box will open and can be used to customize digital signatures, as detailed here.
•Click Certify to certify documents and add a physical signature. This process is identical to the Sign Document process detailed above. However, it is only possible to certify documents a single time, whereas is it possible to digitally sign documents multiple times.
•Click Certify (Invisible) to certify documents and add an invisible signature. This process is identical to the Certify (Visible) process detailed above, but the physical signature is excluded from the process.
•Click Timestamp to timestamp documents, as detailed here.
•Click Validate All Signatures to validate all signatures in the current document.
•Click Clear all Signatures to remove signatures from signature fields.
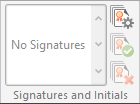
Signatures and Initials
The Signatures and Initials group is used to select and manage physical signatures. Current signatures are displayed in the pane. Use the arrows to browse/select signatures. Click to select signatures, then click again to add them to documents. Signatures can be edited as normal content items until the Apply All option detailed below is used.
•Click Manage to manage signatures. The Manage Signatures and Initials dialog box will open, which is detailed here.
•Click Apply All to apply signatures that have been added to the document. Signatures are flattened to base content when this option is used.
•Click Cancel All to remove signatures that have been added to the document but have not been applied.
Redact
The Redact group is used to mark document content for redaction and perform the redaction operation:
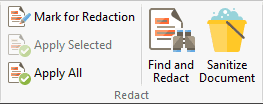
•Click Mark for Redaction to mark the document areas to be redacted.
•Click Apply Selected to apply redaction to the marked redaction area in cases where multiple areas have been marked.
•Click Apply All to apply redaction to all areas marked for redaction.
•Click Find and Redact to locate specific words or patterns (phone numbers, credit card numbers, social security numbers, emails or dates) in documents and either mark them for redaction or perform redaction on then immediately, as detailed here.
•Click Sanitize Document to sanitize the current document, as detailed here.
Further information about the Redaction feature is available here.
Document Security
The Document Security group contains options for viewing/editing document security:
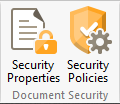
•Click Security Properties to view/edit document security properties, as detailed here.
•Click Security Policies to view/manage security policies, as detailed here.
DocuSign
The DocuSign group contains options for using DocuSign with documents:
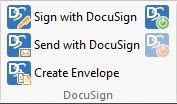
•Click Sign with DocuSign to sign the current document with DocuSign.
•Click Send with DocuSign to send the current document with DocuSign.
•Click Create Envelope to create a DocuSign envelope, as detailed here.
•Click Login to DocuSign to log in to DocuSign.
•Click Logout of DocuSign to log out from DocuSign.