 Redaction
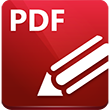
Hover over Redaction to view redaction options:
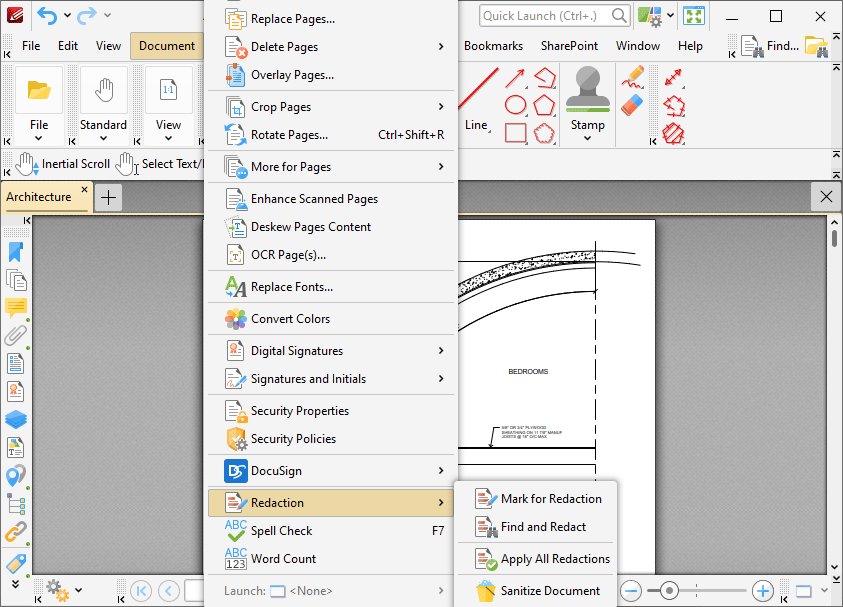
Figure 1. Document Tab Submenu, Redaction
Redaction "blacks out" designated document content. Click Mark for Redaction to determine sections of the document for redaction. The pointer will turn into a crosshairs icon. Click and drag to determine areas for redaction:
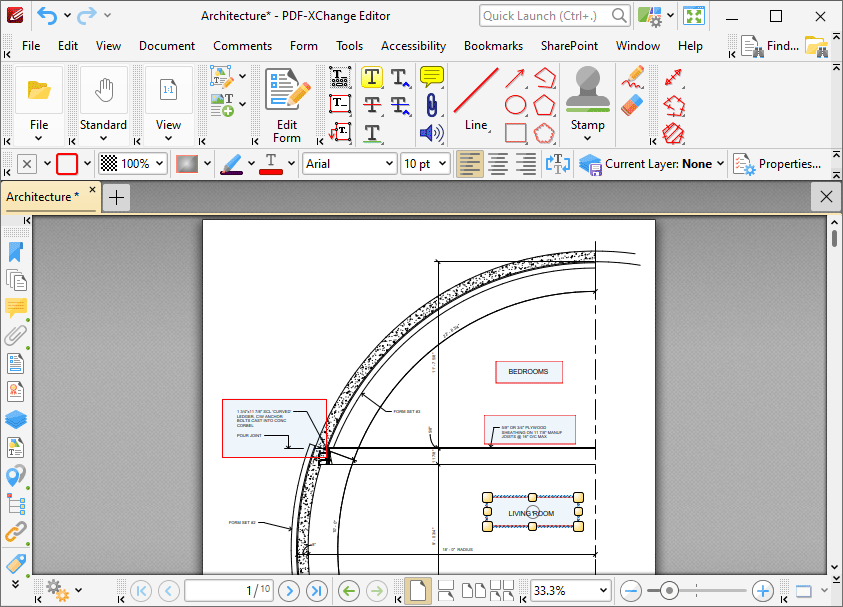
Figure 2. Areas Marked for Redaction
The lower area has just been determined, which means editing options are available:
•Use the control points to resize areas.
•Use the editing aids detailed here to assist in the precise placement of areas marked for redaction.
•Click and drag areas to reposition them.
•Right-click areas for further options:
•Click Apply All Redactions to redact all areas marked for redaction.
•Click Apply Selected Redaction(s) to redact only selected areas. (The Select Comments Tool can be used to select multiple areas).
•See here for an explanation of the remaining options.
Click Apply All Redactions to perform the redaction. Marked areas will be replaced with black fill:
Figure 3. Redacted Areas
When the Redaction tool is selected, the following options are enabled in the Properties Toolbar:
•Fill Color determines the color of areas marked for redaction.
•Stroke Color determines border color of areas marked for redaction.
•Opacity determines the level of transparency in areas marked for redaction.
•Use the Overlay Type dropdown menu to determine the type of overlay used for the reaction:
•Click Standard to use stand redaction overlays, which are a fill of a specified color.
•Click Blur to use a blur for redaction overlays, or Blur Extra to use a stronger blur than the default option.
•Click Pixelate to use pixelation for redaction overlays, or Pixelate Extra to use a stronger pixelation than the default option.
•Redaction Fill Color determines the color of redacted areas.
•Text Color determines the color of text used to overlay redacted areas when the text option is enabled for redactions. The text content must be specified in the relevant area of the Properties pane before areas are marked for redaction in order to enable this option.
•Font determines the font used when the text option is enabled for redactions.
•Font Size determines the font size when the text option is enabled for redactions.
•The Align options determine the alignment of text when the text option is enabled for redactions.
•Repeat Overlay Text repeats the text used within redacted areas when the text option is enabled for redactions.
•Apply All performs the redaction on all areas marked for redaction.
•Keep Selected determines whether or not the Redaction feature remains selected after a single area has been marked for redaction. If this option is enabled then the tool will remain selected and can be used to create areas consecutively. If this option is not enabled then PDF-XChange Editor will revert to the designated default tool immediately after a single area is marked
•Exclusive Mode simplifies the process of using the Redaction feature. When Exclusive Mode is enabled, the pointer ignores all interactive elements of documents other than base content. This makes it possible to mark areas for redaction without the risk of accidentally selecting undesired items. When Exclusive Mode is disabled, the pointer recognizes and interacts with all underlying elements in the usual manner.
•Click Properties to view/edit the Redaction Properties pane. See here for further information. Note that the options in the Overlay section apply to completed redactions.
Find and Redact
Click Find and Redact to launch the Find and Redact feature:
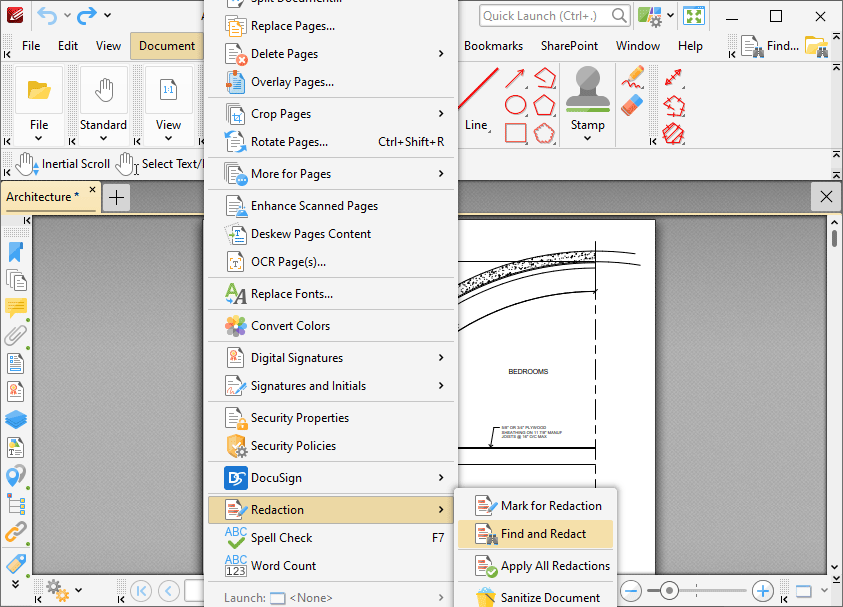
Figure 4. Document Tab Submenu, Redaction Options, Find and Redact
This feature is used to search for specific words or patterns (phone numbers, credit card numbers, social security numbers, emails or dates) in documents and then either mark them for redaction or redact them immediately. When it is selected, the Find and Redact Text dialog box will open:
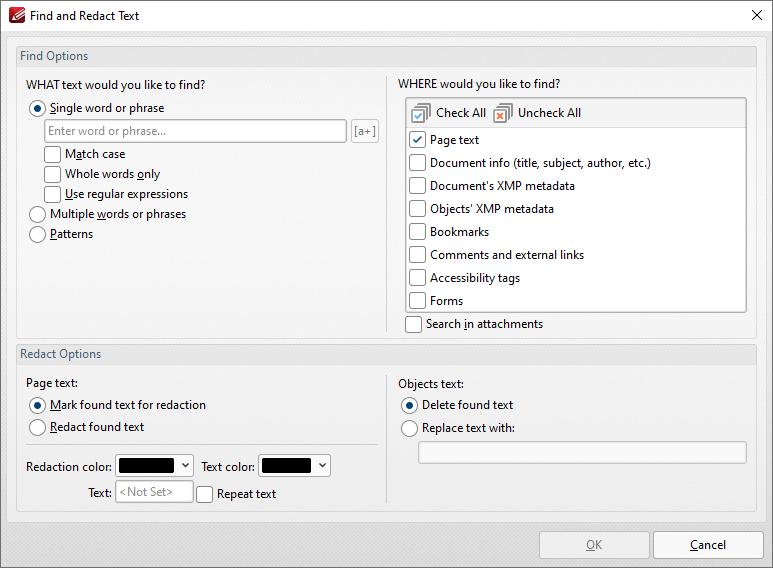
Figure 5. Find and Redact Text Dialog Box
•Select Single word or phrase to search for a single word/phrase, then enter the desired word/phrase in the text box.
•Select the Match Case box to match the case of word entered in the text box.
•Select the Whole Words Only box to match only whole words in the document to the word entered in the text box.
•Select the Use regular expressions box to enable the use of ECMAScript syntax-based regular expressions in the search. Further information about regular expressions is available here.
•Select Multiple words or phrases to search for multiple words/phrases. Click Add/Remove to add/remove words/phrases, then enter the desired words/phrases in the text box. Click Save to save the current word list to a plain text file for subsequent use. Click Load to load a plain text file of words into the text box.
•Select Patterns to search for specific patterns, then select either Phone numbers, Credit cards, Social security numbers, Emails or Dates to determine the patterns that you want to find.
•Select an option in the Locale dropdown menu to determine the language used in the search.
•Click Add to add a custom pattern to the available search options. Enter the name, value and description of the custom pattern and click OK to save. The custom pattern will then be available in the list of patterns.
•Click Remove to remove selected custom patterns.
•Select a Page text radio button to determine the outcome of the operation for page text:
•Select Mark found text for redaction to mark search results for redaction.
•Select Redact found text to immediately redact search results.
•Select the check boxes on the right side of the dialog box to determine where you want to search for text to redact.
•Select an Objects text radio button to determine the outcome of the operation for object-based text (such as text in comments):
•Select Delete found text to delete text that matches the search terms.
•Select Replace text with: to replace text that matches the search terms, then enter the desired replacement text in the text box.
Click OK to find and mark/redact content.
Sanitize Document
Click Sanitize Document to remove sensitive information from documents:
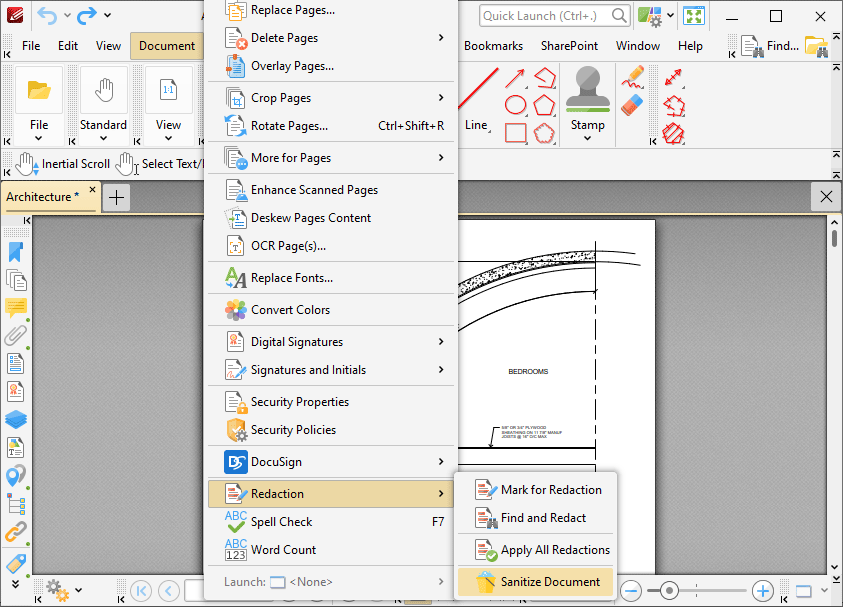
Figure 6. Document Tab Submenu, Redaction Options, Sanitize Document
The Sanitize Document Options dialog box will open:
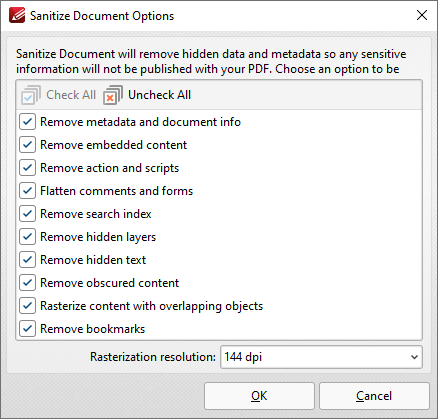
Figure 7. PDF-XChange Editor Dialog Box
Select the check boxes of the document content that you want to sanitize in the document, then use the Rasterization resolution dropdown menu to specify the desired resolution for sanitization, and click OK to sanitize the document.