Content Editing Tools
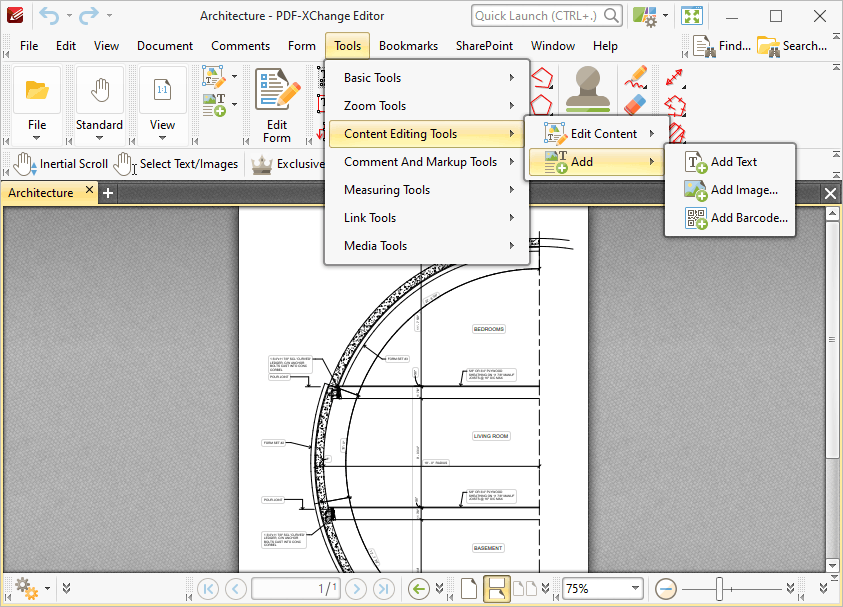
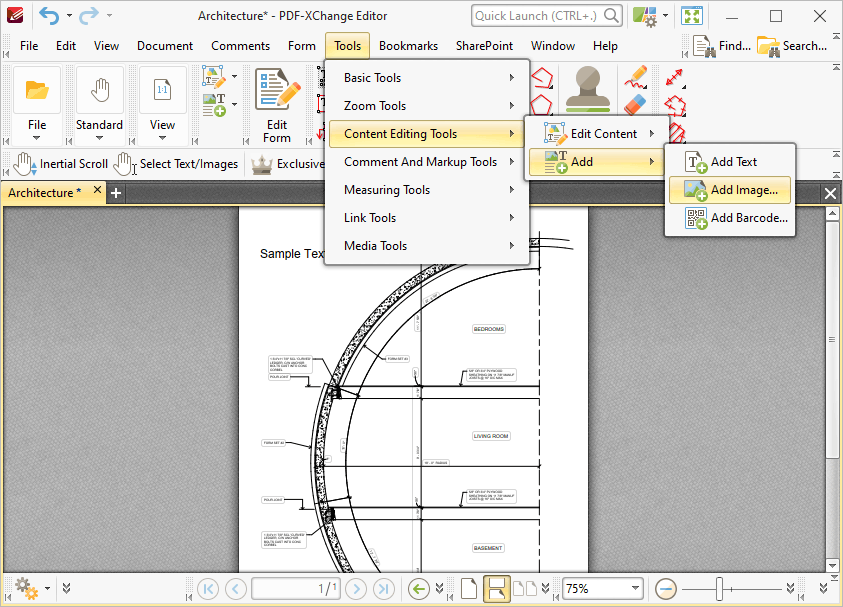
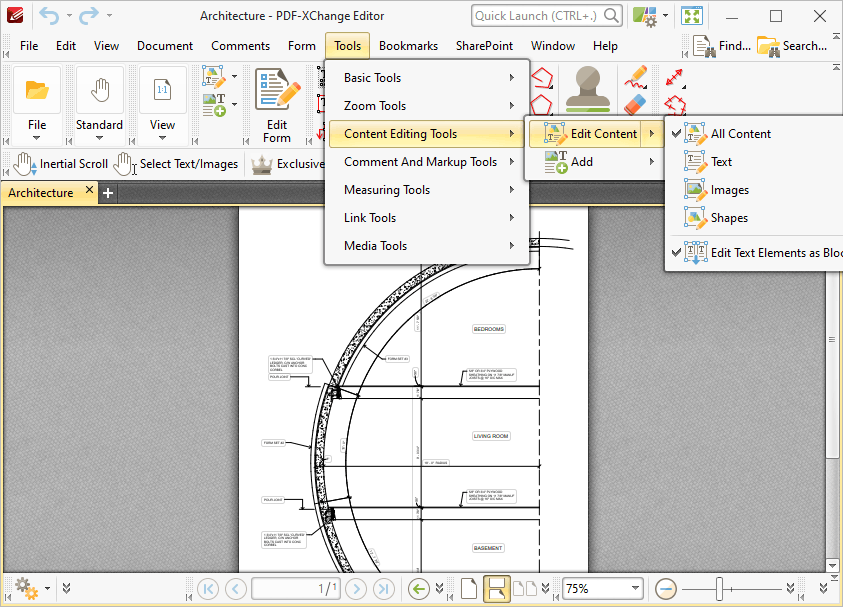
Hover over Content Editing Tools to open the following submenu:
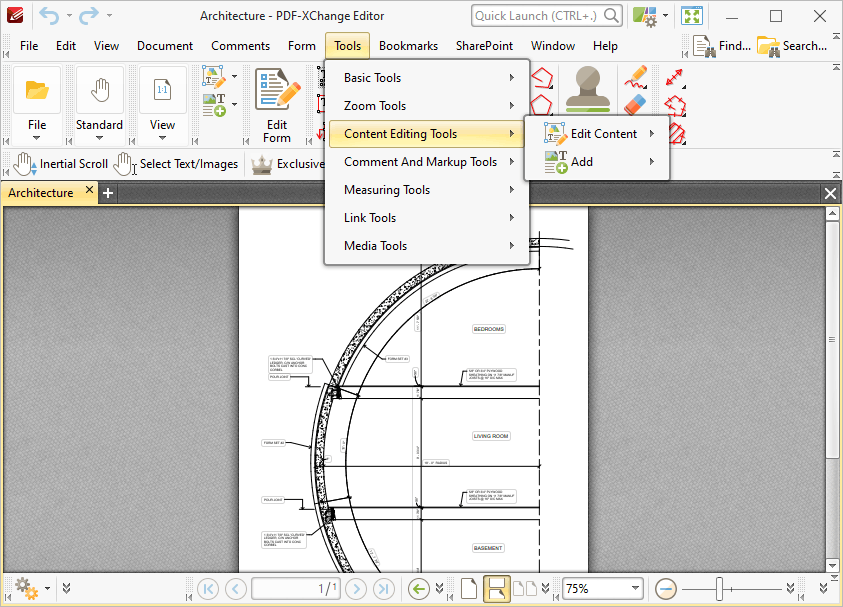
Figure 1. Tools Tab Submenu. Content Editing Tools
The content editing tools are used to edit the base content of documents and add text, images and barcodes to the base content layer. Please note that the Content pane is a very useful feature to use in conjunction with the content editing tools. Shortcuts to the Edit Content and Add submenus are available in the Edit Content Toolbar:
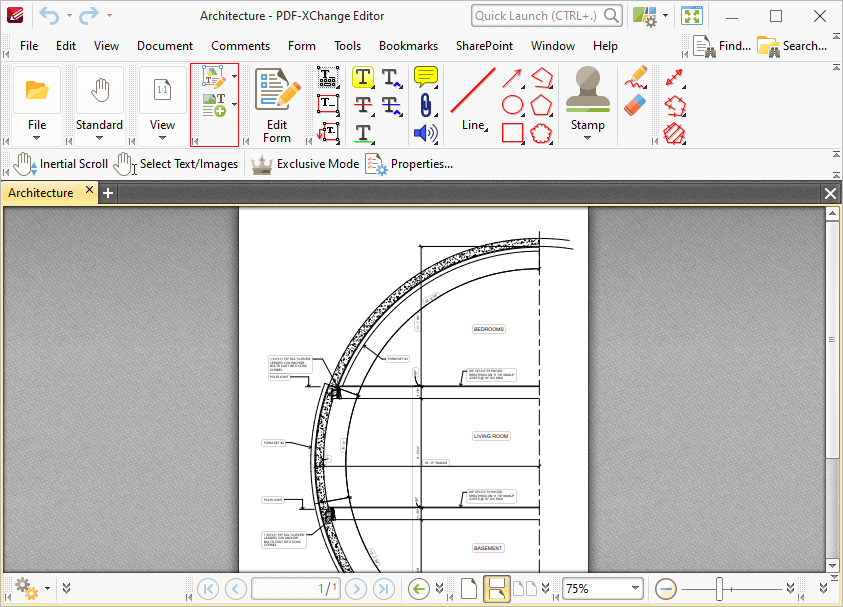
Figure 2. Edit Content Toolbar
Hover over Edit Content to open the Edit Content Tool submenu:
Figure 3. Tools Tab Submenu. Content Editing Tools, Edit Content Options
The option selected in this submenu determines the document content that the Edit Content Tool selects and edits:
•Select All Content to edit text, images and shapes simultaneously. •Select Text to edit only text. •Select Images to edit only images. •Select Shapes to edit only shapes. Shapes are defined as paths, shading, XForms and all other document base content that is neither text nor imaged-based. •Enable/disable the Edit Text Elements as Blocks option as desired. This feature recognizes blocks of document text and enables their group-selection for editing.
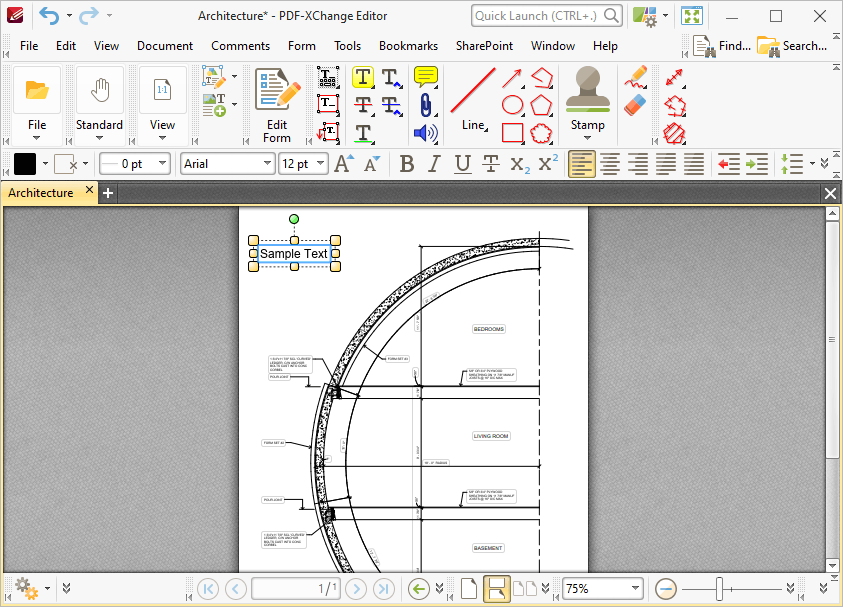
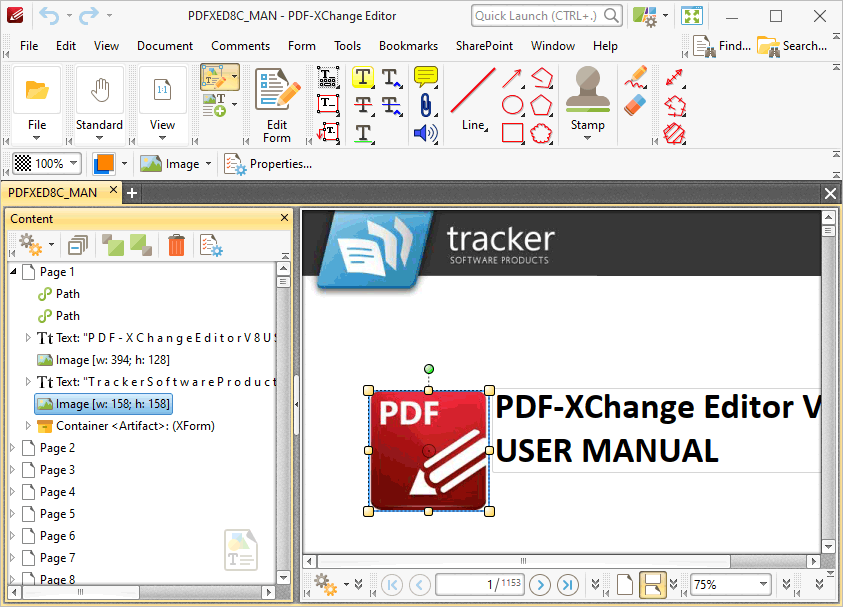
When the Edit Content Tool is selected, click to select content items, or click and drag to group-select content items. When items are group selected they are edited simultaneously. Selected content items appear as below:
Figure 4. Selected Content Item
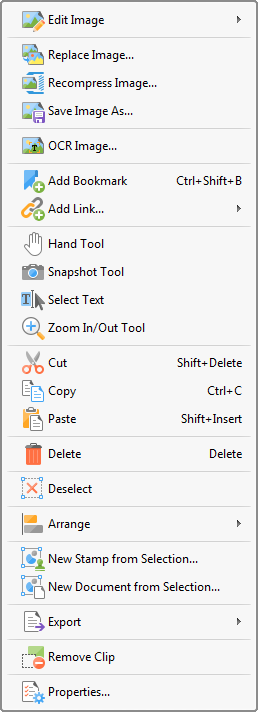
•Click and drag the yellow control points to resize content. •Click and drag the circle at the center to reposition content. •Click and drag the green control point at the top to rotate content items. Hold down Shift to rotate at increments of fifteen degrees. •Use the arrow keys to reposition content. •Use the editing aids detailed here to assist in the precise placement of document content. •Click Properties in the Properties Toolbar to open the Properties pane and view/edit content item properties. Please note that not all properties are editable. •Right-click content for further options. Please note that available options depend on the format of selected content. The menu below contains all available options:
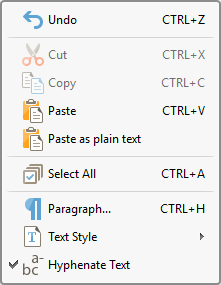
Figure 5. Content Items Right-Click Context Menu
•Hover over Edit Image to view editing options for images: •Click Default Application to edit the image in the default application for editing images. Note that changes made to images in the application will be updated in the current document when the image is saved. •Click Open With to select a non-default application with which to edit the image. The Open with dialog box will open. Selected the desired application and click OK to launch it. •Select Ignore Transformations When Editing Image to edit images in their original state in the active document. All transformations, such as rotations and rescaling, will be ignored. •Click Replace Image to replace selected images with an image from file. Note that replacement images are automatically scaled to match the dimensions of images that they replace. •Click Recompress Image to recompress images, as detailed in (figure 6) below. •Click Save Image As to save a copy of selected images to file. The Save File As dialog box will open. Enter a file name in the File name text box, then click Save to save the image. •Click OCR Image to perform optical character recognition on selected images. The OCR Image dialog box will open. Select the desired language and accuracy then click OK to perform OCR. •Click Add Boomark to add a bookmark at the selected location. Further information on bookmarks is available here. •Hover over Add Link to view the options for adding links: •Click Add Goto Link to create a link from the selected location to a location within the current document. The Browse for Link Target dialog box will open. Move to and select the desired document location and then click Set Link to create the link. •Click Add Weblink to create a link from the selected location to an internet location. The Add Action: "Open a Web Link" dialog box will open. Enter the desired URL in the text box and then click OK to create the link. •Click Add Open File Link to create a link from the selected location to a file on the local computer. The Add Action: "Open a File" dialog box will open. Determine options as detailed here then click OK to create the link. •Click Add Custom Link to create a custom link. Custom links can be used to create a range of dynamic links, such as links that launch JavaScript actions, move to pages in other documents, open files, execute PDF-XChange Editor commands, reset/submit forms, play sounds and show/hide form fields. The Edit Action List dialog box will open. Determine options as detailed here then click OK to create the link. •Click Hand Tool, Snapshot Tool, Select Text or Zoom In/Out Tool to select the Hand Tool, Snapshot Tool, Select Text Tool or Zoom In/Out Tool respectively. •Click Cut, Copy, Paste, Delete or Deselect to perform these actions on selected content. If you have copied content to the clipboard, then additional paste options are available. Click the special paste options Paste as Plain Text, Paste as Rich Text or Paste as Image as desired. Note that the available paste options depend on the format of the content in the clipboard. •Hover over Arrange to view arrangement options for selected content: •Use the Align options to align selected content items. •Use the Rotate/Flip options to rotate/flip selected content. •Click Transform to edit the position, size and/or rotation of selected content, as detailed here. •Click Bring to Front to bring content items to the front in cases of multiple items overlapping. •Click Send to Back to send content items to the back in cases of multiple items overlapping. •Click Bring Forward to bring content items forward one step in cases of multiple items overlapping. •Click Send Backward to send content items back one step in cases of multiple items overlapping. •Click New Stamp from Selection to create a new stamp from selected content, as detailed here. •Click New Document from Selection to create a new document from selected content. The new document will open in a new window in PDF-XChange Editor. •Hover over Export to view export options for selected content, then click Export Selection to Microsoft Word Document/Excel/Powerpoint Presentation as desired. The Save File dialog box will open. Enter a name/location for the new file and then click Save to export the content. •Click Remove Clip to remove the clipping path from selected content. •Click Properties to open the Page Content Properties pane for selected content. This pane is used to view/edit content properties, as detailed here.
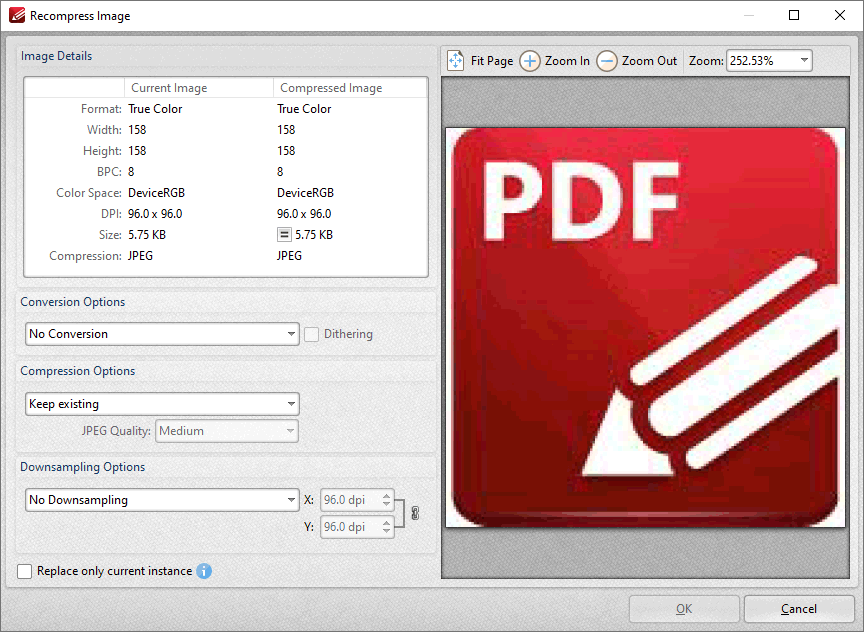
Recompress Images
Figure 6. Recompress Image Dialog Box
This option is used to recompress document images:
•Use the Conversion Options dropdown menu to select a new compression format for images. Note that the selection made in this dropdown menu determines the options for the two dropdown menus below. •Use the Compression Options dropdown menu to select a new compression format for images. •Use the Downsampling Options dropdown menu to determine downsampling options as desired. The X and Y text boxes determine the downsampled resolution on the X and Y axes respectively. •Select the Replace current instance only text box to replace only the current instance of the image in documents where the same image is used multiple times.
Note that the values in the Image Details pane display details about the current image and the image after compression has taken place using the values entered in the Recompress Image dialog box. Additionally, the preview pane will update according to any changes made.
|
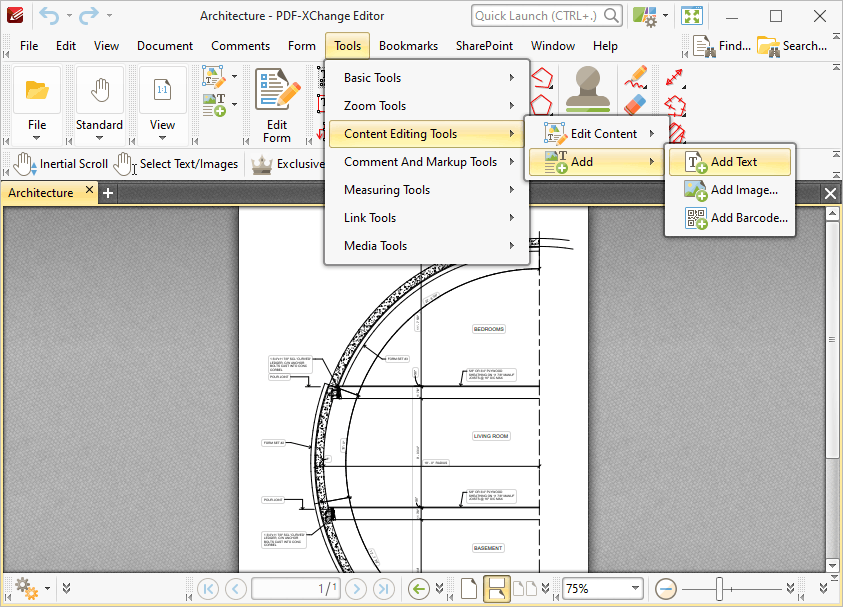
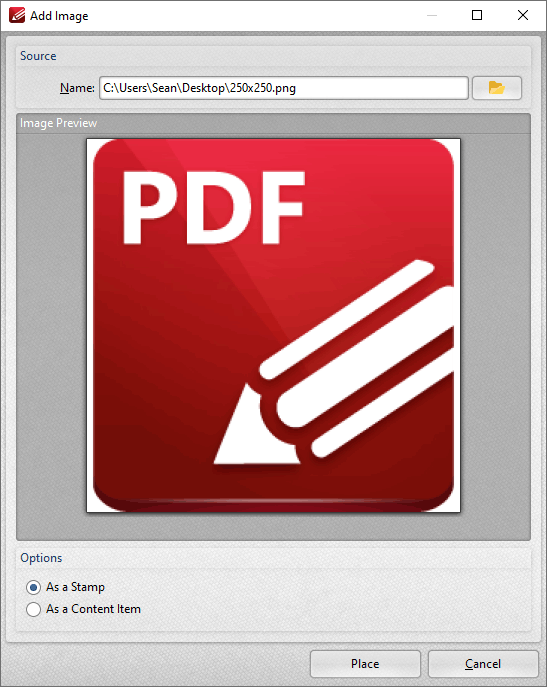
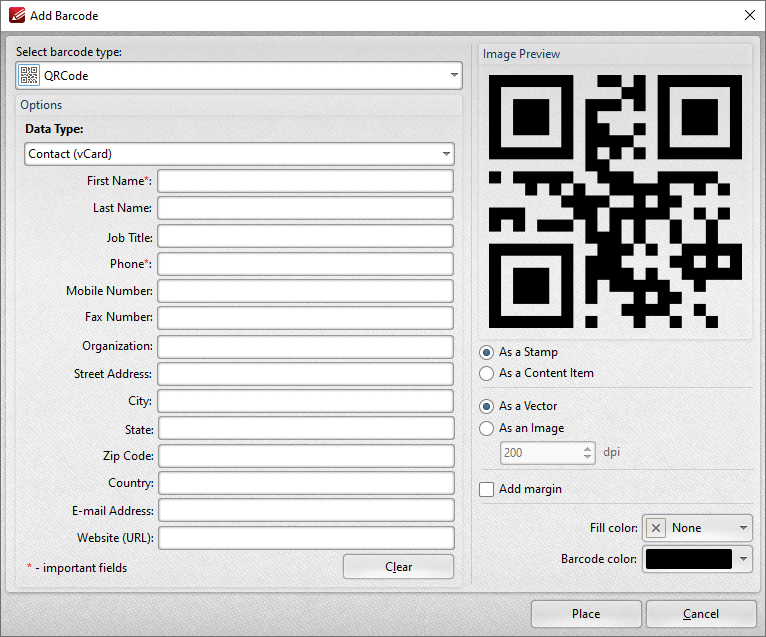
Hover over Add to open the following submenu:
Figure 7. Tools Tab Submenu. Content Editing Tools, Add Options
These options are used to add text, images and barcodes to the base-content layer of documents:
|