 Link Options
Click the Web Links dropdown menu to view options for document weblinks:
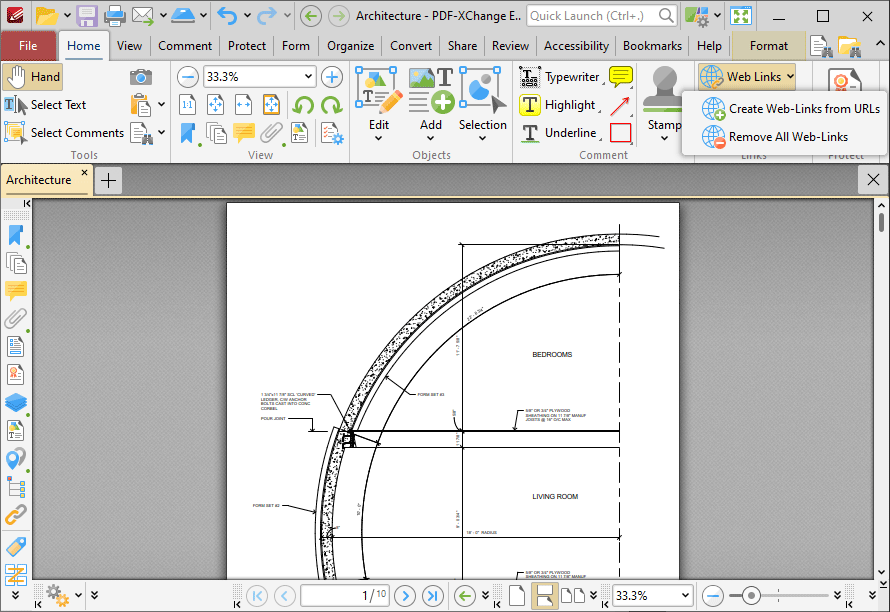
Figure 1. Home Tab, Web Links Dropdown Menu
•Click Create Web-Links from URLs to convert existing page text URLs into clickable hyperlinks.
•Click Remove All Web-Links to remove existing hyperlinks from page text URLs.
Please note that it is necessary to disable the Create links from URLs in page text preference in the Page Text preferences for these features to operate:
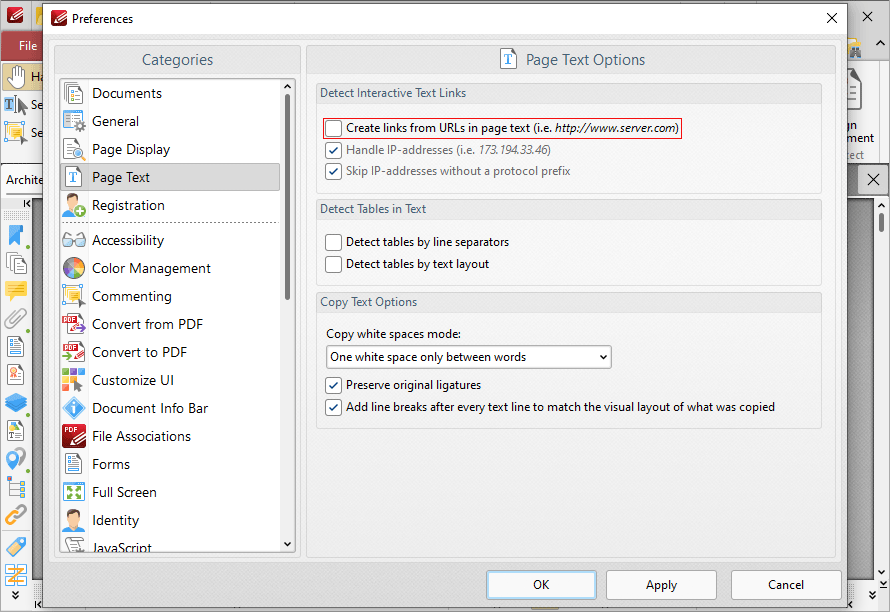
Figure 2. Create Links from URLs in Page Text Preference Disabled
Create Links
Click Add/Edit Links to create links:

Figure 3. Home Tab, Create Link
When this feature is enabled, the pointer becomes a crosshairs icon. Click and drag to determine the size and location of the link. The Browse for Link Target dialog box will open:
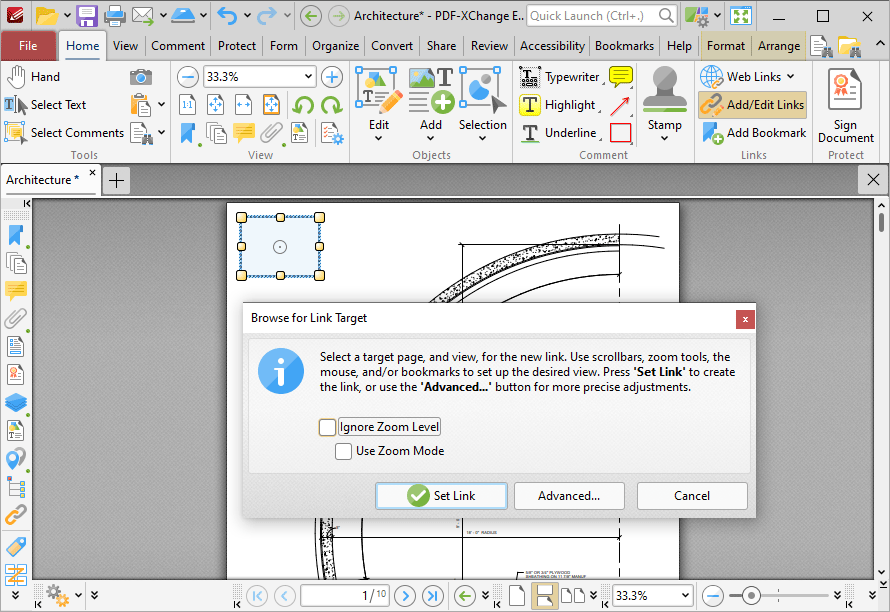
Figure 4. Link Creation Tool Example
•If the Ignore Zoom Level box is selected then PDF-XChange Editor will ignore the document zoom level when links are created. If this box is cleared then the zoom level will update to the zoom level that was present at the time of link creation when links are used.
•If the Use Zoom Mode box is selected then PDF-XChange Editor will ignore the active zoom mode when links are created. If this box is cleared then the zoom mode will update to the mode that was active at the time of link creation when links are used.
•Move to the desired link location and zoom level, then click Set Link to create the link.
•Note that when the Browse for Link Target dialog box is open, you can also click named destinations in the Named Destinations pane to specify them as the target for the link.
•Click Advanced to determine advanced settings for links. The Edit Action List dialog box will open:
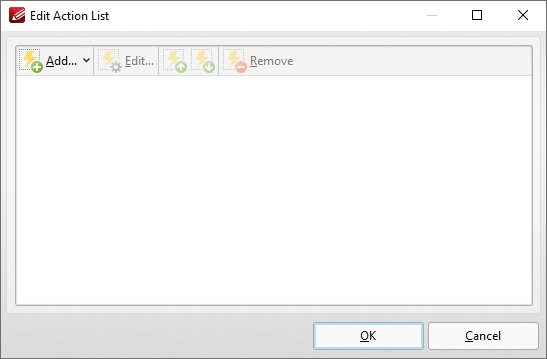
Figure 5. Edit Actions List Dialog Box
•Click Add to add actions to the list. Actions will be executed when the link is selected. All available actions are detailed below.
•Select actions and click Edit to adjust their settings.
•Click the arrow icons to move selected actions up or down in the list.
•Click Remove to remove selected actions from the list.
•Note that it is possible to add multiple actions to the list. The order of actions in the Edit Action List dialog box determines the order in which they are performed.
The following actions are available:
•Go to Page Options (Go To a Page in the Document, Go To a Page in Another Document and Go To a Page in an Embedded Document).
Note that it is possible to edit links after they have been created. Click Add/Edit Link in the Home tab, then click to select the link and then click the Format tab:
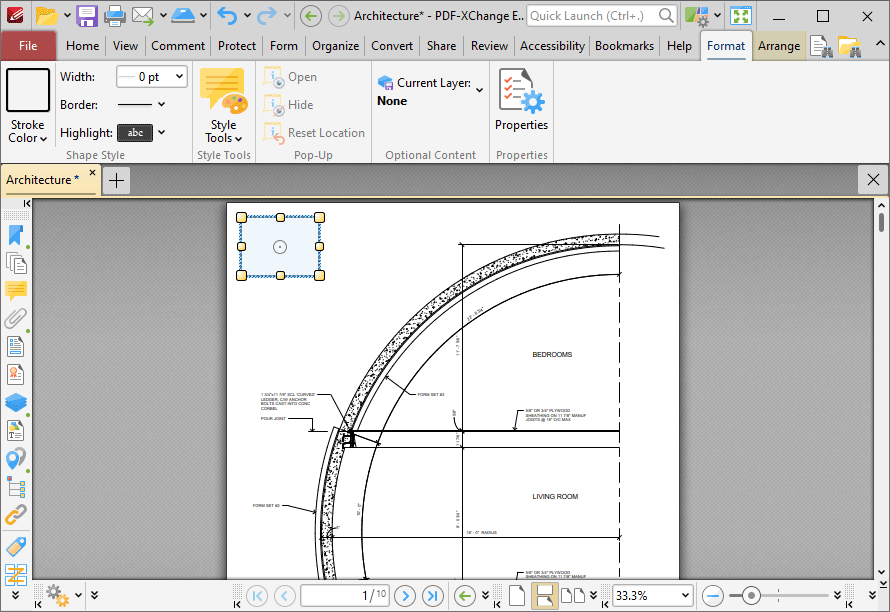
Figure 6. Selected Link
•Click and drag the yellow control points to resize links.
•Click and drag link boxes, or use the arrow keys, to reposition links. Hold down Shift to move at an increased increment when using the arrow keys.
•Use the editing aids detailed here to assist in the precise placement of links.
•Right-click links for further options. See here for an explanation of these options.
•Use the options in the Format tab to customize the appearance of links:
•Click Stroke Color to determine the color of the link border. Note that it is necessary to adjust the width of link borders in order for the color to be visible.
•Click Border Width to determine the width of the link border.
•Click Border Style to determine the style of the link border.
•Click Highlight Mode to determine the visual effect when the link is clicked.
•Use the Style Tools to copy/apply link tool styles:
•Click Copy Comment Style to copy the style properties of selected link annotations.
•Click Apply Copied Comment Style to apply a copied link style to the selected link annotation.
•Click Apply Copied Comment Appearance to apply copied comment properties to the selected content.
•Click Make Current Properties Default to set the properties of the selected annotation as the default properties for subsequent annotations.
•Click Apply Default Properties to apply the default link annotation properties to the selected link annotation.
•The layer to which the link belongs is detailed in the Optional Content tab. Click Current Layer to move the link to a different layer. Further information about layers is available here.
•Click Properties to view/edit additional link properties, as detailed below:
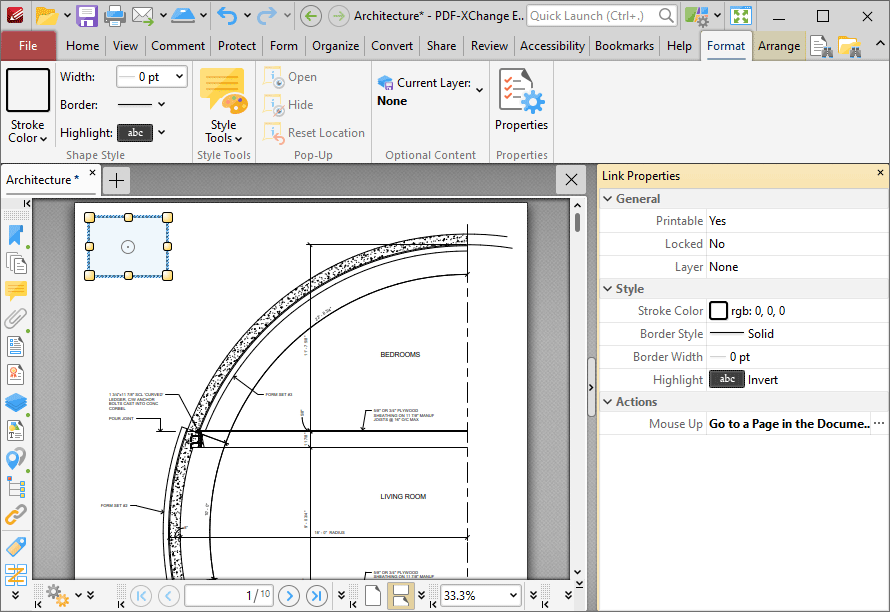
Figure 7. Link Properties Pane
•Printable is the print status of the link. If this property is enabled then the link is printed with the document. If this property is not enabled then the link is not printed.
•Locked is the locked status of the link. If this property is enabled then the link cannot be deleted and its properties (including its position and size) cannot be modified by users.
•Layer specifies the optional content layer to which the link belongs. Further information about layers is available here.
•Stroke Color determines the border color of the link.
•Border Style determines the border style of the link
•Border Width determines the border width of the link.
•Highlight determines the visual effect when the link is clicked.
•Mouse Up determines the action taken when the link is clicked. Click the ellipsis icon on the right of the action to view/edit/add actions, as detailed above.
Please note that the Add/Edit Links Tool must be selected in order to edit/delete links. It is also possible to press Ctrl+A in order to select all links in the current document when this tool is enabled.