 Add Watermarks
The Add Watermarks action inserts watermarks into input documents. It contains the following customizable parameters:
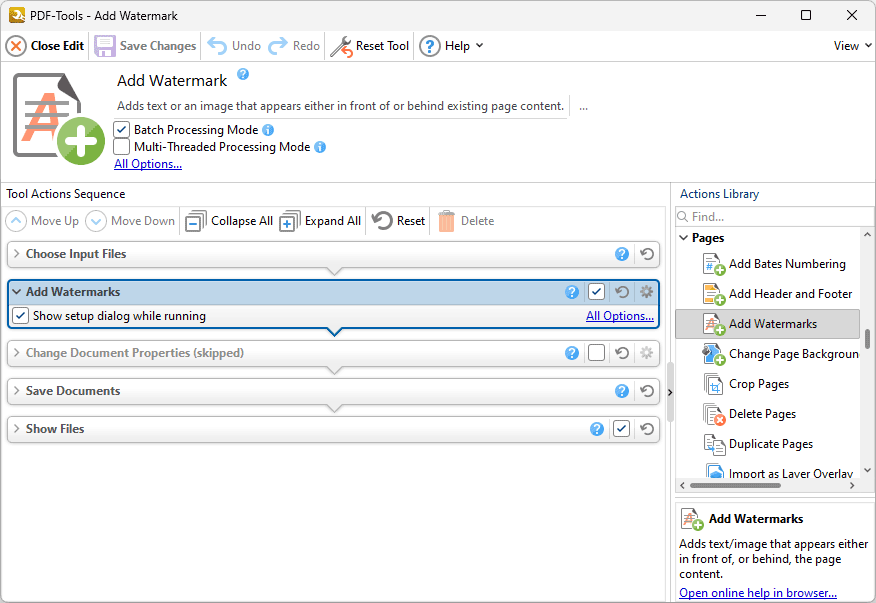
Figure 1. Add Watermark Action Options
•Click All Options to view/edit all options. The Add Watermark dialog box will open, as detailed below.
•Select the Show setup dialog while running box to launch the Add Watermark dialog box and customize settings each time this action is used. Clear this box to disable the Add Watermark dialog box from opening each time the action is used, which is useful when the same settings are used consistently.
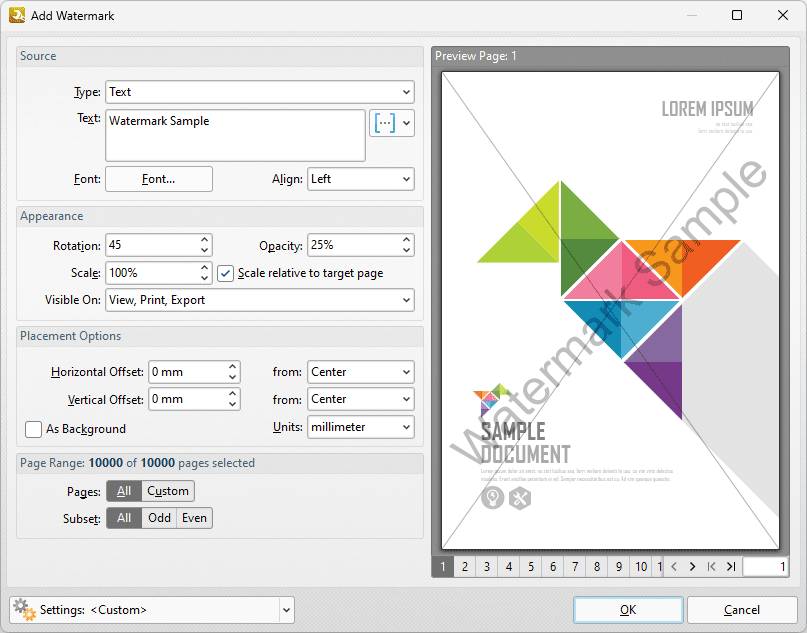
Figure 2. Add Watermark Dialog Box
•The Source options determine the source of watermarks. Enter text into the box or select a file. Use the font, macro and alignment options to customize watermarks when text is used as the source.
•The Appearance options determine the rotation, opacity and scale of the watermark:
•The Rotation value determines the rotation (in degrees) of watermarks.
•The Opacity value determines the opacity (transparency) of watermarks.
•The Scale value determines the scale of watermarks. Select the check box to scale watermarks to the target page. If this box is not selected then the scale is relative to the size of the original image used as the source for the watermark.
•The Placement options determine the horizontal and/or vertical offset of the watermark from the left, right or center of the document.
•Select the As Background box to insert watermarks into the background as opposed to the foreground of documents.
•The Page Range options are as follows:
•Select All to add watermarks to all pages.
•Select Custom to add watermarks to a custom page range. Further information on how to specify page ranges is available here.
•Use the Subset option to select All Pages, Odd Pages or Even Pages as desired.
•The Preview Page pane displays a preview of pages. Select the numbers beneath the pane to preview the corresponding document pages.
•Click the Settings dropdown arrow to save/delete/manage customized settings, as detailed below.
Click OK to save changes.
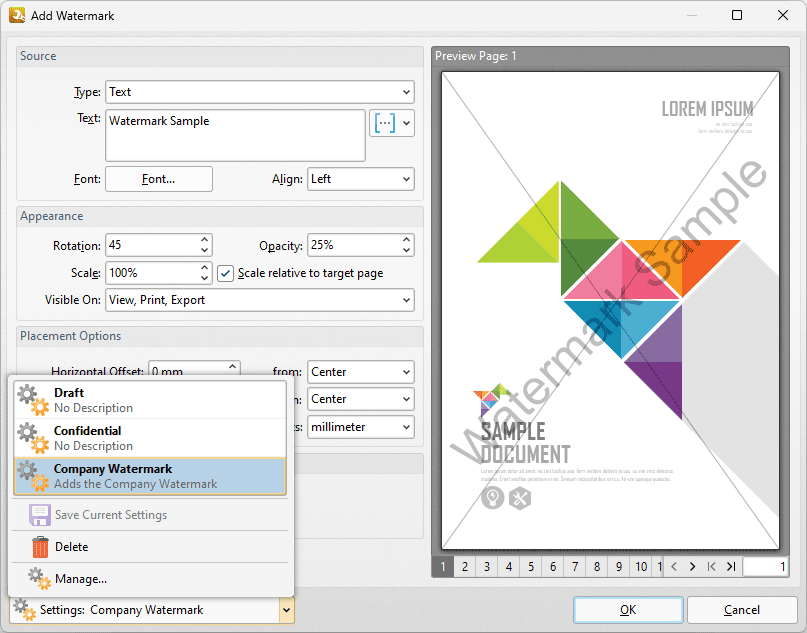
Figure 3. Add Watermark Dialog Box, Settings Dropdown Menu
•Click Draft or Confidential to load these preset watermark profiles.
•Click ![]() Save to save the current settings to a profile for subsequent use.
Save to save the current settings to a profile for subsequent use.
•Click ![]() Delete to delete the current profile.
Delete to delete the current profile.
•Click ![]() Manage to manage saved profiles. The Manage Presets dialog box will open:
Manage to manage saved profiles. The Manage Presets dialog box will open:
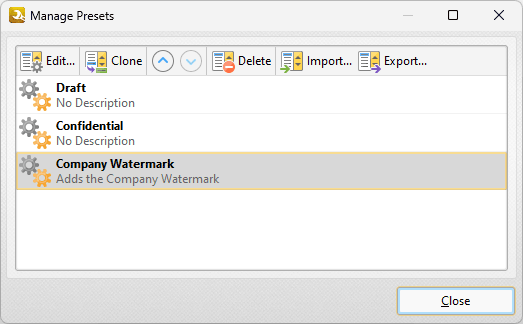
Figure 4. Manage Presets Dialog Box
•Click Edit to edit selected profiles. Note that preset profile cannot be edited or deleted.
•Click Clone to clone selected profiles.
•Use the up and down arrows to move selected profiles up or down in the list.
•Click Delete to delete selected profiles.
•Click Import to import profiles from a saved file.
•Click Export to export profiles to file.