 Pan and Zoom
Click Pan and Zoom to enable the Pan and Zoom pane:
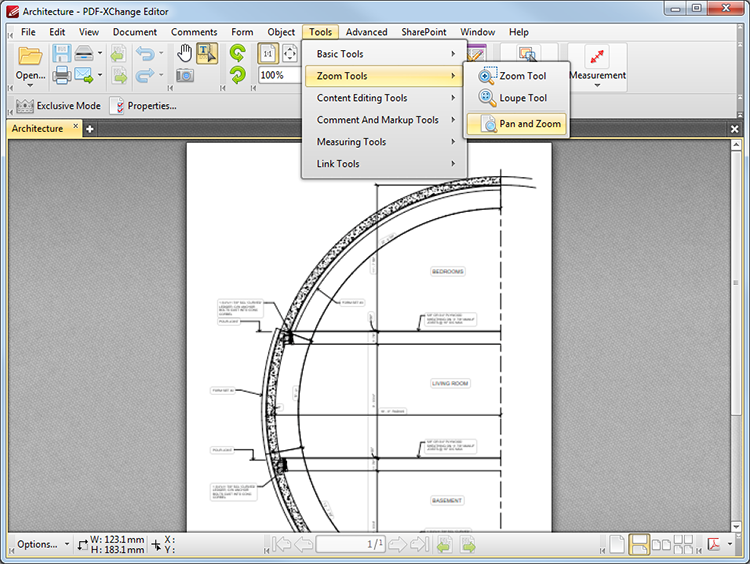
Figure 1. Pan and Zoom Pane Location
This pane facilitates simple and efficient viewing of zoomed documents:
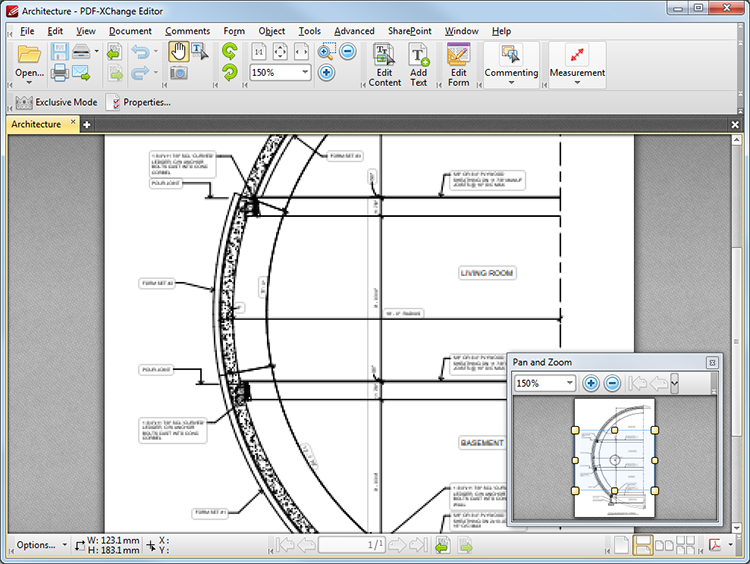
Figure 2. Pan and Zoom Pane
•The blue rectangle determines the current view.
•Adjust the yellow control points to manipulate the pan and zoom. Alternatively, use the plus and minus icons in the toolbar to zoom incrementally, or enter a custom zoom percentage in the number box.
•Click and drag the rectangle in the Pan and Zoom pane to adjust the current view in the main window.
•Use the arrow icons in the Pan and Zoom toolbar to move between document pages.
•Use the camera icon to take a snapshot of the current view in the Pan and Zoom pane. A bitmap copy of the selection will be pasted to the clipboard of the local computer.
•Click and drag the Pan and Zoom pane to reposition it on the screen. When it is selected, four icons will appear in the center of the borders of the main window. Move the pointer onto any of these icons and release the mouse to add the Pan and Zoom pane as a toolbar at the selected location.
When the Pan and Zoom feature is in operation two options are available in the Properties Toolbar:
•Exclusive Mode simplifies the process of using the Pan and Zoom feature. When Exclusive Mode is enabled, the pointer ignores all interactive elements of documents other than base content. This makes it possible to select areas without the risk of accidentally selecting undesired items. When Exclusive Mode is disabled, the pointer recognizes and interacts with all underlying elements in the standard manner.
•Properties opens the Properties pane to view/edit the properties for the Pan and Zoom feature. See here for information on tool properties.