 Save Options
The save options are used to save documents in PDF-XChange Editor. They are enabled when the active document has been modified:
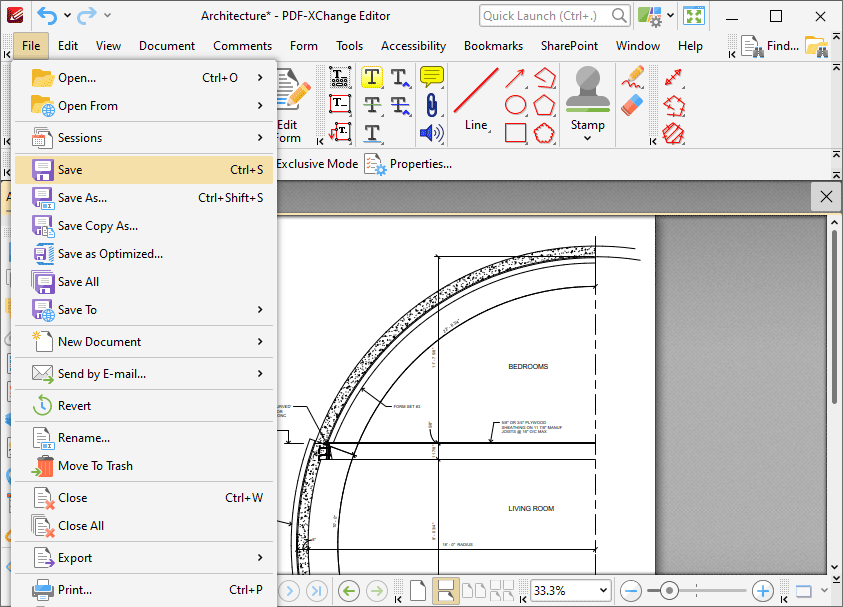
Figure 1. File Tab Submenu, Save Option
•Click Save to save the active document. Any changes made since the document was opened will be saved and the original version of the document will be overwritten.
•Click Save As to save the edited document with a new name and/or format, and retain the original version of the document. The Save File As dialog box will open, as detailed in (figure 2) below. Select the desired format and then click Save to save the document.
•Use the Save as type menu to determine the format of the saved file. When a format is selected, click the Options button beneath the Save as Type menu to determine format-specific options.
•Click Save Copy As to save a copy of the document with its current changes. The Save File As dialog box will launch when this option is selected. The file name will be entered automatically in the File Name text box with the word 'Copy' added as a suffix.
•Click Save All to save all open documents.
•Click Save To to save documents directly to predefined locations, such as the cloud services SharePoint and Dropbox.
•Click Save as Optimized to optimize files before they are saved. When this option is selected the Optimize PDF dialog box will open, as detailed in (figure 3) below.
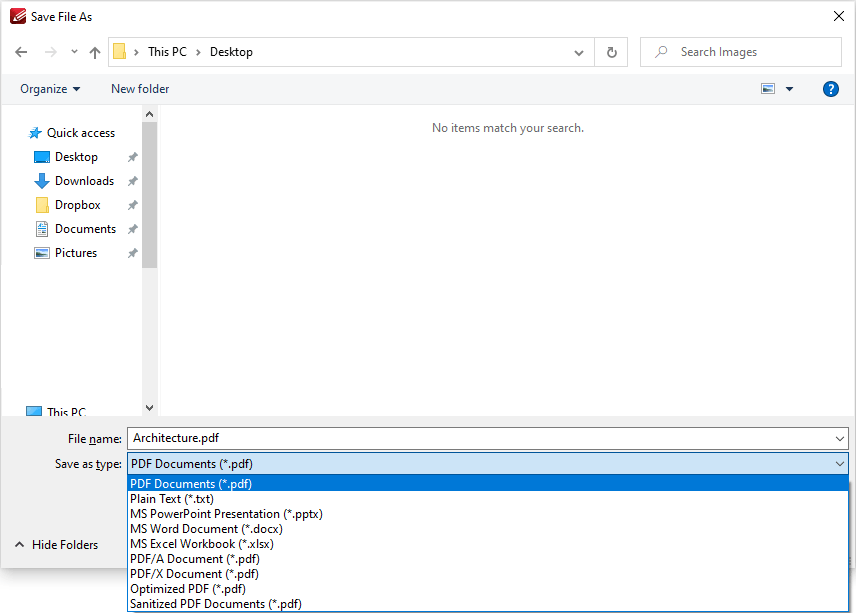
Figure 2. Save File As Dialog Box, Save As Type Options
•Select PDF Documents to save the document as a (*.pdf) file.
•Select Plain Text to save the document as a (*.txt) file.
•Select MS Powerpoint Presentation to save the document as a (*.pptx) file.
•Select MS Word Document to save the document as a (*.docx) file.
•Select MS Excel Workbook to save the document as a (*.xlsx) file.
•Select PDF/A Document to save the document as a (*.pdf) PDF/A file. The PDF/A format is used for archiving documents. Further information about this format is available here.
•Select PDF/X Document to save the document as a (*.pdf) PDF/X file. The PDF/X format is used for the facilitation of graphics exchange. Further information about this format is available here.
•Select Optimized PDF to optimize the document and save it as a (*.pdf) file. The process of optimization is to reduce the file size. Further information about this option is detailed below.
•Select Sanitized PDF to sanitize the document of sensitive information and save it as a (*.pdf) file. Further information about document sanitization is available here.
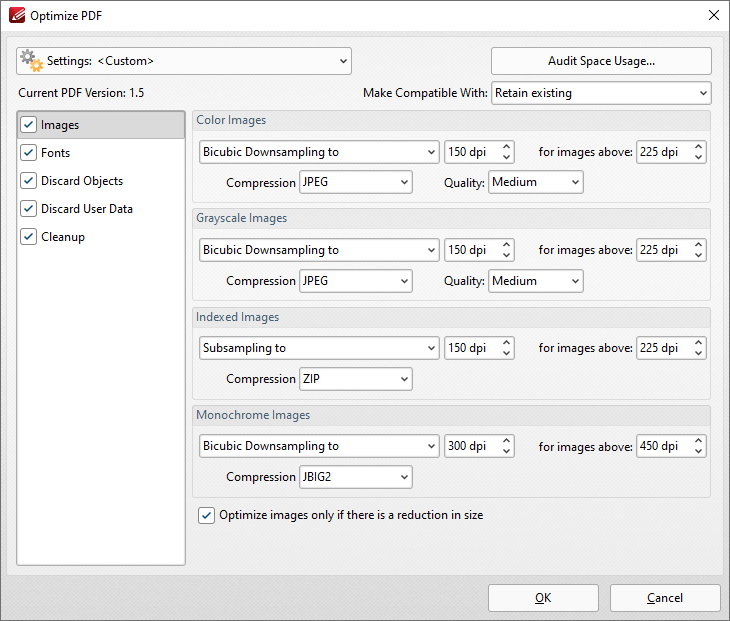
Figure 3. Optimize PDF Dialog Box, Images Tab
These settings are used to optimize PDF content:
Images
The options for optimizing images are detailed in (figure 3). They are as follows:
•Click the Color Images, Grayscale Images, Indexed Images and Monochrome Images menus to select settings for the respective image formats.
•Click the Bicubic Downsampling/Subsampling menus to increase/reduce the resolution of images.
•Click the arrows in the DPI box, or enter a figure manually, to select the dots-per-inch resolution for new images.
•Click the arrows in the for images above box, or enter a figure manually, to select the minimum DPI at which images are downsampled/subsampled.
•Click the Compression menus to select the compression format of images. Where applicable click the Quality menu to select the compression quality.
•The Optimize images only if there is a reduction in size box is selected by default. Clear this box to optimize images even when there is no reduction in size.
Fonts
Click Fonts to determine the settings for font optimization:
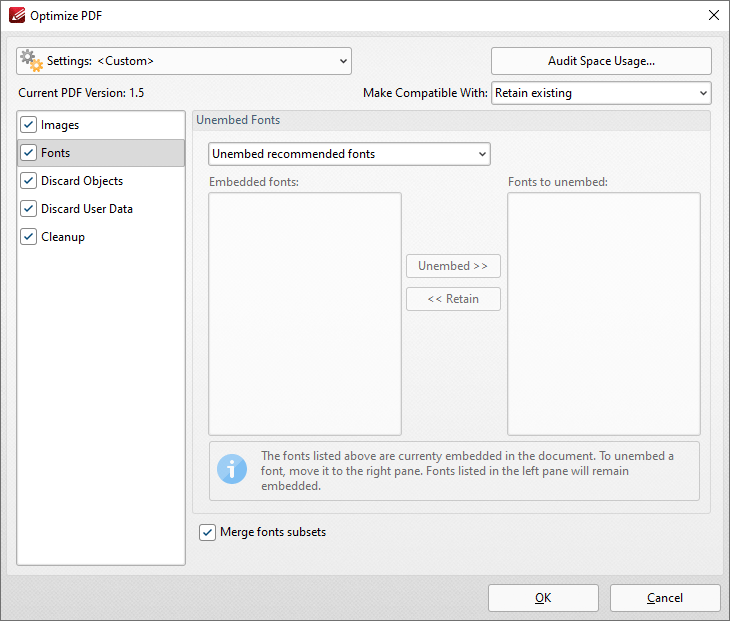
Figure 4. Optimize PDF Dialog Box, Fonts Tab
•Use the Unembed Fonts dropdown menu to determine font embedding options:
•Select Do Not Unembed any font to retain all embedded fonts.
•Select Unembed recommended fonts to unembed recommended fonts, which will result in the unembedding of the most common fonts in order to reduce the file size.
•Select Unembed all fonts to unembed all fonts. This will reduce the size of files as far as possible with regard to fonts. However, it also increases the risk of compatibility issues for subsequent users of the document. This is because they will not be able to read the document unless the application they are using to view the document contains the font. Therefore this setting should be used only in cases where documents contain only common fonts.
•Select Select fonts to unembed manually to unembed a custom selection of fonts. When this option is selected the fonts used in the current document are displayed in the Embedded Fonts pane. Select fonts and click the Unembed button to unembed them when the file is optimized. Select fonts within the Fonts to Unembed pane and click Retain to retain them when the file is optimized.
•Select the Merge fonts subsets box to merge duplicated font subsets.
Discard Objects
Click Discard Objects to determine the settings for discarding objects:
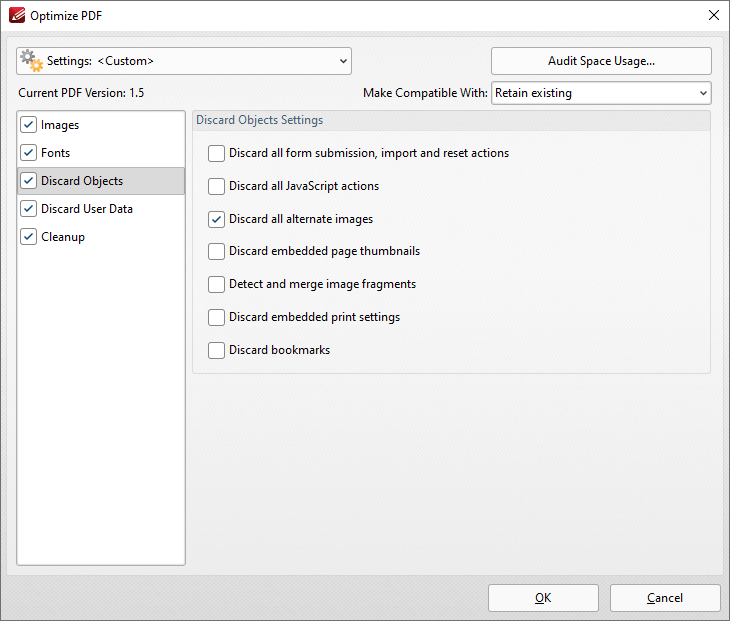
Figure 5. Optimize PDF Dialog Box, Discard Objects Tab
•Select the Discard all form submissions, import and reset actions box to remove these elements from the document.
•Select the Discard all JavaScript actions box to remove JavaScript actions from the document.
•Select the Discard all alternate images box to remove alternate images from the document. Alternate images are additional versions of existing images that may differ slightly, such as in resolution or color space.
•Select the Discard embedded page thumbnails box to remove embedded page thumbnails from the document.
•Select the Detect and merge image fragments box to merge image fragments. Note that some images are composed of fragmented sections that are spliced together. Merging these fragments will reduce the file size.
•Select the Discard embedded print settings box to discard remnant encoding in cases where documents were created with a virtual printer.
•Select the Discard bookmarks box to remove all bookmarks from the document.
Discard User Data
Click Discard User Data to determine the settings for discarding user data:
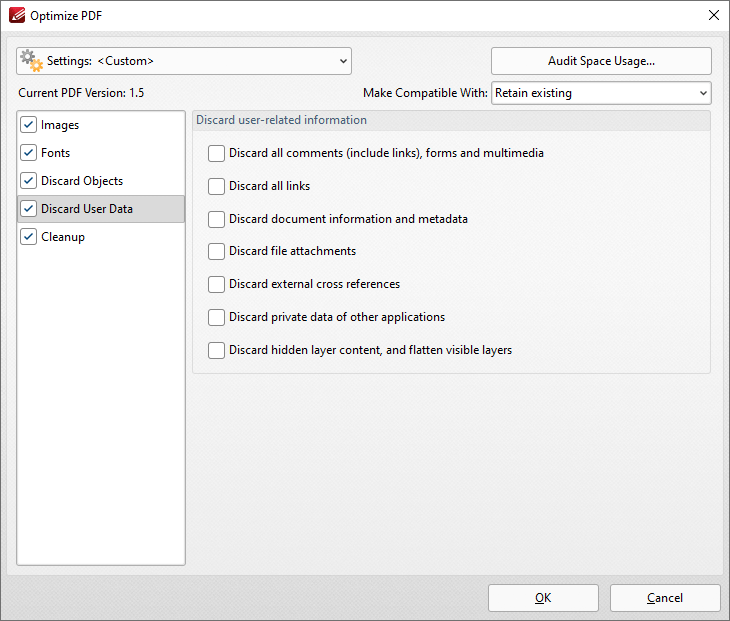
Figure 6. Optimize PDF Dialog Box, Discard User Data Tab
•Select the Discard all comments, forms and multimedia box to remove these elements from the document.
•Select the Discard document information and metadata box to remove all metadata from the document.
•Select the Discard file attachments box to remove attached/embedded files from the document.
•Select the Discard private data of other applications box to remove information from the document that is useful only to the application used to create it.
•Select the Discard hidden layer content and flatten visible layers box to remove hidden layers from the document and flatten the visible layers to base content.
Cleanup
Click Cleanup to determine cleanup options:
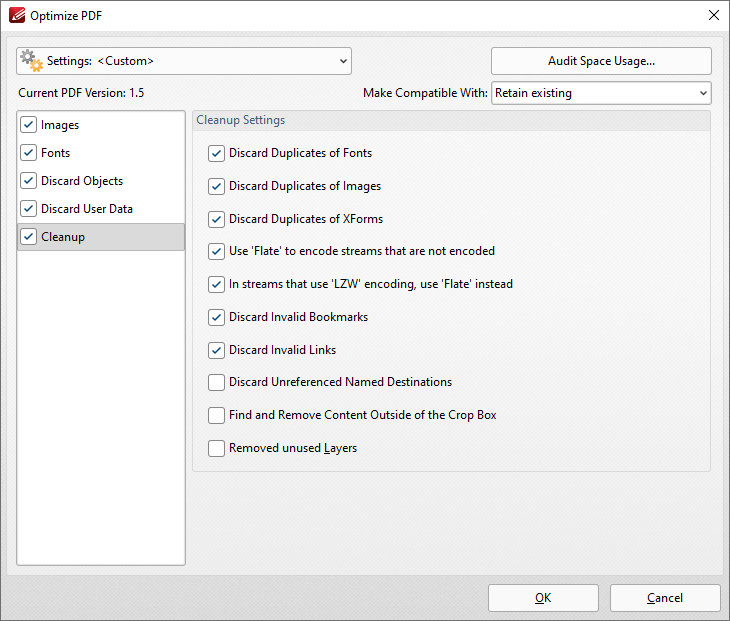
Figure 7. Optimize PDF Dialog Box, Cleanup Tab
•Select the Discard Duplicates of Fonts box to remove redundant fonts from the document.
•Select the Discard Duplicates of Images box to remove duplicate images from the document.
•Select the Discard Duplicates of XForms box to remove duplicate XForms from the document.
•Select the Use Flate to encode streams that are not encoded box to compress document information that is pending for compression.
•Select the In Streams that use LZW encoding use Flate instead box to use Flate compression instead of LZW encoding. This is recommended as Flate is compatible with a wider range of platforms.
•Select the Discard Invalid Bookmarks box to discard bookmarks that do not contain actions/valid destinations.
•Select the Discard Unreferenced Named Destinations box to remove named destinations that are not referenced in the document.
•Select the Find and Remove Content Outside of the Crop Box box to remove content outside the crop box. Note that this content is hidden when documents are displayed.
Settings
Click the Settings dropdown menu to toggle between Standard Mode, which is best for computers, and Mobile Mode, which is best for tablets and cell phones:
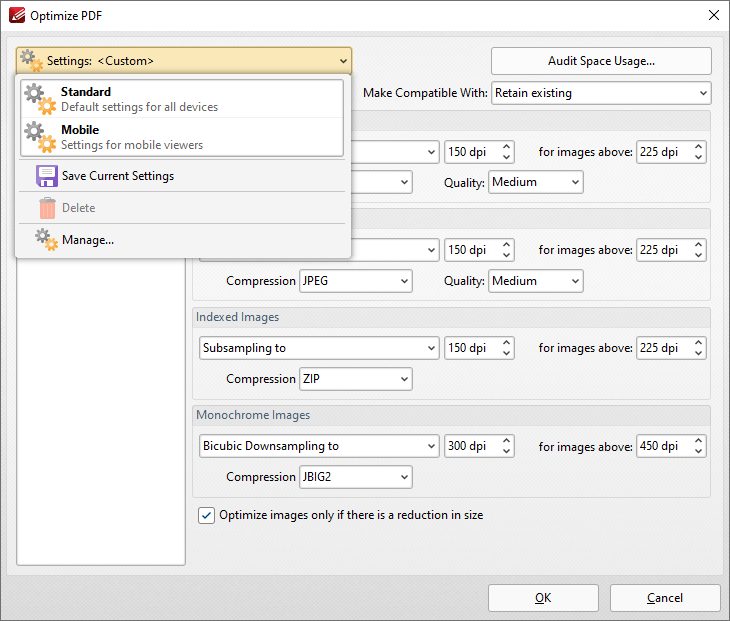
Figure 8. Optimize PDF Dialog Box, Settings Dropdown Menu
The Settings dropdown menu is also used to save, manage and delete customized settings:
•Click Save Current Settings to save custom settings for subsequent use. Saved profiles are detailed in the Settings dropdown menu.
•Click Delete to delete selected profiles.
•Click Manage to manage saved custom settings. The Manage Presets dialog box will open, as detailed below.
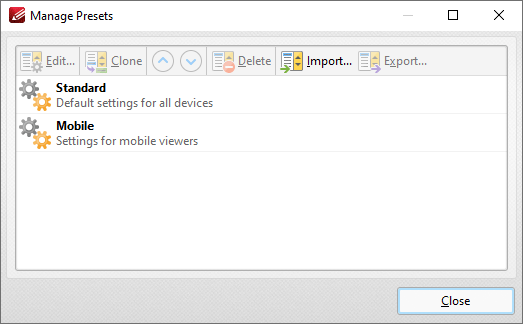
Figure 9. Manage Presets Dialog Box
•Click Edit to edit selected profiles.
•Click Clone to clone selected profiles. This makes it possible to duplicate profiles and then customize their settings whilst retaining the existing profile and its parameters.
•Use the up and down arrow to move selected profiles up or down in the list.
•Click Delete to delete selected profiles.
•Click Import to import profiles from a saved file.
•Click Export to export profiles to file.
Select an option in the Make Compatible With dropdown menu to make optimized documents compatible with specified versions of Acrobat:
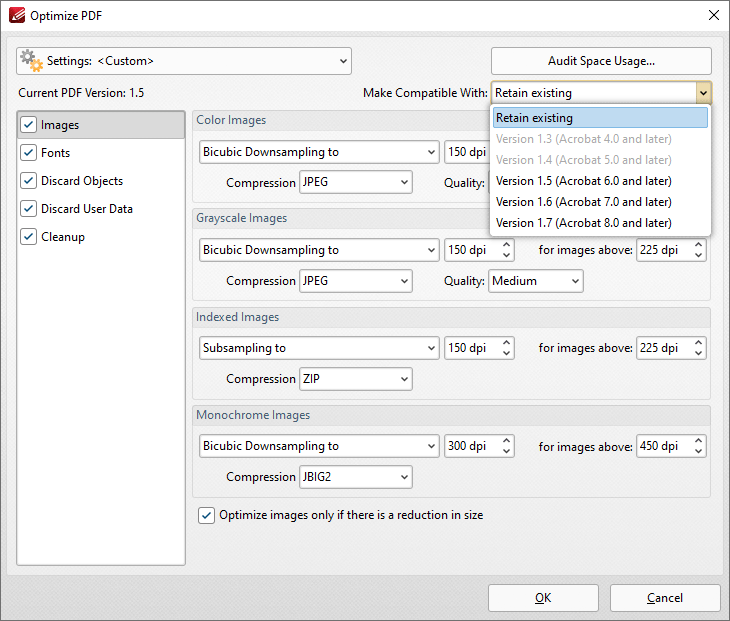
Figure 10. Optimize PDF Dialog Box, Make Compatible Dropdown Menu
Click Audit Space Usage to view a breakdown of the space used in the document.
Click OK to save changes.