 Using a Transform File to Modify an Installer
Using a transform file to modify an installer is an effective way to customize an .msi installation without using a command line-based set of options. It is also the best method to use when publishing or assigning software through an Active Directory Group Policy (and other similar approaches) that does not allow the use of command line options. Transform files can be used to define the changes required for an .msi installer.
Microsoft provides the tool Orca.exe to publish/assign software through an Active Directory Group Policy.
•The MSDN page on Orca.exe is available here.
•Instructions on how to use the Orca database editor to edit Windows installer files, and how to get Orca from the Windows installer SDK, is available here.
Creating a Transform File
This example will detail how to use a transform file to modify the PDF-XChange Editor .msi.
1. Open Orca, then click the File tab and click Open in the shortcut menu.
2. Double-click the PDF-XChange Editor .msi file. This example will use the EditorV10.x64.msi file.
The EditorV10.x64.msi file will open in Orca and a list of tables will be displayed on the left side:
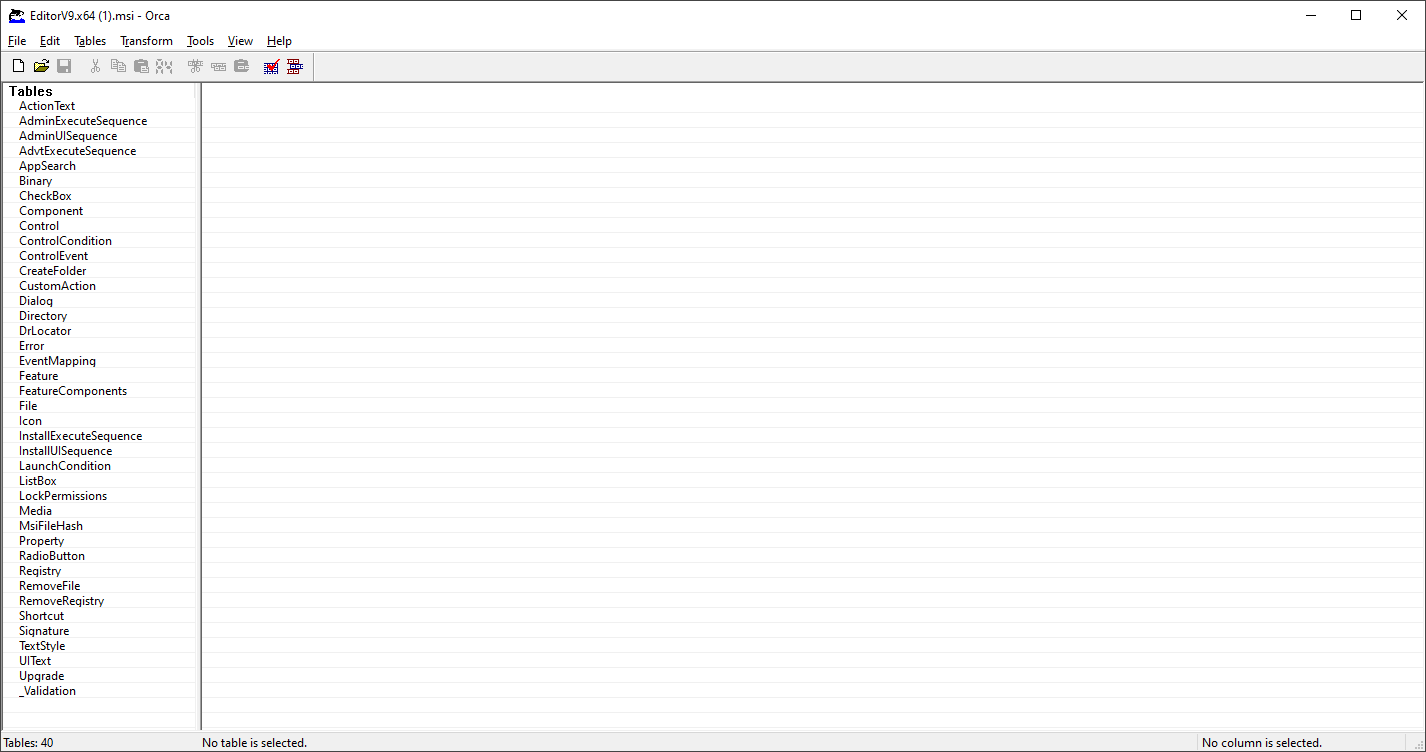
Figure 1. EditorV10.x64.msi File Open in Orca
3. Click the Transform tab, then click New Transform.
4. Click Feature in the list of tables on the left side:
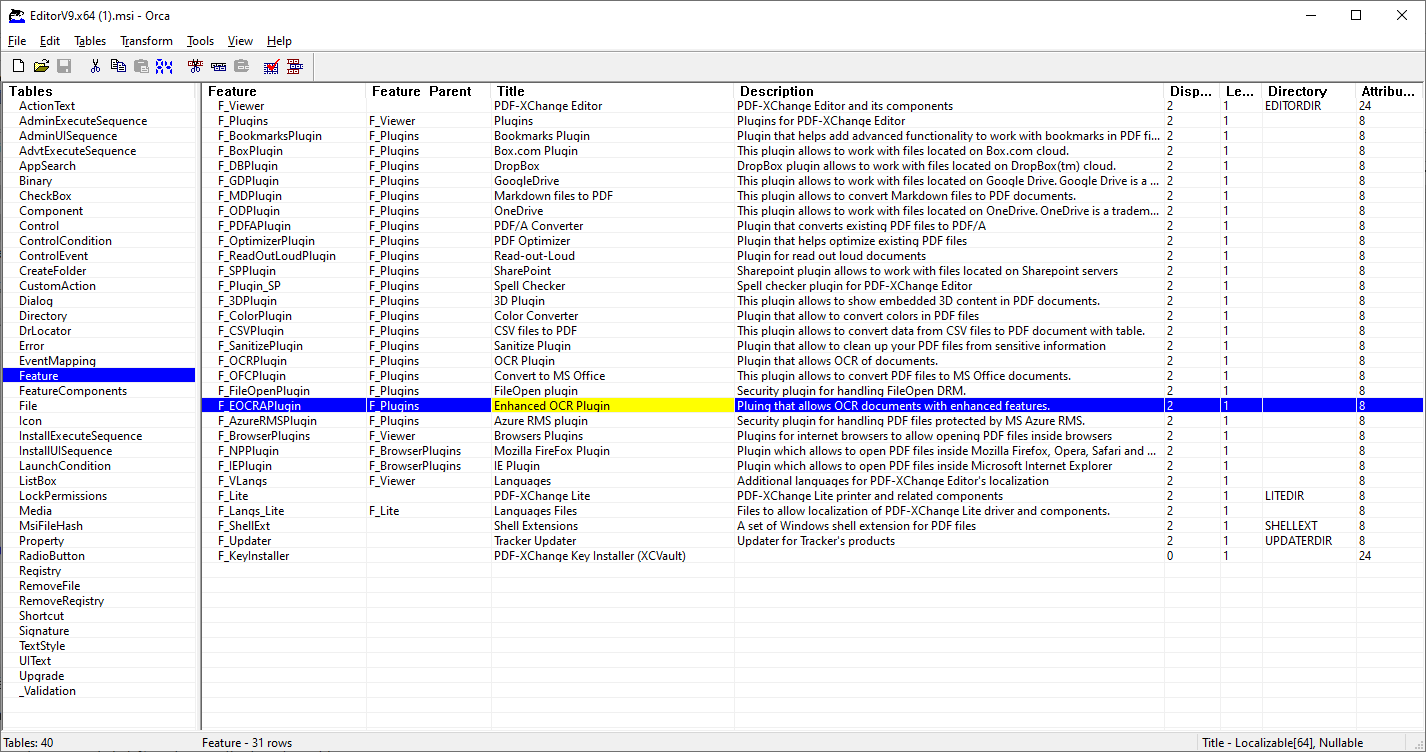
Figure 2. Orca Interface, Feature Table Selected
The features available in the .msi are detailed in the feature table. Features are nested in a parent/child relationship. If a child feature is to be installed then it is necessary for the parent feature to be installed, in the same manner as command line options. The Level value ("Le") determines whether or not features are installed - '1' means install and '0' means do not install. Note that this setup is identical to how the command line arguments used in the installers operate, as detailed here. All features are installed by default, as can be seen in (figure 2). If you want to disable the installation of a feature, then simply change the Level value from '1' to '0'. When the desired features have been enabled/disabled, proceed to the next step:
5. Click the Property table in the list of tables on the left side.
The Property table is the other table that can be used in order to make changes to the .msi This table lists the default values for properties, and it can be used to change those values and include a license key (as a string or a path to an XCVault file). A value of '1' means "true" and a value of '0' means "false". The image below details a modified Property table:
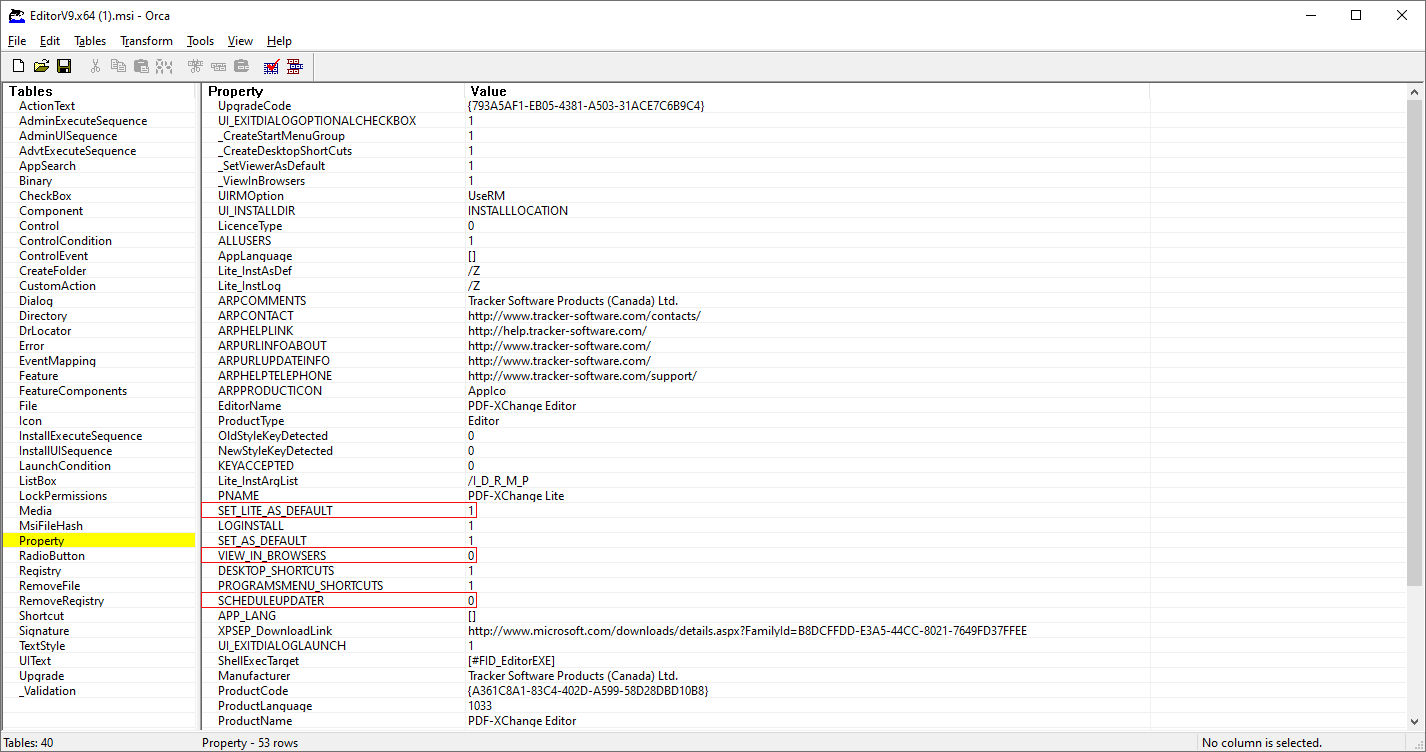
Figure 3. Modified Property Table
Changed values are highlighted in the image above:
•SET_LITE_AS_DEFAULT is set to true.
•VIEW_IN_BROWSERS is set to false.
•SCHEDULE_UPDATER is set to false.
When the desired changes have been made, it is necessary to generate a transform file to use in conjunction with the .msi file in order to apply the changes:
6. Click the Transform tab, then click New Transform, followed by Generate Transform.
The Save Transform As dialog box will open:
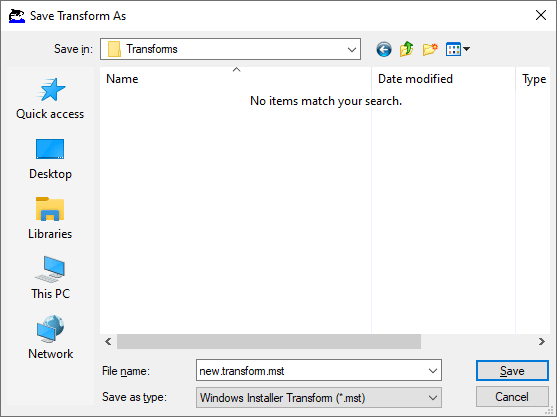
Figure 4. Save Transform As Dialog Box
7. Enter the desired name and click Save to save the transform file.
Once a transform file has been created, it can be applied during installation as follows:
msiexec /i "\path\to\EditorV10.x64.msi" TRANSFORMS="\path\to\transform.mst"
Putting a License Key into an .mst File
A new row must be created in the Property table of the .msi when a transform file is used to deploy a product with its license key. Two properties are available for this purpose: KEYDATA and KEYFILE.
KEYFILE takes the UNC path to the XCVault file as its value. This may appear to be a good option, but it results in more issues in comparison to KEYDATA. Usually these issues occur as a result of having insufficient privileges to apply the license, as msiexec.exe is usually run via a system account and permission settings are often overlooked. One solution to this issue is to grant read-access to the XCVault file for all users, but this method has obvious security drawbacks. A much better solution is to use KEYDATA instead.
KEYDATA takes the full license key as its value. There are approximately 360 characters in a license key (the exact figure varies from key to key) and the last character is always an '=' symbol. Pasting the key as the value of KEYDATA is simple and avoids the permissions issues that affect KEYFILE. This method results in significantly fewer issues and should be given preference whenever possible.
Deploying with a License Key and KEYDATA
1. Open Orca, then open the .msi file of the product.
2. Click the Transform tab, then click New Transform.
3. Click the Property table in the list of tables on the left side, as detailed above.
4. Right-click, then click Add Row in the shortcut menu (or press Ctrl+R).
The Add Row dialog box will open:
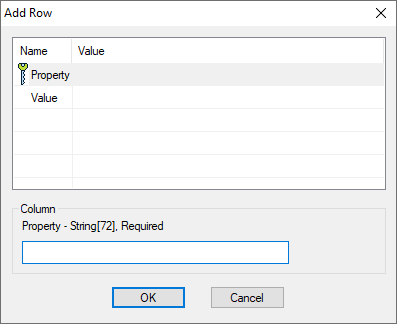
Figure 5. Add Row Dialog Box
5. Enter 'KEYDATA' in the Property box, then click to add it to the new row. The Value field will then become available.
6. Paste your key string in the Value field and click OK. (If you are using KEYFILE instead, then enter 'KEYFILE' in the PROPERTY field and enter the UNC path to the XCVault file in the VALUE field).
The KEYDATA property will then be added to the transform file:

Figure 6. KEYDATA Property Added to Transform File
7. Click the Transform tab, then click Generate Transform. The Save Transform As dialog box will open.
8. Enter the desired name and click Save to save the transform file.
If you want to customize which components are installed, then add an ADDLOCAL property row with a Value field that contains a comma-separated list of the desired components. A comprehensive list of components that can be added via ADDLOCAL and a list of other parameters that can be added to the Property table is available here:
•Switches for MSI installers in PDF-XChange Editor
•Switches for MSI installers in PDF-XChange Printer Standard
•Switches for MSI installers in the PDF-XChange PRO Bundle