 Add Digital Signature Fields to Documents
Digital signatures are used to demonstrate the authenticity of documents and increase their security. They can also be used to determine editing permissions for documents and/or utilize timestamp servers in order to further increase document security and integrity:
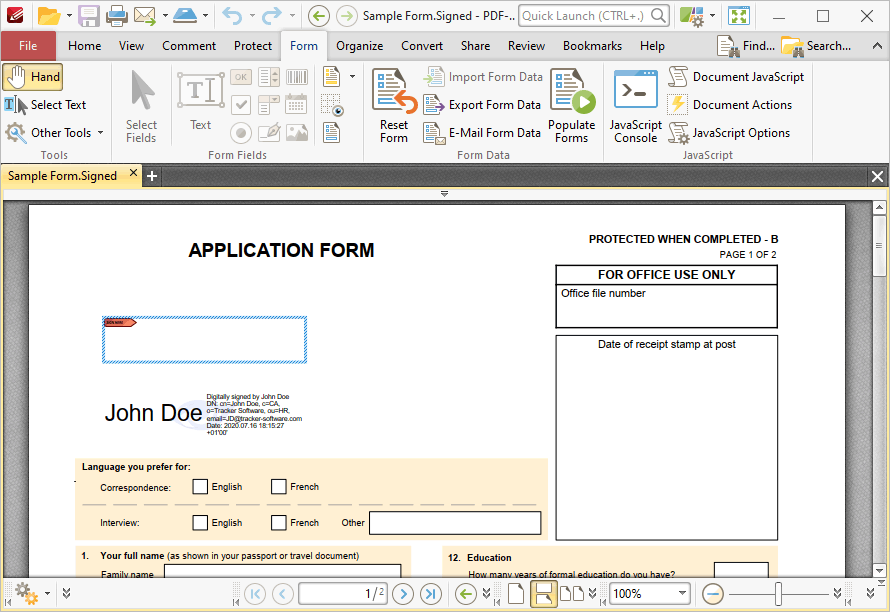
Figure 1. Example Signature Fields, Unsigned (above) and Signed (below)
The functionality of PDF-XChange Editor enables a wide range of dynamic customization for signature fields. Click the dropdowns below for further information:
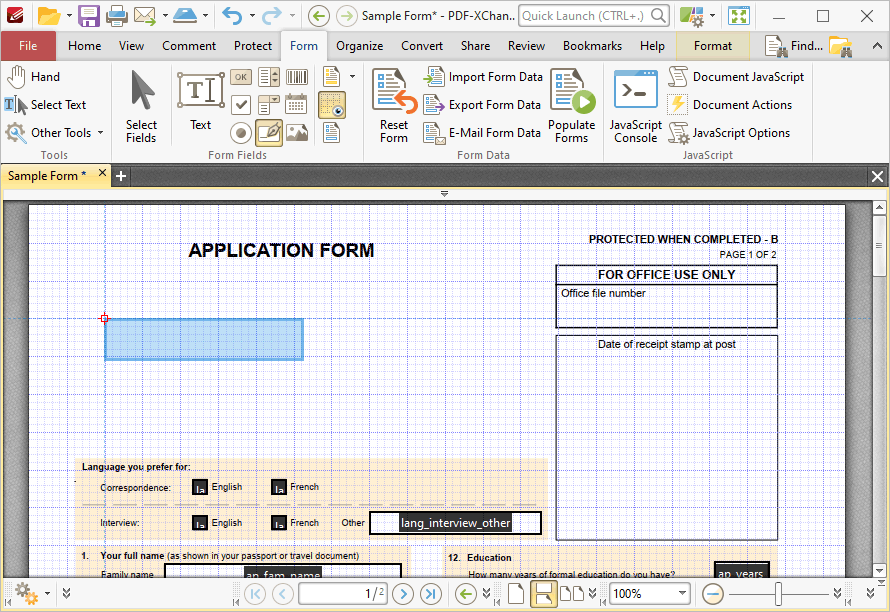
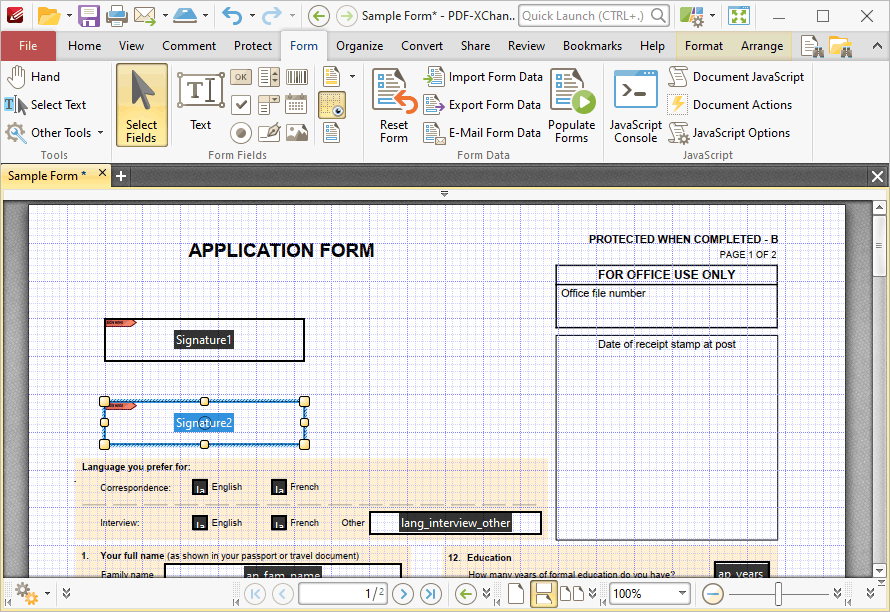
1. Click the Form tab, then click Digital Signature. A blue rectangle will be displayed at the location of the pointer. This rectangle represents the signature field:
Figure 2. Active Signature Field Tool
2. Move the rectangle to the desired location and then click to add the signature field to the document. Added signature fields appear as below:
Figure 3. Added Signature Fields
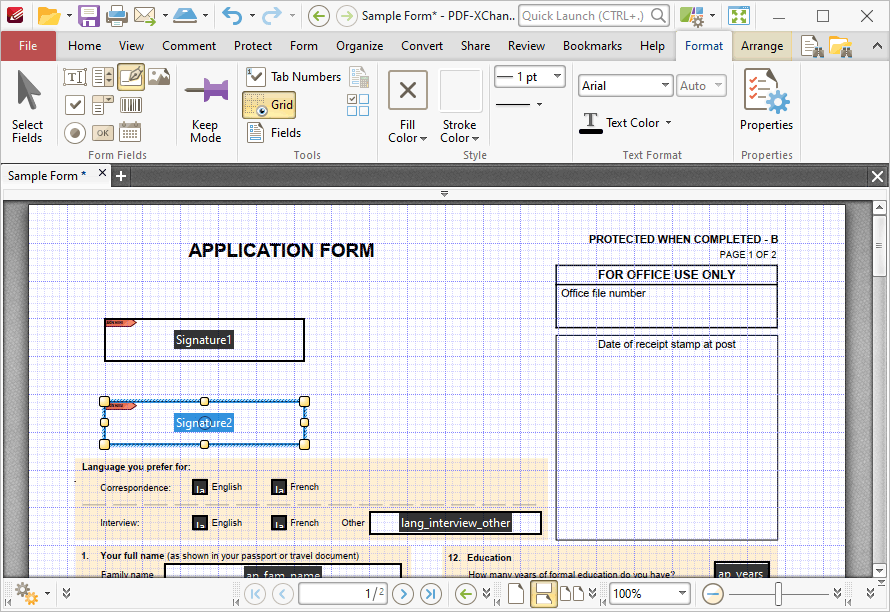
•Click and drag the yellow control points to resize signature fields. •Use the options in the Format Tab to determine the style and appearance of selected signature fields:
Figure 4. Format Tab, Signature Fields
•Click Select Fields to select and edit form fields. •Click the options in the Form Fields group to enable alternative form field formats. •Click Keep Mode to create multiple signature fields consecutively. If this option is disabled then PDF-XChange Editor will revert to the designated default tool after the creation of a single signature field. •Click Tab Numbers to show/hide the tab order numbers of form fields. •The Calculation Order setting is not available for signature fields. •Click Grid to enable/disable the grid, which is used to assist in the accurate placement of form fields, as detailed in (figure 4). •Click Create Multiple Copies to create multiple copies of selected form fields, as detailed here. •Click Fields to show/hide the Fields pane, which is used to view/edit form fields. •Click Fill Color to determine the fill color of the signature field. •Click Stroke Color to determine the border color of signature fields. •Click Width to determine the width of signature field borders. •Click Border to determine the style of signature field borders. •Use the Font and Font Size dropdown menus to determine the font and font size used when signature fields are signed. •Use the Text Color signature field to determine the color of the font used when signature fields are signed. •Click Properties to open the Digital Signature Properties pane, which enables the customization of additional elements of signature fields and is detailed in the section below. |

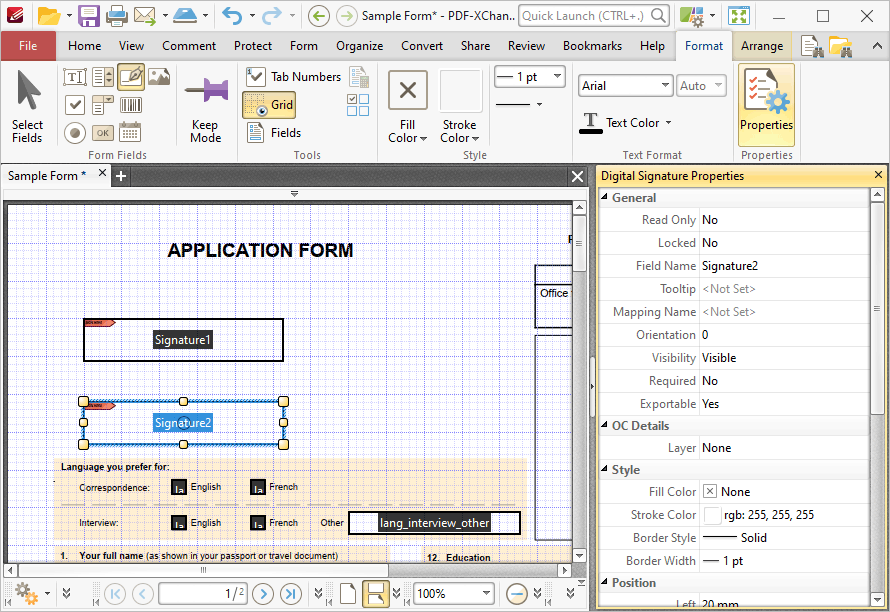
The Digital Signature Properties pane can be used to determine a range of style and functionality options for signature fields. For example, it is possible to use the Actions properties to add multiple dynamic actions to signature fields, such as running JavaScript, launching web links and opening files on the local computer. (JavaScript is a high-level programming language that can be used to perform custom operations. See here for an index of existing JavaScript operations that the PDF-XChange Editor forms can use, as well as additional information about JavaScript). Click Select Fields to select form fields, then click the desired field and click Properties in the Format tab to open the Digital Signature Properties pane:
Figure 5. Signature Field Tool, Digital Signature Properties Pane
The options detailed below are available in the Digital Signature Properties pane:
The General properties determine the general parameters of signature fields: •Read Only determines whether or not the signature field can be edited. •Locked determines whether or not signature fields can be moved, and whether or not their properties can be modified. •Field Name determines the name of the signature field. This name is present when the Edit Form tool is selected, and when signature fields are listed in the Fields pane. •Tooltip determines the information displayed when the pointer is hovered over the signature field. •Mapping Name determines the mapping name that the signature field uses. This name is used to reference interactive form data when the form is exported, and does so without affecting the appearance of the name in the original document. •Orientation determines the orientation of the signature field. •Visibility determines the visibility of the signature field. •Required determines whether or not the digital signature field is a required field. Required fields must be filled before documents that contain them can be submitted. •Exportable determines whether or not the digital signature field data can be exported from the form.
The OC Details property determines the optional content layer to which the digital signature field belongs. When a field belongs to an optional content layer, it displays only when the layer is enabled. Use the Layers pane to view/create/edit layers, as detailed here.
The Style properties determine stylistic elements of signature fields. They are detailed beneath (figure 4).
The Position properties determine the position and dimensions of signature fields: •Left determines the distance of the signature field from the left margin. •Top determines the distance of the signature field from the bottom of the page. •Width/Height determine the width/height of the signature field.
The Default Text Format properties determine the default properties when text is entered into the signature field: •Font determines the font used for digital signature fields. •Font Size determines the size of the font. •Text Color determines the color of the text.
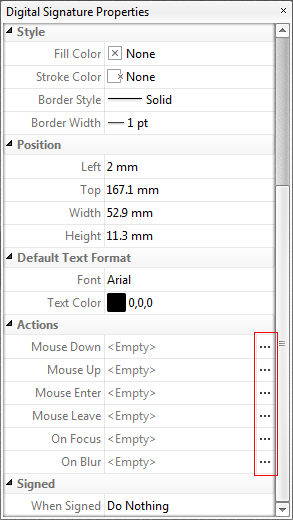
The Actions properties determine the action taken when users interact with the signature field: •Mouse Down initiates an action when the left mouse button is pressed (without being released). •Mouse Up initiates an action when the left mouse button is clicked (pressed and released). •Mouse Enter initiates an action when the pointer moves into the signature field. •Mouse Leave initiates an action when the pointer moves out of the signature field. •On Focus initiates an action when the signature field is selected. •On Blur initiates an action when the signature field is deselected. •Click the ellipsis icon on the right of actions to add/edit signature field actions:
Figure 6. Digital Signature Properties Pane, Action Ellipses
The process of adding actions is detailed here.
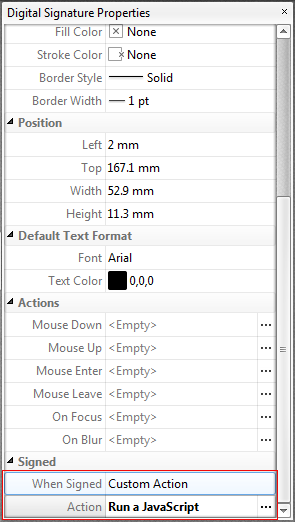
The When Signed property determines the action taken when signature fields are signed: •Do Nothing determines that no action is taken. •Custom Action enables the activation of custom JavaScript when signature fields are signed. When this option is selected the Action property will appear. Click the ellipsis icon on the right of the property to add JavaScript:
Figure 7. Digital Signature Properties Pane, Action Property
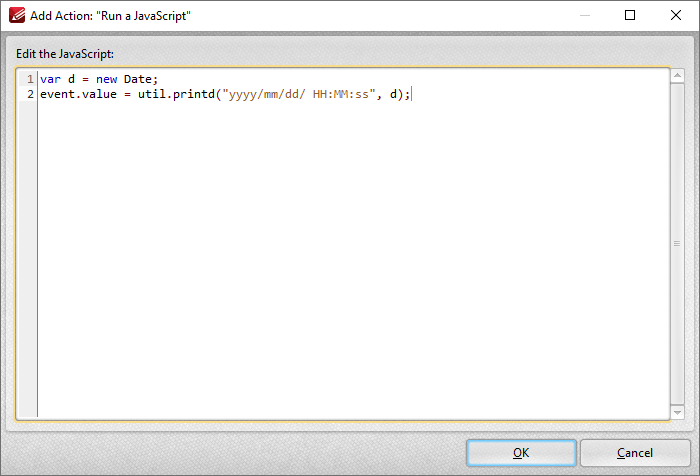
The Edit Action: "Run a JavaScript" dialog box will open. Enter the desired JavaScript for the action and then click OK:
Figure 8. Edit Action: "Run a JavaScript" Dialog Box
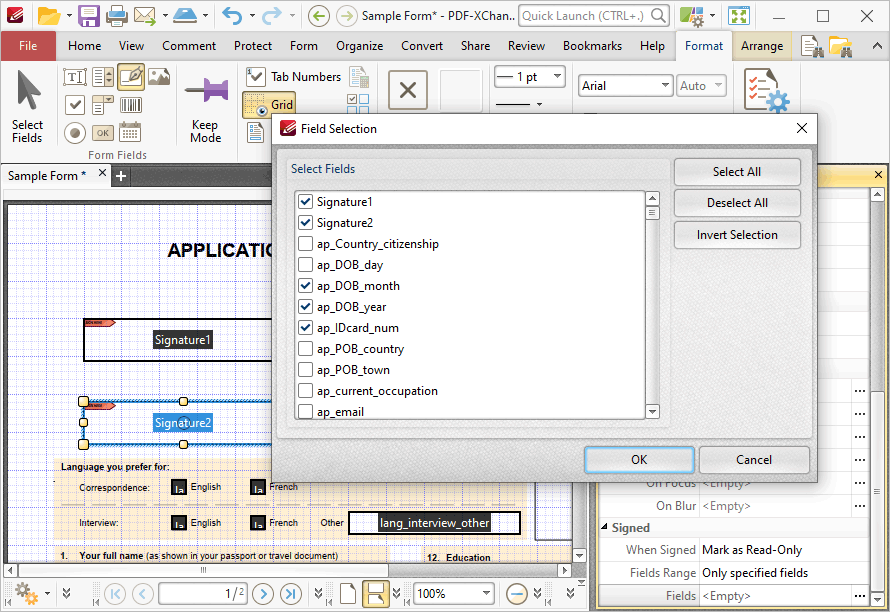
•Mark as Read-Only sets specified fields as read-only in order to disable subsequent editing. When this option is selected, the Fields Range property will appear beneath the When Signed property:
Figure 9. Mark as Read-Only Options
•Select All fields to set all fields in the document as read-only. •Select Only specified Fields to specify the fields that are set as read-only. •Select All fields except specified to specify the fields that are not set as read-only.
The Fields property will become available when an option to specify fields is selected. Click the ellipsis icon on the right of the property to specify fields. The Field Selection dialog box detailed in (figure 9) will open. Select the desired fields and then click OK.
|
The following example will detail the creation of a signature field that displays a tooltip when the pointer is hovered over it, and creates a bookmark for the current page when it is clicked:
1. Click the Form tab, then click Digital Signature. The blue rectangle that represents the signature field will be displayed beneath the pointer:
Figure 10. Active Signature Field Tool
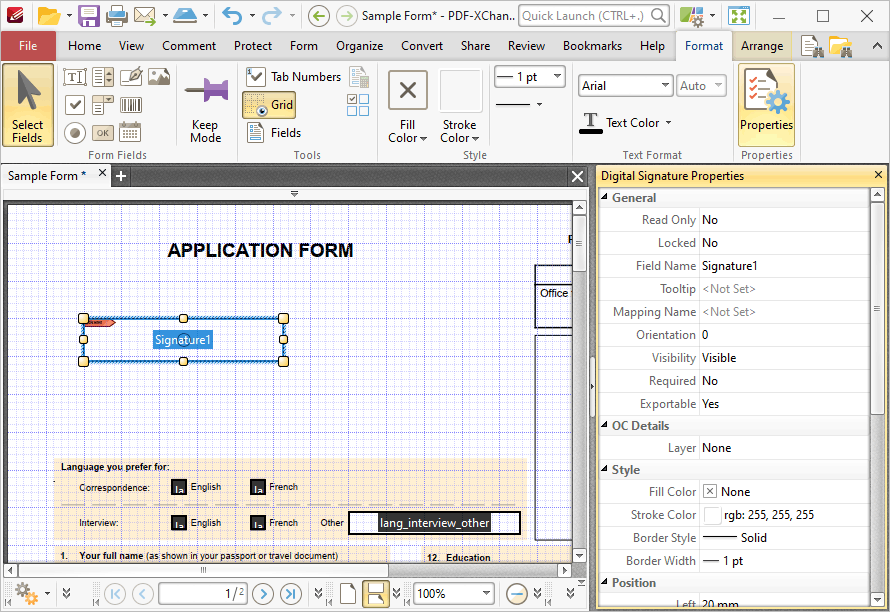
2. Click to add the signature field, then click the Format tab and click Properties. The Digital Signature Properties pane will open:
Figure 11. Active Signature Field Tool, Digital Signature Properties Pane
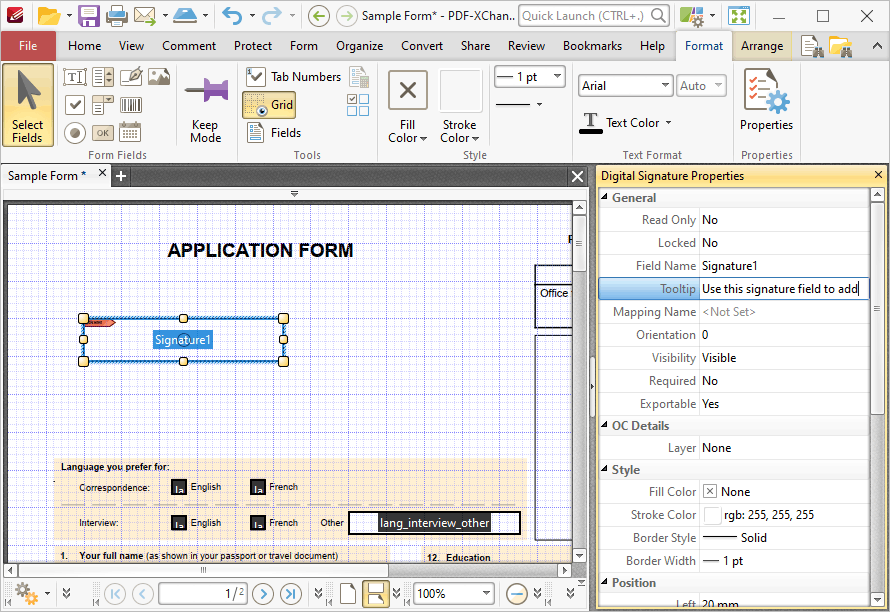
3. Click the Tooltip property and enter the desired text for the tooltip:
Figure 12. Digital Signature Properties Pane, Tooltip Property
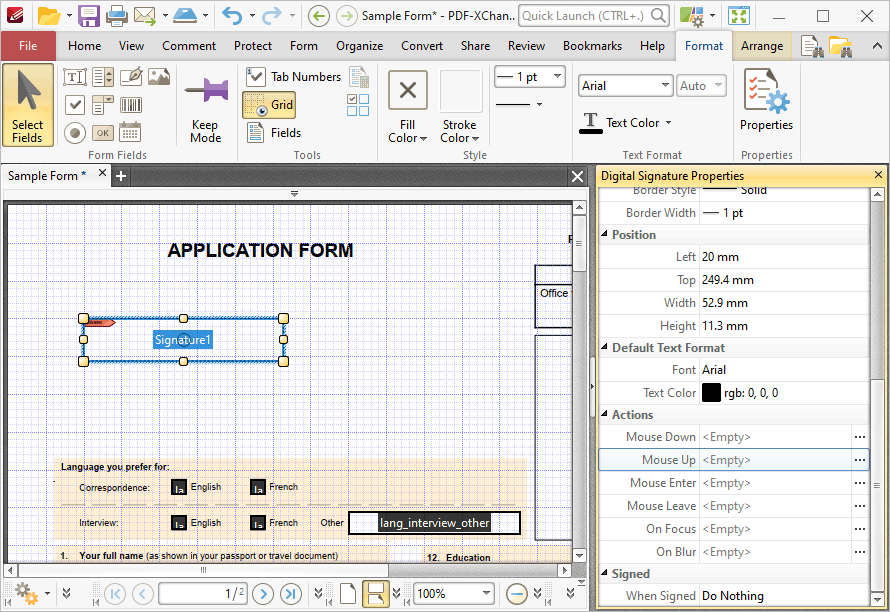
4. Scroll down the Digital Signature Properties pane to the Actions properties and click the ellipsis icon on the right of the Mouse Up property:
Figure 13. Digital Signature Properties Pane, Mouse Up Property
The Edit Action List dialog box will open.
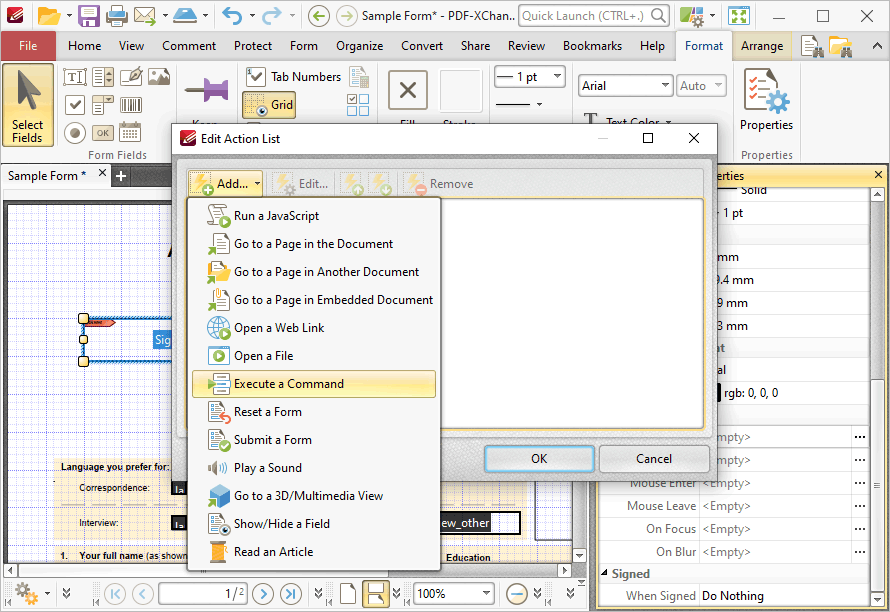
5. Click Add in the Edit Action List dialog box and then click Execute a Command in the dropdown menu:
Figure 14. Edit Action Dialog Box, Execute a Command
The Add Action: "Execute a Command" dialog box will open.
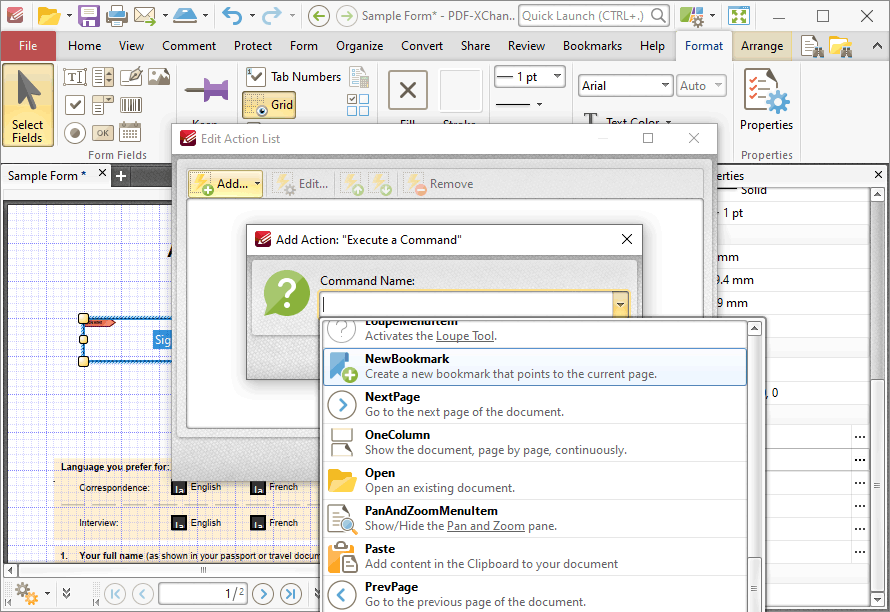
6. Click the dropdown menu, then scroll down to and click the NewBookmark command:
Figure 15. New Bookmark Command
7. Click OK in the Add Action: "Execute a Command" and Edit Action List dialog boxes.
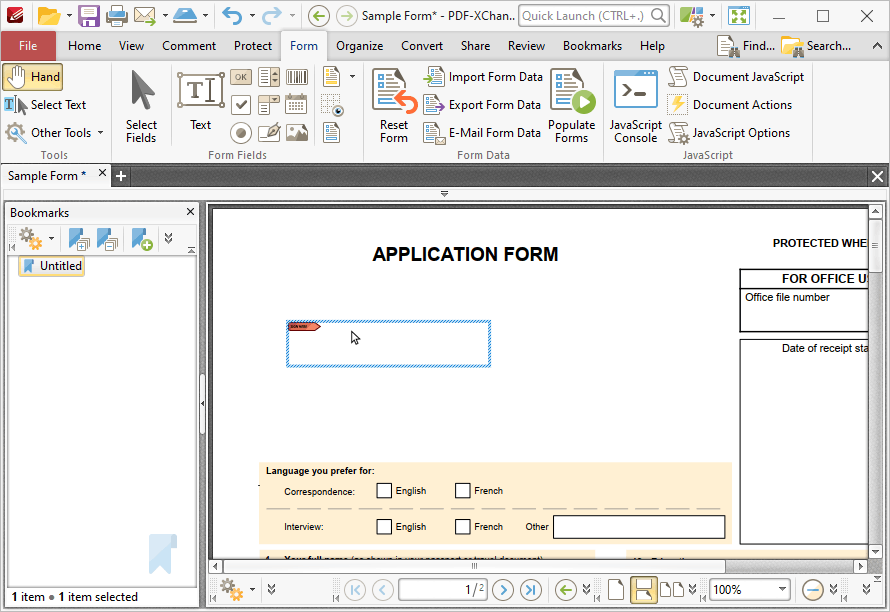
The signature field is then complete. The tooltip entered at step three will be present when the pointer is hovered over the signature field:
Figure 16. Active Tooltip
A new bookmark is created for the current page when the signature field is clicked:
Figure 17. New Bookmark Created |