 3D Model Tree
Click 3D Model Tree to open the 3D Model Tree pane:
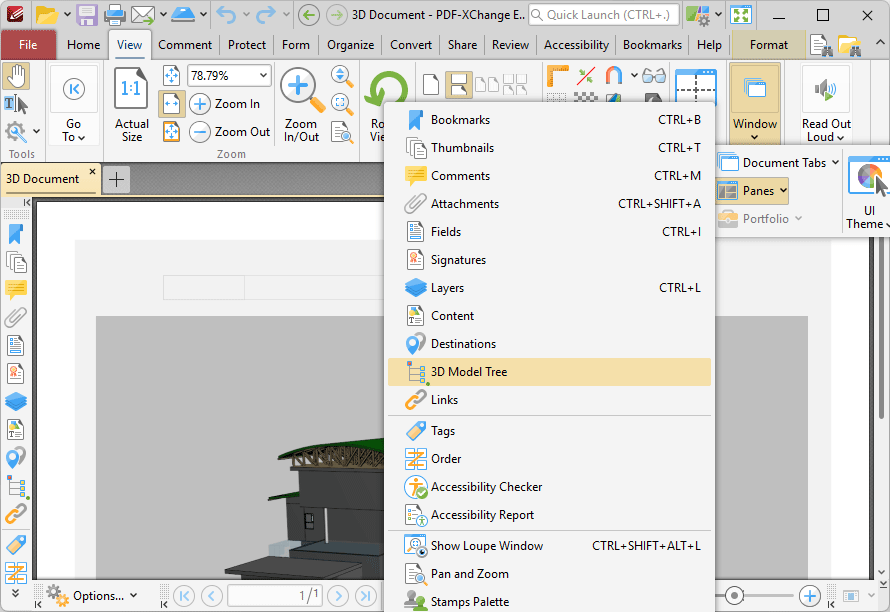
Figure 1. View Tab, Panes Dropdown Menu, 3D Model
The 3D Model Tree pane displays a hierarchical list of 3D content in documents:
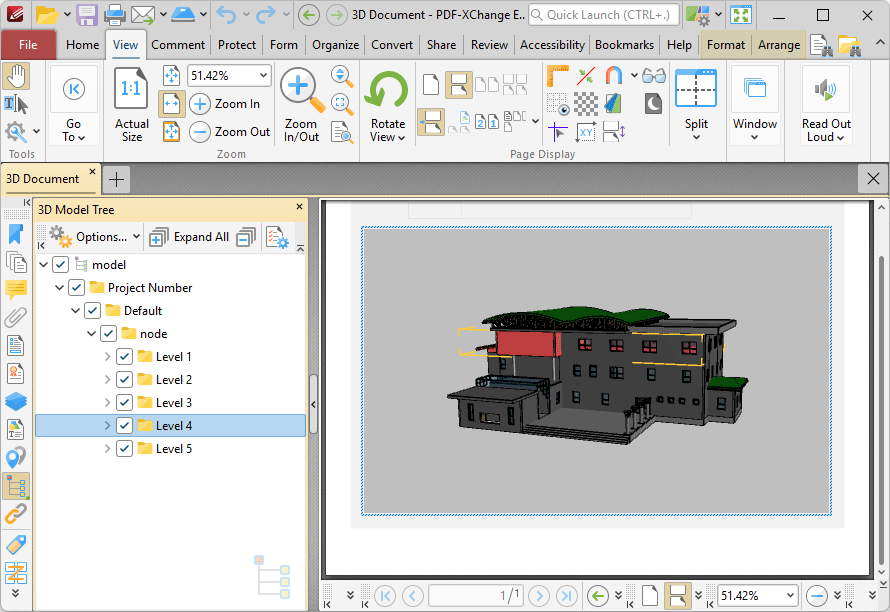
Figure 2. 3D Model Tree Pane
Note that it is necessary to click 3D content in order to select/activate them in documents. If 3D content is not selected then the 3D Model Tree pane will be empty.
Click items in the 3D Model Tree pane to select them in the document. Use the icons in the 3D Model Tree pane to perform the following operations:
Click ![]() Expand All to expand all branches in the 3D Model Tree hierarchy.
Expand All to expand all branches in the 3D Model Tree hierarchy.
Click ![]() Collapse All to collapse all branches in the 3D Model Tree hierarchy.
Collapse All to collapse all branches in the 3D Model Tree hierarchy.
Click ![]() Properties to view/edit the properties of selected content. The 3D Properties pane will open. This pane details the status of properties for selected content:
Properties to view/edit the properties of selected content. The 3D Properties pane will open. This pane details the status of properties for selected content:
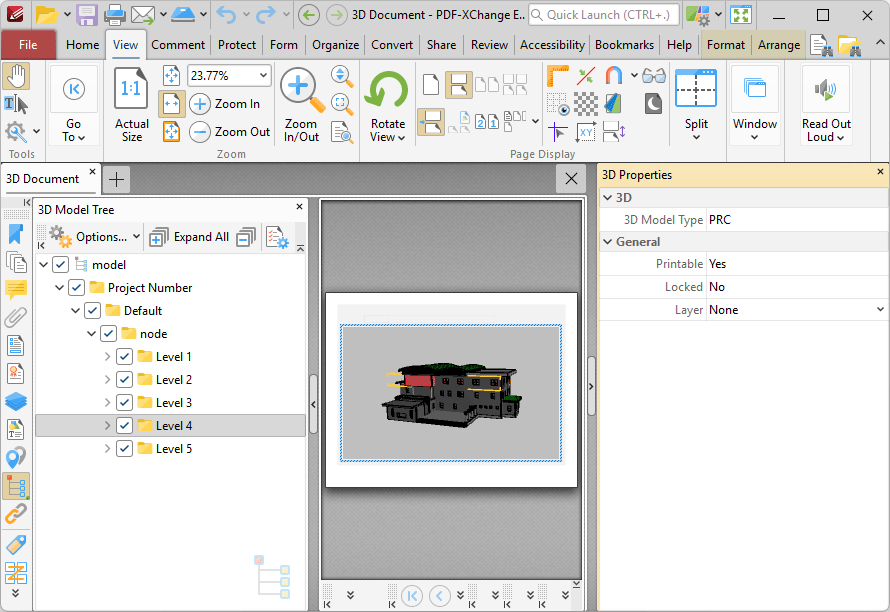
Figure 3. 3D Properties Pane
Click to edit properties as desired. Please note that not all properties are editable. The following properties are available for 3D content:
•3D Model Type displays the file format of the 3D content.
•Printable displays the print status of the 3D content. If this property is enabled then the comment is printed with the document. If this property is not enabled then it is not printed.
•Locked determines the locked status of the 3D content. If this property is enabled then the content cannot be deleted and its properties (including its position and size) cannot be modified by users.
•Layer determines the optional content layer to which the 3D content belongs. Further information about layers is available here.
Click ![]() for 3D content item options:
for 3D content item options:
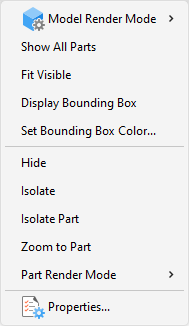
Figure 4. 3D Content Options
•Hover over Model Render Mode to view/select alternative rendering modes for the 3D content.
•Click Show All Parts to display all parts of the 3D content in the document.
•Click Fit Visible to zoom the view in order to display all 3D content.
•Click Display Bounding Box to display a bounding box around the 3D node selected in the 3D Model Tree pane.
•Click Set Bounding Box Color to change the color of the bounding box around the 3D content.
•Click Hide to hide the node of the 3D content selected in the 3D Model Tree pane.
•Click Isolate to display only the node of the 3D content selected in the 3D Model Tree pane.
•Click Isolate Part to display only the part of the 3D content selected in the 3D Model Tree pane. Note that parts are the parents of nodes in the 3D Model Tree pane.
•Click Zoom to Part to zoom to the part selected in the 3D Model Tree pane.
•Hover over Part Render Mode to view/select alternative rendering modes for the part of 3D content selected in the 3D Model Tree pane.
•Click Properties to open the 3D Properties pane, as detailed above.
Viewing and Editing 3D Content
A range of options are available in PDF-XChange Editor for viewing and editing 3D content. When you open a document that contains 3D content in PDF-XChange Editor and hover the pointer over it, you will be given the option to activate it:
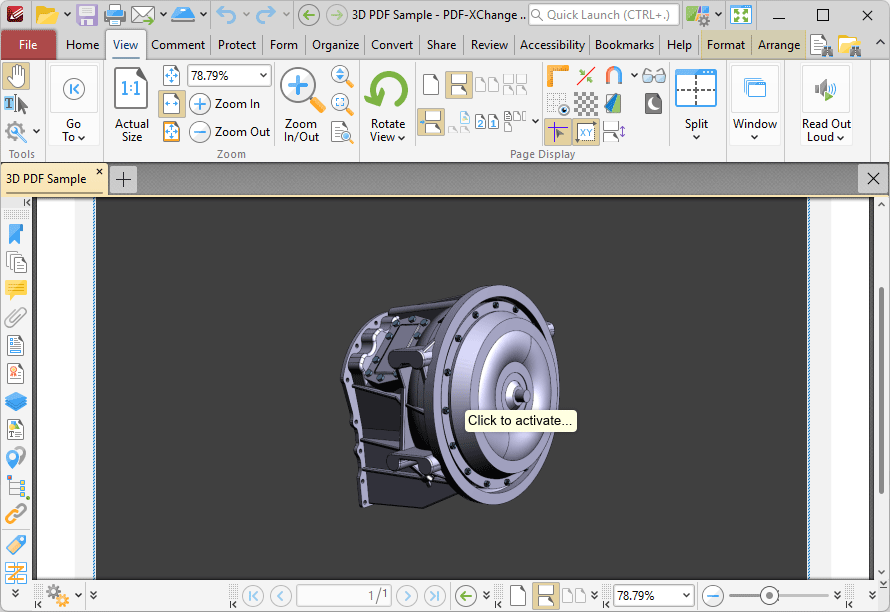
Figure 5. Option to 'Click to Activate' in PDF-XChange Editor
When you click to activate the 3D content, a document information bar will appear at the top of the screen. Click the Options dropdown menu, then click one of the options to activate the 3D content:
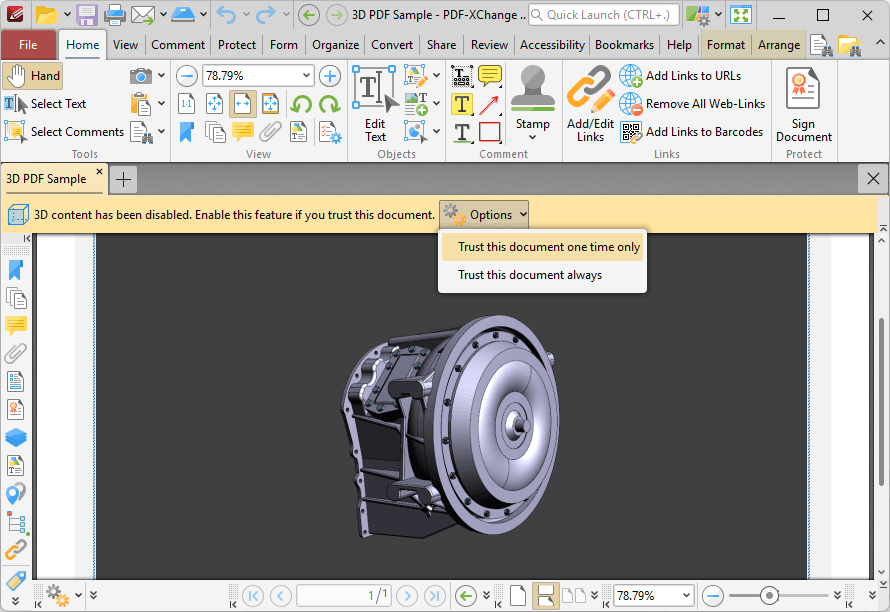
Figure 6. 3D Content Info Bar Dropdown Menu Options
After you have selected an option in the dropdown menu you can right-click the content:
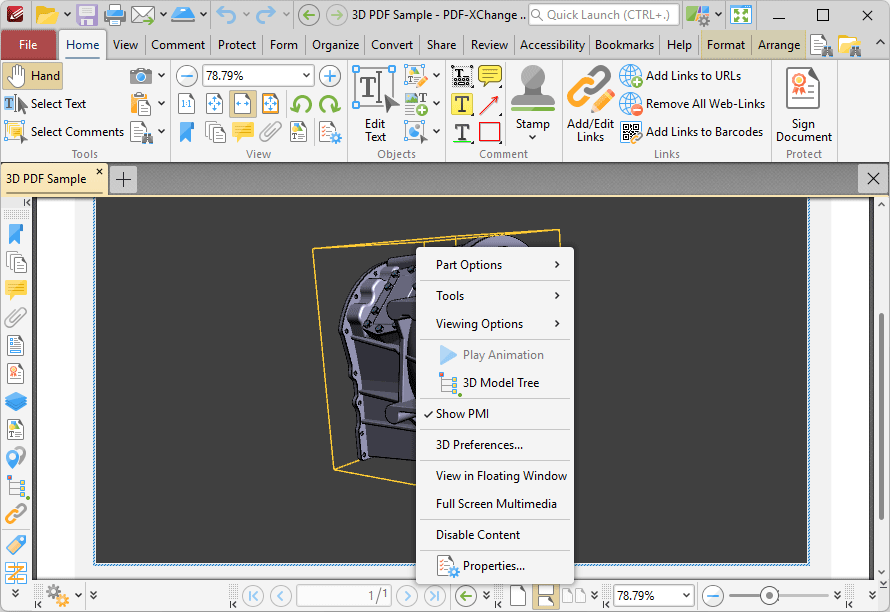
Figure 7. 3D Content Dropdown Menu Options
You can use the options to view/edit 3D annotations in PDF-XChange Editor:
•Hover over Part Options to view options for the part currently selected in the document. Note that You can double-click annotation parts, or click them in the 3D Model Tree pane, in order to select them.
•Click Show All Parts to view all annotation parts.
•Click Fit Visible to fit the annotation to the edges of the bounding box in which it is contained.
•Click Hide to hide selected annotation parts.
•Click Isolate to view only selected annotation parts.
•Click Isolate Part to view only the selected annotation part.
•Click Zoom to Part to zoom in on selected annotation parts.
•Click Make Transparent to make selected annotation parts transparent.
•Click Part Render Mode to determine how selected annotation parts are rendered, then select the desired option in the dropdown menu.
•Hover over Tools to view/select tools to assist in viewing annotations:
•Click Rotate to rotate annotations when the mouse is clicked and dragged. This option turns 3D objects around relative to the screen. Objects move depending on the starting view, the location at which you start dragging, and the direction in which you drag when this option is enabled.
•Click Spin to spin annotations when the mouse is clicked and dragged. This option turns 3D models in parallel to the x-axis and the z-axis of the 3D model.
•Click Pan to click and drag the entire annotation when the mouse is clicked and dragged. This option moves models either vertically or horizontally.
•Click Fly to navigate through the annotation whilst maintaining the surface orientation.
•Click Zoom to zoom in on/out from the annotation.
•Hover over 3D Measurement Tool to select options for using 3D measurements on annotations:
•Click Linear to perform linear measurements on annotations, then click and drag to create the measurement.
•Click Perpendicular to measure distances between two edges taken at a right angle to the starting edge, then click and drag to perform the measurement.
•Click Radial to perform radius measurements, then click and drag to determine the radius. Move the pointer to determine the circle, then drag the pointer again to determine the radial measurement.
•Click Angular to perform angular measurements between two edges, then click and drag to determine the two points. Drag again to determine the angle, then click to confirm it. Drag the pointer a final time to specify the angle measured, then click to confirm it.
•Click Snap to Endpoints/Edges/Radial/Silhouettes/Faces to snap to these elements of annotations when performing 3D measurements.
•Click Add 3D Comment to add a 3D comment to measurement annotations. The Enter Comment String dialog box will open when 3D measurements are added to document and this option is enabled. Enter the desired text in the 3D Comment box and click OK to add the 3D comment.
•Click Camera Properties to manually adjust camera properties when viewing 3D documents. These properties determine the view of the document.
•Click Show Toolbar to open the 3D toolbar, which provides shortcuts to many of the features detailed above. This toolbar is detailed in the section below.
•Hover over Viewing Options to view/select viewing options:
•Click Use Perspective/Orthographic Projection to determine the type of projection used to display 3D documents.
•Hover over Model Render Mode to view/select rendering modes for the 3D document.
•Hover over Lighting Scheme to view/select lighting schemes for viewing the 3D document.
•Hover over Background Color to view/select a background color for the 3D document.
•Click Cross Section Properties to view/edit cross section properties.
•Click 3D Model Tree Pane to open the pane detailed above.
•Click 3D Preferences to open the Multimedia 3D preferences, as detailed here.
•Click View in Floating Window to view 3D content in a separate floating window in PDF-XChange Editor.
•Click Full Screen Multimedia to view the 3D document in full screen mode. You can view and manipulate 3D content using the 3D toolbar detailed below.
•Click Disable Content to disable 3D content from being manipulated and edited.
•Click Properties to view/edit the properties of 3D content.
Using the 3D Toolbar
You can also use the 3D toolbar as a quick way to access many of the features detailed above:
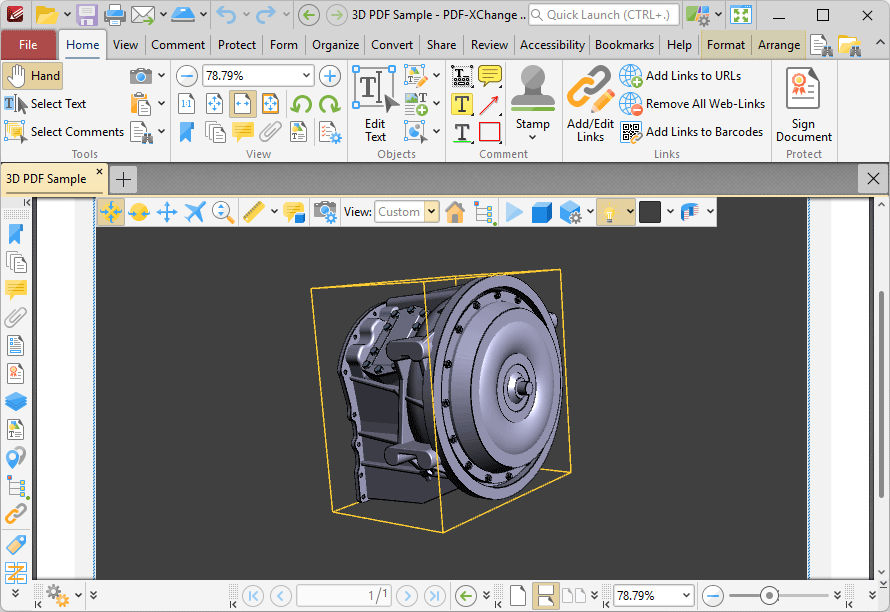
Figure 8. 3D Toolbar