 Security
The Security settings are used to add/edit document passwords and permission settings in printed documents:
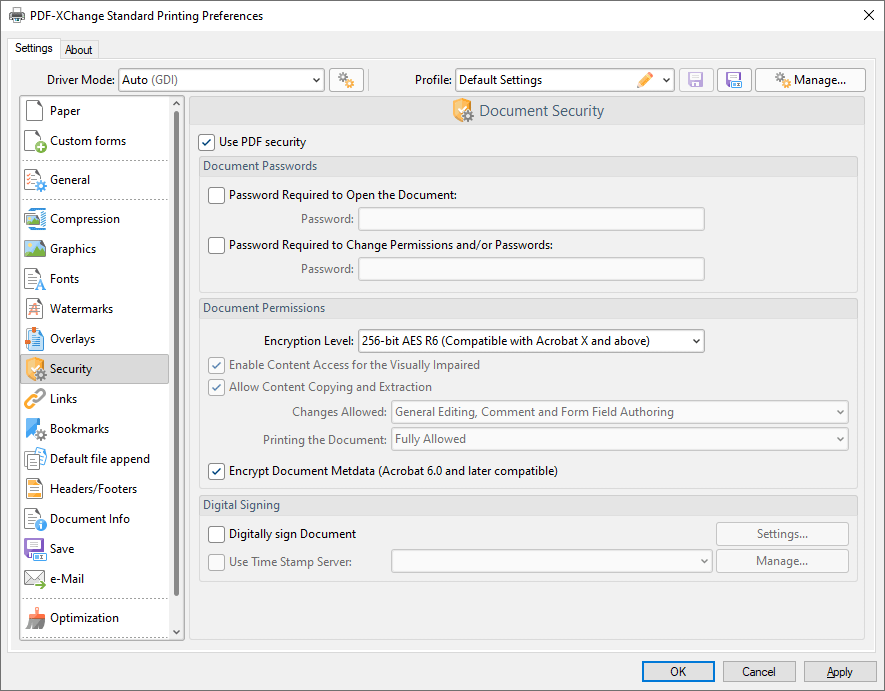
Figure 1. Security Settings Dialog Box
•Select the Use PDF security box to add passwords and permissions settings to printed documents.
•Select the Password Required to Open the Document box to set a document password, then enter the password in the Password text box.
•Select the Password Required to Change Permissions and/or Passwords box to set a password for changing the permission settings and/or passwords of printed documents, then enter the password in the Password text box.
•Select an option from the Encryption Level dropdown menu to determine the encryption level of printed documents.
•Select the Document Permissions check boxes to set permissions as desired.
•Select the Digitally sign Document box to add a digital signature to printed documents. Click Settings to determine digital signature settings. The Digital Signature dialog box will open, as detailed in (figure 4) below.
•Select the Use Timestamp Server box to include time stamp verification in digital signatures. Click Manage to add/view/edit time stamp servers. The Time Stamp Servers List dialog box will open:
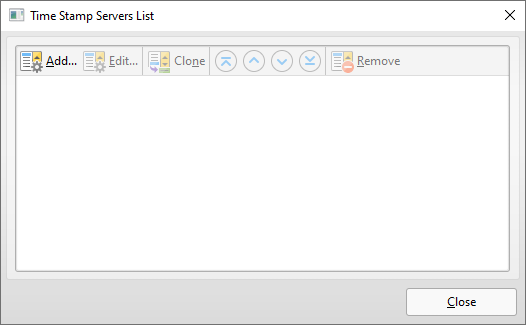
Figure 2. Time Stamp Servers List Dialog Box
Added time stamp servers are detailed in the dialog box. Click to select time stamp servers. Click Add/Edit to add/edit time stamp servers. The Time Stamp Server dialog box will open:
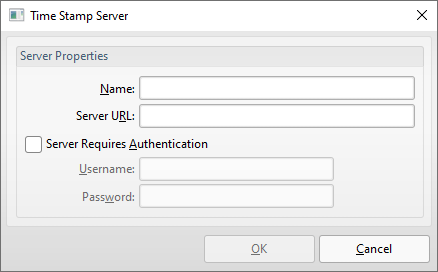
Figure 3. Time Stamp Server Dialog Box
•Use the Name text box to add/edit the name of time stamp servers.
•Use the Server URL text box to add/edit the URL of time stamp servers.
•If it is necessary to log in to the time stamp server then select the Server Requires Authentication box and enter the login details in the Username and Password text boxes.
Click OK to save time stamp servers.
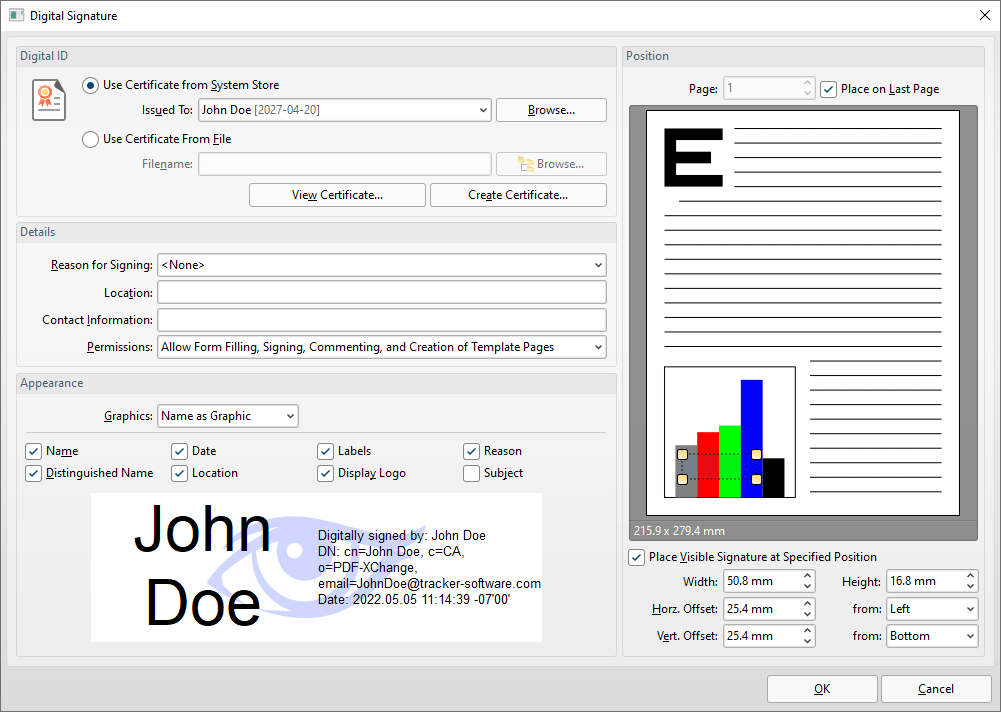
Figure 4. Digital Signature Dialog Box
•Select the Use Certificate from System Store option to use a certificate from the system store. Click the dropdown menu to select a certificate, or click Browse to select one manually.
•Select the Use Certificate From File option to use a certificate saved on the local computer. Enter the filename of the certificate in the Filename text box, or click Browse to select a certificate manually.
•Click View Certificate to view selected certificates.
•Click Create Certificate to create new certificates, as detailed in (figure 5) below.
•Use the Details options to edit digital signature details:
•Select an option in the Reason for Signing dropdown menu to add a reason for signing the document.
•Use the Location and Contact Information text boxes to add a location and/or contact information as desired.
•Select an option in the Permissions dropdown menu to determine permissions in printed documents as desired.
•Use the Appearance options to determine the appearance of digital signatures:
•Select an option from the Graphics dropdown menu to determine the graphical element of digital signatures:
•Select No Graphic to omit the graphical element of the digital signature.
•Select Name as Graphic to use the name of the signer as the graphic for the digital signature.
•Select Image from File to select a file manually, then click the ellipsis icon on the right of the text box to select an image.
•Select the Appearance check boxes to determine the details displayed with the digital signature as desired.
•Use the Position pane to determine the size and location of digital signatures:
•Use the Page number box to determine the page on which the digital signature is placed, or select the Place on Last Page to place signatures on the last page of printed documents.
•Select the Place Visible Signature at Specified Position box to add a visible signature, then use the number boxes to specify the position of signatures in printed documents. Alternatively, click and drag the bounding box in the image preview to place digital signatures manually. Click and drag the yellow control points to change the dimensions of the digital signature field.

Figure 5. Create Self-Signed Digital ID Dialog Box
•Enter the desired details of the new digital ID in the Name, Organization Unit, Organization Name and Email Address text boxes.
•Select the desired country from the Country/Region dropdown menu.
•Select a key algorithm in the Key Algorithm dropdown menu.
•Select an option in the Use Digital ID For dropdown menu to determine how the digital ID will be used.
•Select either Windows Certificate Store or NewPKCS#12 Digital ID File for the location at which the digital ID is saved. If the NewPKCS#12 Digital ID File option is used, then enter and confirm a password for the digital ID in the text boxes.
Click OK to save new digital IDs.