 Rulers, Guides and Grid
These features are used to assist in the accurate placement and measurement of document content.
Rulers
Click the View tab, then click Show Rulers to enable/disable rulers:
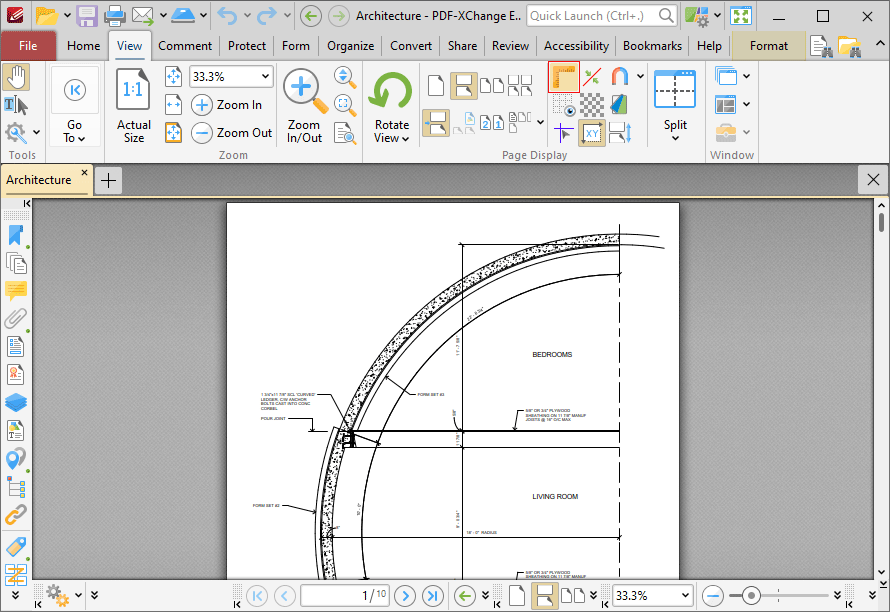
Figure 1. View Tab, Show Rulers
Rulers will then be displayed in the main window:
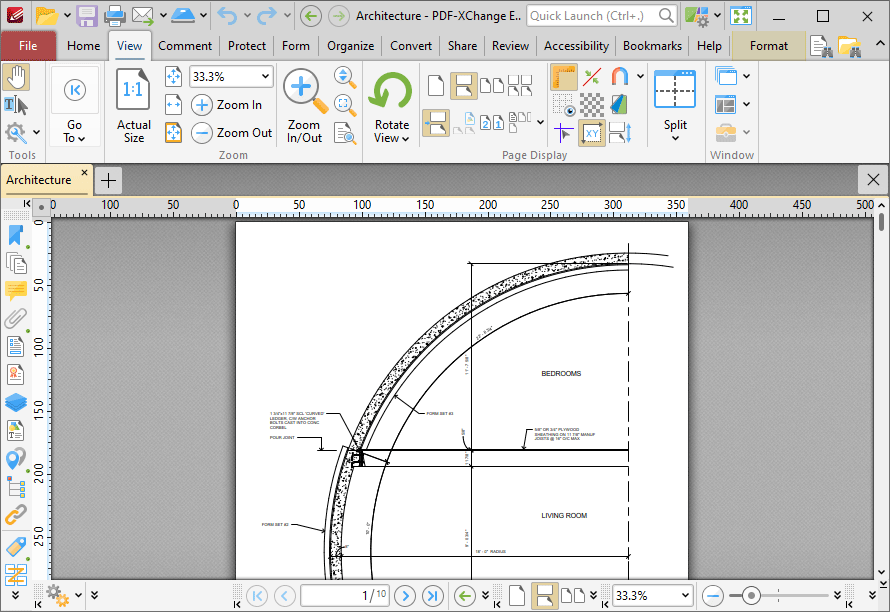
Figure 2. View Tab, Show Page Size/Position Feature and Output Highlighted
Note that the units of measurement used for rulers can be specified in the Measurement preferences.
Guides
Guides are used to assist in the accurate placement of document content.
Click the View Tab, then click Show Guides to enable/disable guides:
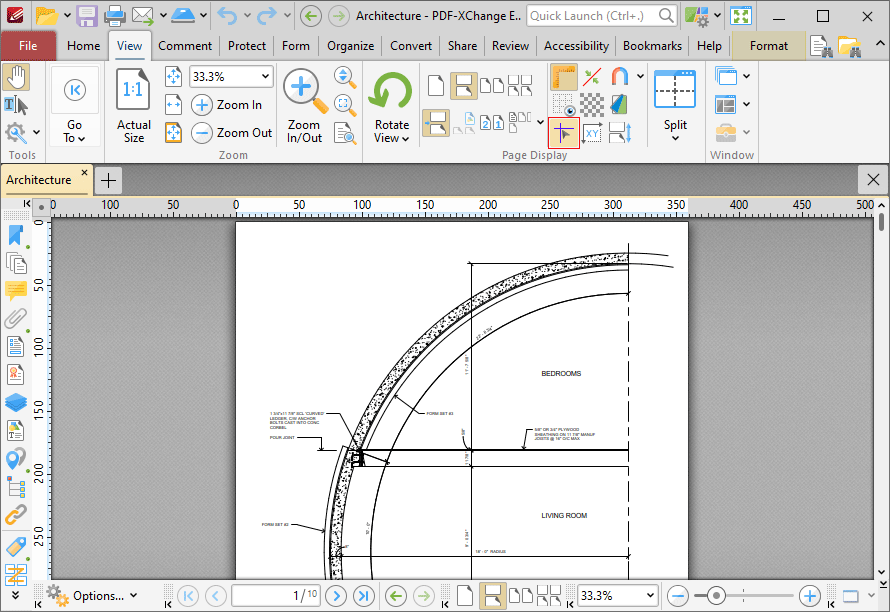
Figure 3. View Tab, Show Guides
When guides are enabled, click and drag from rulers to add guide lines to the document:

Figure 4. View Tab, Guides Added
Right-click rulers for additional options:
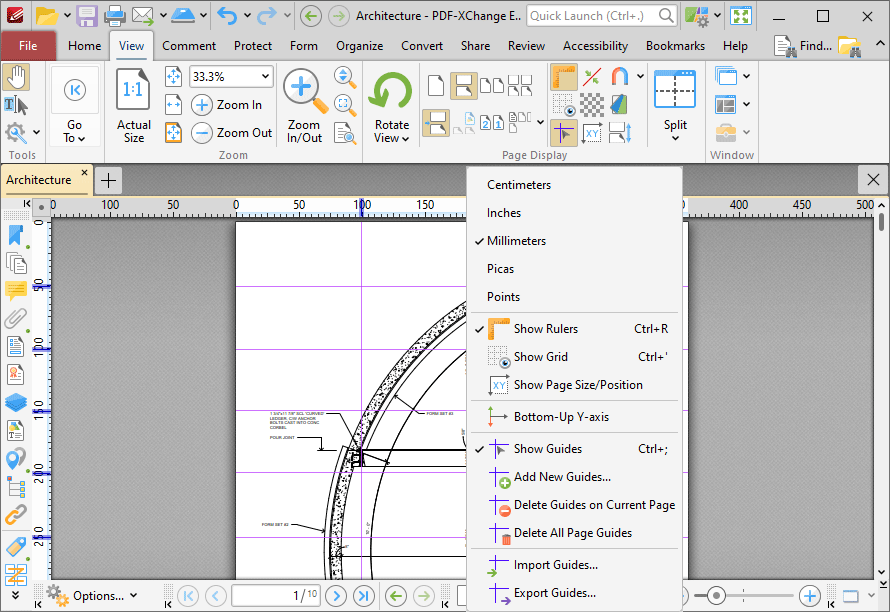
Figure 5. Rulers Right-Click Shortcut Menu
•Click Centimeters, Inches, Millimeters, Picas or Points to determine the units of measurement that rulers use.
•Click Show Rulers to show/hide rulers.
•Click Show Grid to show/hide the grid, as detailed below.
•Click Show Page Size/Position to show/hide the current page size and pointer location. These details are displayed in the Document Options toolbar, which is in the lower-left section of the user interface.
•Click Bottom Up Y-axis to enable/disable the displaying of units in the y-axis from the bottom of the UI.
•Click Show Guides to show/hide guides that have been created as detailed above.
•Click Add New Guides to add new guides to documents. This feature allows you to add guides to multiple pages of documents. When it is selected, the Add Page Guides dialog box will open, as detailed below.
•Click Delete Guides on Current Page to delete guides from the current page.
•Click Delete All Page Guides to delete all page guides from the current document.
•Click Import Guides to import guides into documents.
•Click Export Guides to export guides to file. Exported guides can be imported into documents using the Import Guides feature.
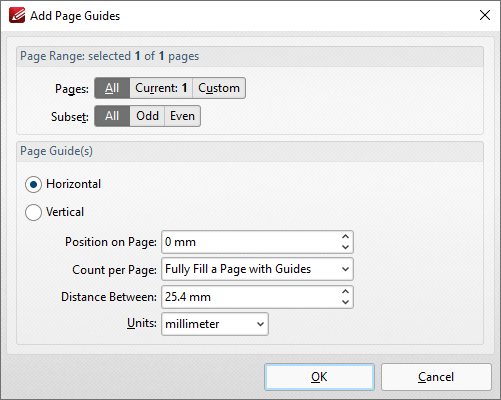
Figure 6. Add Page Guides Dialog Box
•Use the Page Range options to determine the pages to which new guides are added:
•Select All to specify all pages.
•Select Current to specify only the current page.
•Select Custom to specify a custom page range, then enter the desired page range in the adjacent number box. Further information about how to specify custom page ranges is available here.
•Use the Subset options to specify a subset of selected pages. Select All, Odd or Even as desired.
•Select Horizontal or Vertical to specify the type of guides you want to add to the document.
•Use the Position on Page dropdown menu to determine the position at which the guides are added.
•Use the Count per Page dropdown menu to determine how many guides are added to each page.
•Use the Distance Between dropdown menu to determine the distance between each guide.
•Use the Units dropdown menu to determine the units used in the Distance Between dropdown menu.
Click OK to add page guides to the document.
Grid
When the grid is enabled it is interposed on the current document and can be used to ensure that content is placed on the same horizontal/vertical plane. Click the View Tab, then click Show Grid to enable/disable the grid:
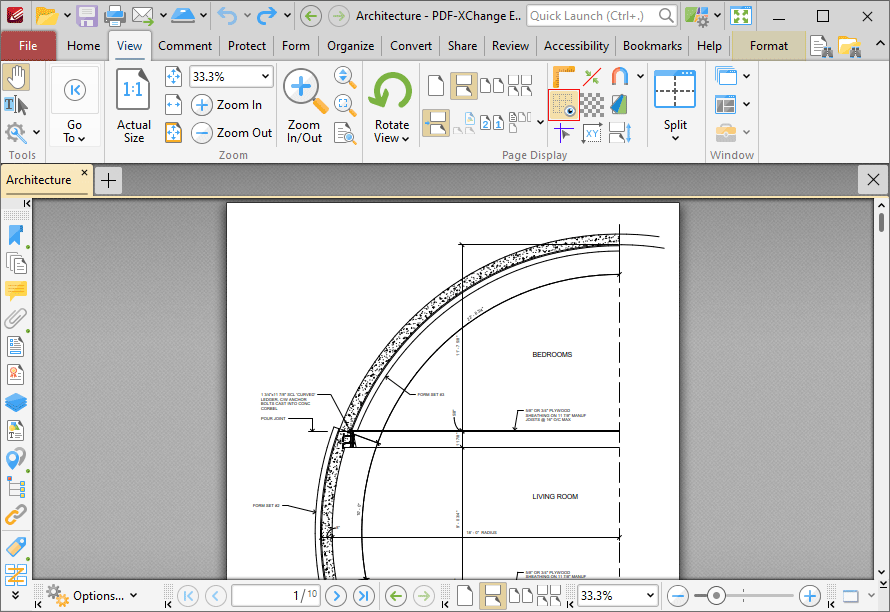
Figure 7. View Tab, Show Grid Highlighted and Grid Enabled