 Create PDF from Images
The Create PDF from Images action creates PDF documents from raster images. The following options are available when it is placed in the Tool Actions Sequence:

Figure 1. Create PDF from Images Options
•Show setup dialog while running is explained here.
•Click All Options to determine further options:
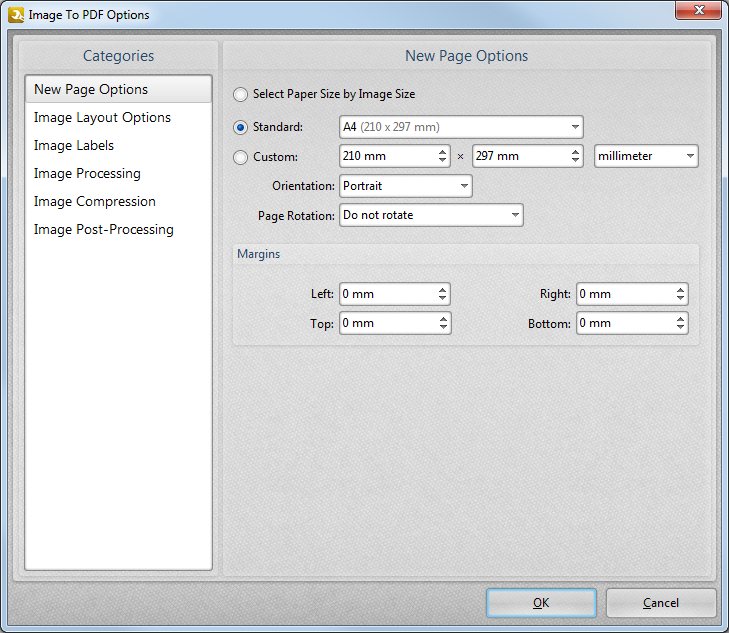
Figure 2. Images to PDF Options Dialog Box
•New Page Options determines the page design of new PDF documents. See (figure 3).
•Images Layout Options determines the layout of new PDF documents. See (figure 4).
•Image Labels determines the labels of new PDF documents. See (figure 5).
•Image Processing determines downsampling, conversion and pixel density options. See (figure 6).
•Image Compression determines compression options. See (figure 7).
•Image Post-processing determines deskewing and despeckling options. See (figure 8).
New Page Options
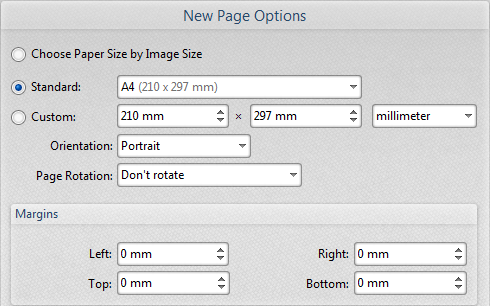
Figure 3. New Page Options
•Select Choose Paper Size by Image Size to create pages that are the same size as the images converted.
•Select Standard to create pages of an industry-standard size. Select an option from the dropdown menu. Converted images will be centered on the page.
•Select Custom to enter custom dimensions.
•The Orientation dropdown menu can be used to select either Portrait or Landscape layout.
•The Page Rotation dropdown menu can be used to rotate images during conversion.
•The Margins dropdown menus can be used to customize image margins.
Images Layout Options
These settings can be used to customize the layout of images when multiple images are converted:
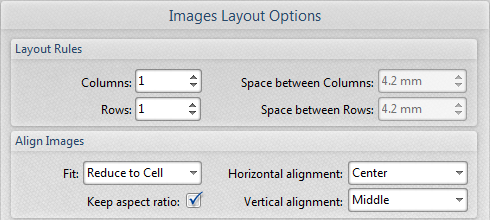
Figure 4. Images Layout Options
•The Layout Rules determine the layout of images as defined in the Columns and Rows boxes. The Space between Columns and Space between Rows boxes determine the empty space between columns and rows of images.
•The options in the Align Images section determine the alignment of images:
•There are two options in the Fit dropdown menu:
•Reduce to Cell reduces images to fit the dimensions of the PDF document. If images are smaller than the PDF document then they will remain at their original size.
•Fit to Cell fits images to the dimensions of the PDF document. If images are smaller than the PDF document then they will be increased in size.
•The Keep Aspect Ratio check box is selected by default, which means images retain their proportions and fit the specified dimensions as far as possible within those proportions. Clear the check box to disable aspect ratio. Images will then match the specified dimensions but they may distort as a result.
•The Horizontal/Vertical Alignment dropdown menus determine the location at which images appear in the new document.
Image Labels
These settings can be used to add labels to converted images:

Figure 5. Image Labels Options
•Select the Use special text label for each image check box to enable further options.
•Enter the label text into the text box. Click the blue icon to add macros.
•The Back Color option determines the label color. Click the box to view available colors.
•The Paragraph options determine the alignment, indentation and spacing of label text. Click Paragraph to adjust these settings.
•The Font settings determine the label font. Click Font to select a font.
•If the Place label above image box is not selected then the label will appear below the image.
•Select the Add bookmark for each image with the same text as label option as desired.
Image Processing
These settings determine Image Processing options:
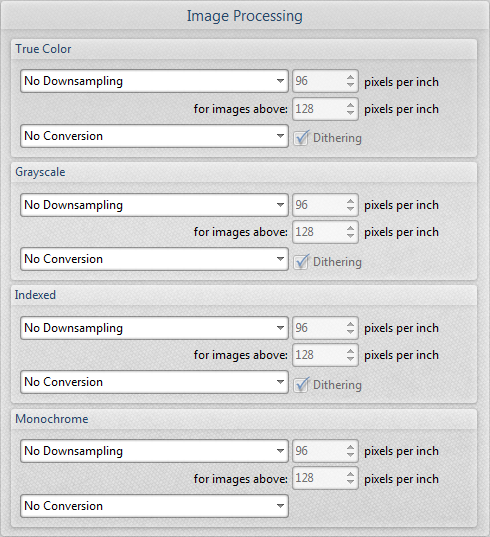
Figure 6. Image Processing Options
There are two options for True Color, Grayscale, Indexed and Monochrome images:
•Downsampling reduces the sampling rate of images. Each format has three options: Linear, Bilinear and Bicubic. Further information about these options is available here. The pixels per inch boxes are used to set the size above which images will be downsampled and the size to which they will downsampled.
•Conversion relates to the automatic conversion of files, where possible, from one format to another. Use this option to convert the format of new files when they are created. Select the boxes for dithering as desired.
Image Compression
These settings determine compression options:
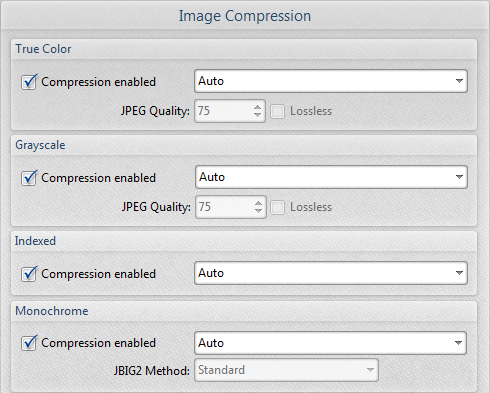
Figure 7. Image Compression Options
•Clear the Compression enabled boxes to disable compression for the formats indicated.
•When compression is enabled, use the adjacent menu to select the type of compression that the tool will carry out. Auto is the default setting.
•Where applicable, adjust the JPEG Quality/JBIG2 Method and Lossless options as desired.
Image Post-Processing
These settings determine post-processing options for images:

Figure 8. Image Post-Processing Options
•Select the Deskew box to deskew images. This is a useful tool if images have been scanned or photographed crookedly.
•Select the Despeckle box to despeckle images. This removes speckles from images during conversion.
Click OK to save changes. Then, in the Edit Tools window:
•Click ![]() Save Changes to save new settings.
Save Changes to save new settings.
•Click ![]() Close Edit to end the current edit and revert to previous settings.
Close Edit to end the current edit and revert to previous settings.