 Replace Fonts
Click Replace Fonts to replace document fonts:
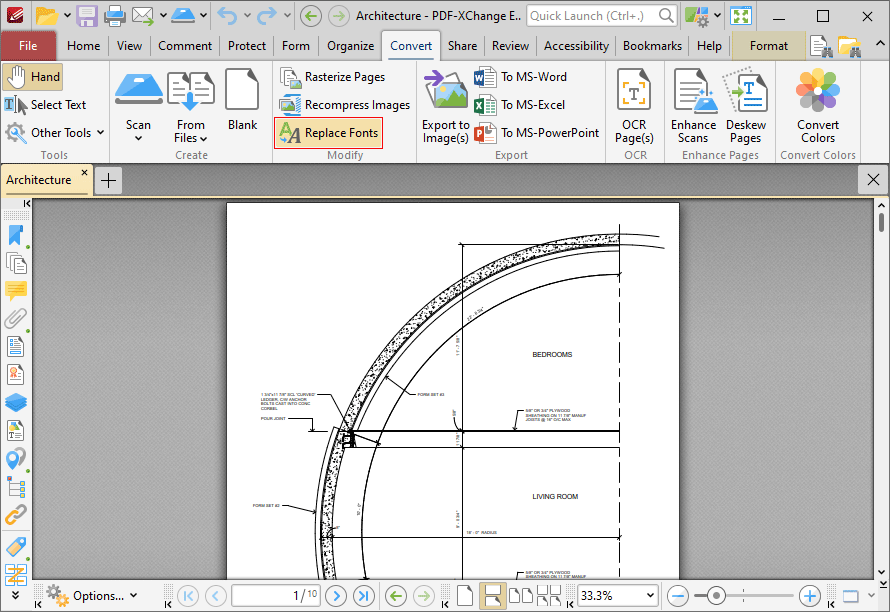
Figure 1. Convert Tab, Replace Fonts Highlighted
The Replace Fonts dialog box will open:
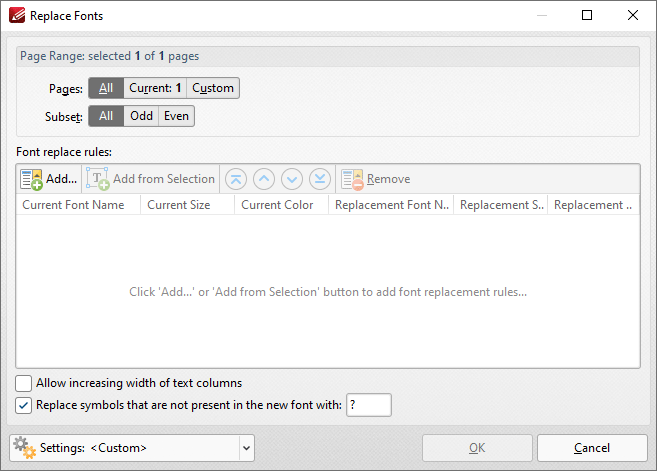
Figure 2. Replace Fonts Dialog Box
•Use the Pages option to specify the pages in which you want to replace fonts:
•Select All to specify all pages.
•Select Current to specify only the current page.
•Select Custom to specify a custom page range, then enter the desired page range in the adjacent number box. Further information about how to specify custom page ranges is available here.
•Use the Subset options to specify a subset of selected pages. Select All, Odd or Even as desired.
•Click Add to add a new font to be replaced. The Add Rule(s) dialog box will open, as detailed in (figure 3).
•Click Add from Selection to add text currently selected in the document as the template for text to be replaced in the document. Note that text must be selected with the Select Text Tool in order for this feature to operate.
•Use the arrow buttons to move items up or down in the list, and use the Remove feature to remove items from the list.
•Select the Allow increasing width of text columns box to allow the width of columns of text to become wider when you are increasing the size of fonts.
•Select the Replace symbols that are not present in the new font box to replace symbols that are present in the current font but absent in the replacement font, then enter the desired font in the text box.
•Click Settings to manage saved custom settings. The Manage Presets dialog box will open, as detailed in (figure 4).
Click OK to replace fonts.
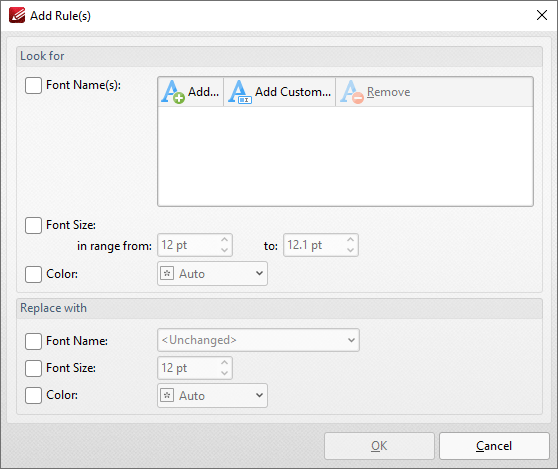
Figure 3. Add Rules Dialog Box
•Select the Font Names box to specify fonts to be replaced in the document. Click Add to add existing fonts in the document, or click Add Custom to add custom fonts. Note that you can leave the Font Names box unchecked if you want to specify only all fonts within a size and/or color range, and then use the settings below to specify the desired parameters.
•Select the Font Size box to specify the size range of fonts to be replaced.
•Select the Color box to specify the color of fonts to be replaced.
•Use the Replace with check boxes to specify the Font Name, Size and Color that you want to use to replace the text in the document.
Click OK to save changes.
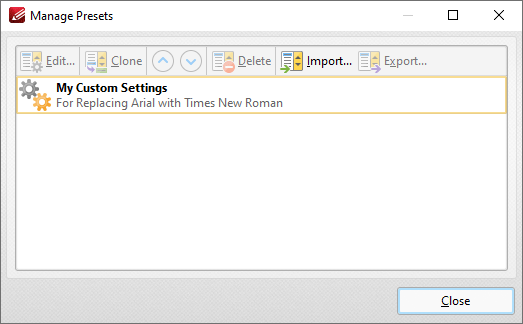
Figure 3. Manage Presets Dialog Box
•Click Edit to edit selected profiles.
•Click Clone to clone selected profiles. This makes it possible to duplicate profiles and then customize their settings whilst retaining the existing profile and its parameters.
•Use the up/down arrow to move selected profiles up or down in the list.
•Click Delete to delete selected profiles.
•Click Import to import profiles from a saved file.
•Click Export to export profiles to file.