 Pencil Tool
Click Pencil Tool to add pencil annotations to documents:
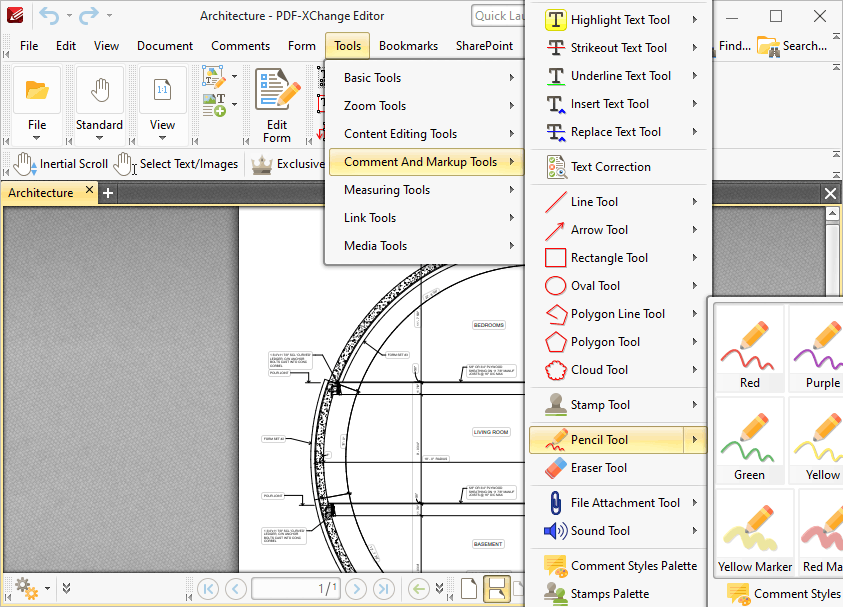
Figure 1. Tools Tab Submenu. Pencil Tool
When the Pencil Tool is selected, click and drag the pointer to create pencil annotations:
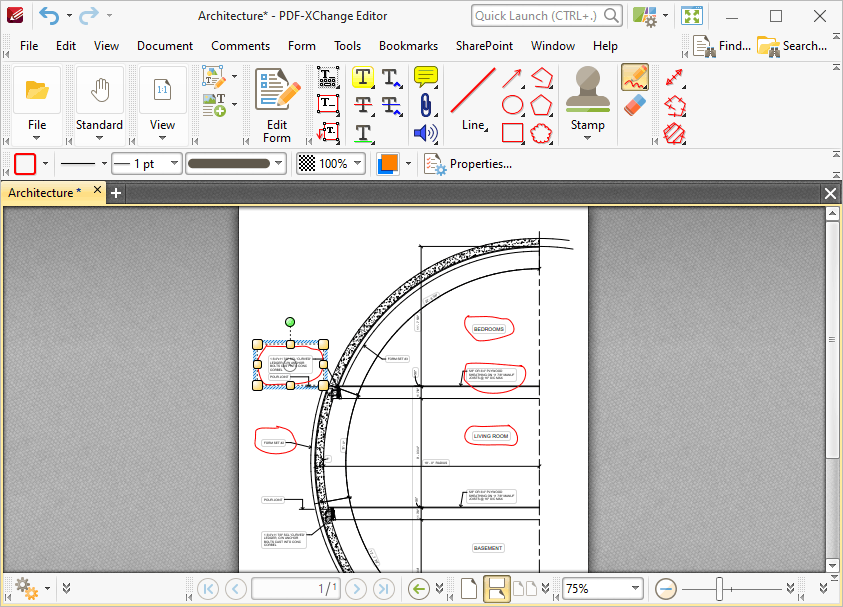
Figure 2. Pencil Tool Example
•Click to select completed pencil annotations, as in the example on the upper left in (figure 2). The following options are then available:
•Click and drag the control points to resize pencil annotations.
•Click and drag pencil annotations to reposition them. The circle at the center can also be used for this purpose.
•Click and drag the green control point at the top to rotate pencil annotations. Hold down Shift to rotate at increments of fifteen degrees.
•Use the arrow keys to reposition pencil annotations. Hold down Shift to move at an increased increment.
•Use the editing aids detailed here to assist in the precise placement of document content.
•Right-click pencil annotations for further options. See here for an explanation of these options.
•When the Pencil Tool is selected, the following options are enabled in the Properties Toolbar:
•Stroke Color determines the color of pencil annotations.
•Border Style determines the style of pencil annotations.
•Border Width determines the width of pencil annotations.
•Line Width Profile determines the profile used for pencil annotations.
•Opacity determines the level of transparency in pencil annotations.
•Blend Mode determines how pencil annotations blend with underlying content. These options are explained here.
•Keep Selected determines whether or not the Pencil Tool remains selected after a pencil annotation has been created. If this option is enabled then the tool will remain selected and can be used to create several pencil annotations consecutively. If this option is not enabled then PDF-XChange Editor will revert to the designated default tool immediately after creating a pencil annotation.
•Exclusive Mode simplifies the process of using the Pencil Tool. When Exclusive Mode is enabled, the pointer ignores all interactive elements of documents other than base content. This makes it possible to create pencil annotations on areas that overlap with other content without the risk of accidentally selecting undesired items. When Exclusive Mode is disabled, the pointer recognizes and interacts with all underlying elements in the usual manner.
•Click Properties to view/edit the Pencil Tool Properties pane. See here for information on tool and comment properties.
•Note that several default styles are available for pencil annotations, as detailed in (figure 1). Click to select alternative annotation styles. The Comment Styles Palette can be used to save customized pencil styles for subsequent use. Right-click the Pencil icon in the Comment Toolbar to view existing styles and/or access the Comment Styles Palette.
•The Commenting section of the Preferences dialog box can be used to view/edit preferences for comments.
Eraser Tool
The Eraser Tool is used to erase pencil lines. When it is enabled the pointer becomes a white circle. Move the circle to the section of the pencil line to be erased and click to erase. Alternatively, click and drag the pointer to erase content continuously. When the eraser tool is enabled the following options are available in the Properties Toolbar:
•Diameter determines the diameter of the eraser.
•Keep Selected determines whether or not the Eraser Tool remains selected after a single use. If this option is enabled then the tool will remain selected and can be used several times consecutively. If this option is not enabled then PDF-XChange Editor will revert to the designated default tool immediately after a single use of the tool.
•Click Properties to view/edit the Eraser Tool Properties pane. See here for information on tool properties.