 Populate Forms
Click Populate Forms to create and populate forms with data from an existing file:
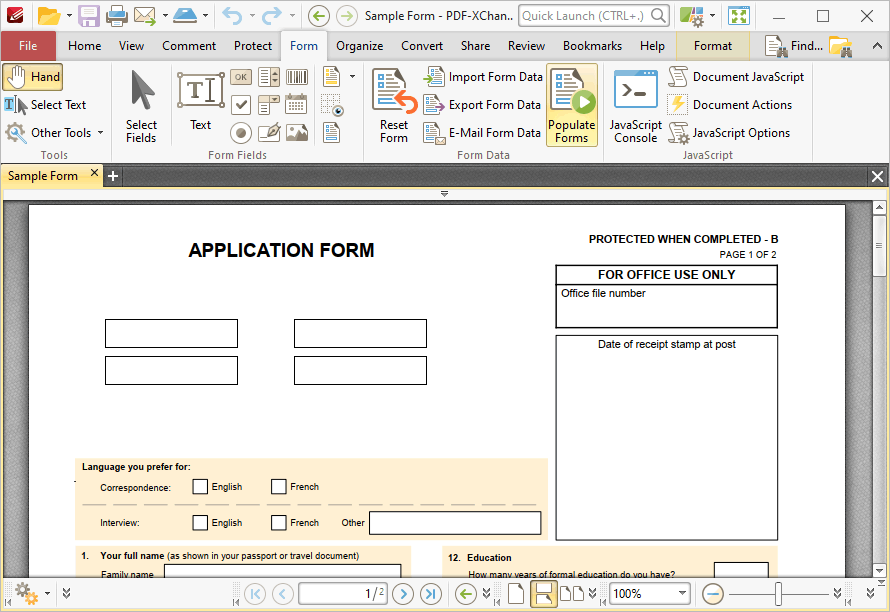
Figure 1. Forms Tab, Populate Forms
The Populate PDF Forms dialog box will open:
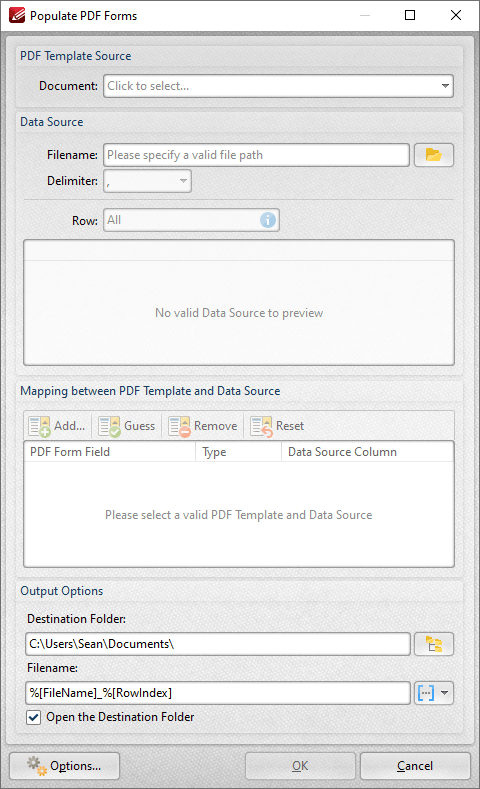
Figure 2. Populate PDF Forms Dialog Box
•Use the Document dropdown menu to determine the template used to create the form.
•Use the Filename dropdown menu to determine the file used to populate the form fields in the created document, and the Delimiter dropdown menu to determine the delimiter used to define files and values in the data source document. Note that it is only necessary to specify the delimiter when plain text files are used, and it may be necessary to add these delimiters before the document is used for this feature.
•Use the Row dropdown menu to determine the row of information used in cases where the source document contains more than one set of form information.
When you have selected a template and a data source file, the Mapping between PDF Template and Data Source section will display the form fields from the template file in the left column:
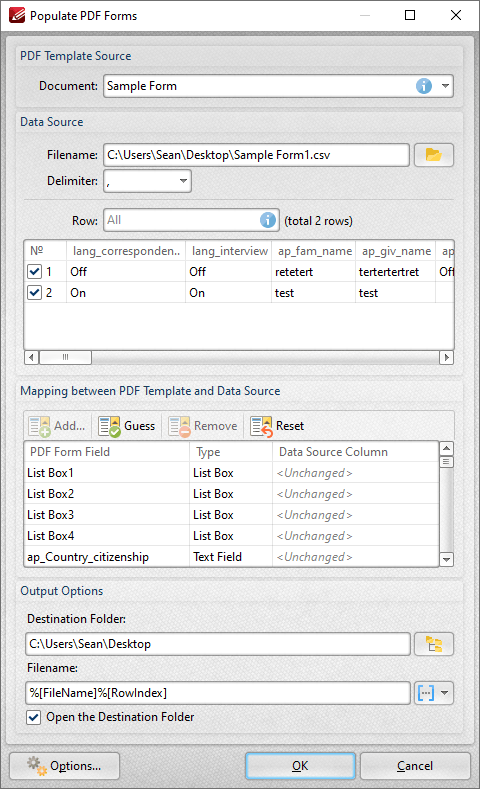
Figure 3. Populate PDF Forms Dialog Box, Data Source Column Selection Active
•Select entries in the PDF Form Field column and click Add (or click the associated entry in the Data Source Column) to add data from the data source file to the selected form field in output documents.
•Click Guess to auto-fill forms. This is a useful feature when the names of the forms in the template document match the names of the forms in the data source document, as they will populate automatically with the matching information.
•Click Remove to remove selected entries from the Data Source Column.
•Click Reset to reset all entries in the Data Source Column.
•Use the Destination Folder dropdown menu to determine the folder for created documents.
•Use the Filename dropdown menu to determine the filename of created documents. Note that you can use macros when creating the file name. Two of the available macros apply specifically to the populate forms feature:
•Row Data by Column uses the form data from either the Column Index or the Column Name to determine the file name.
•Row Index uses the index values of the rows of data in the data source document to determine the file name.
Click OK to create and populate the form.
Click Options for additional options:
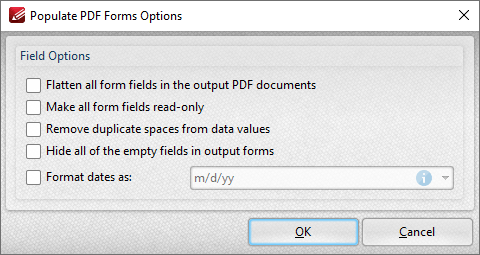
Figure 4. Populate PDF Forms Options
•Select the Flatten all form fields in the output PDF documents box to flatten form fields into base content when the output documents are created.
•Select the Make all form fields read-only to enable the read-only property of form fields in output documents. This means that form fields cannot be edited unless the read-only property is subsequently disabled.
•Select the Remove duplicate spaces from data values box to remove duplicated spaces from data values in output documents.
•Select the Hide all of the empty fields in output forms to hide empty fields in output documents.
•Select the Format dates as box to specify the use of a date format, then select the desired format in the adjacent dropdown menu.
Click OK to save changes.
Note that you can use the Export Form Data feature to export data from filled-out forms to (*.csv) format for subsequent use as data source files with the Populate Forms feature.