 Crop
Crop
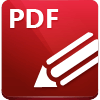
Click Crop to view cropping options for the current document:
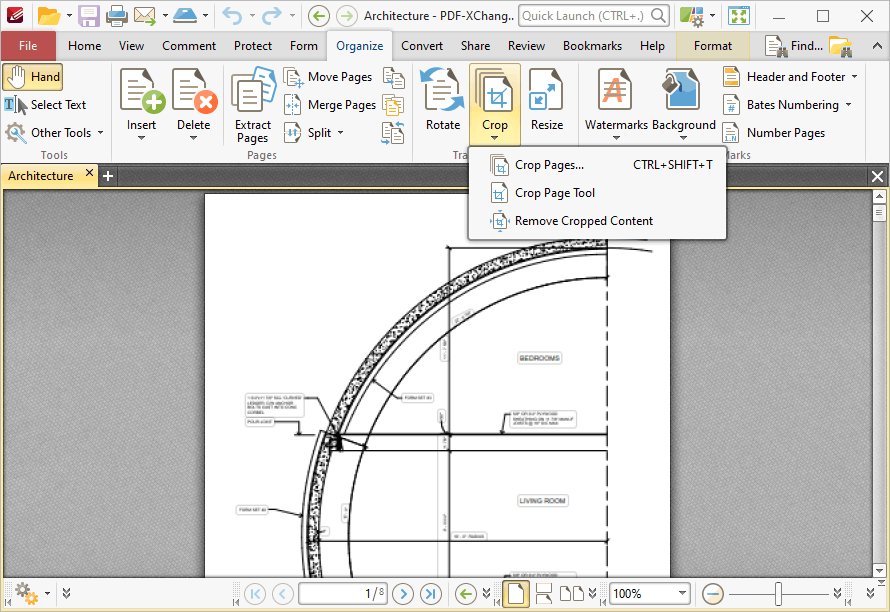
Figure 1. Document Tab Submenu. Crop Pages
Click Crop Pages to crop document pages:
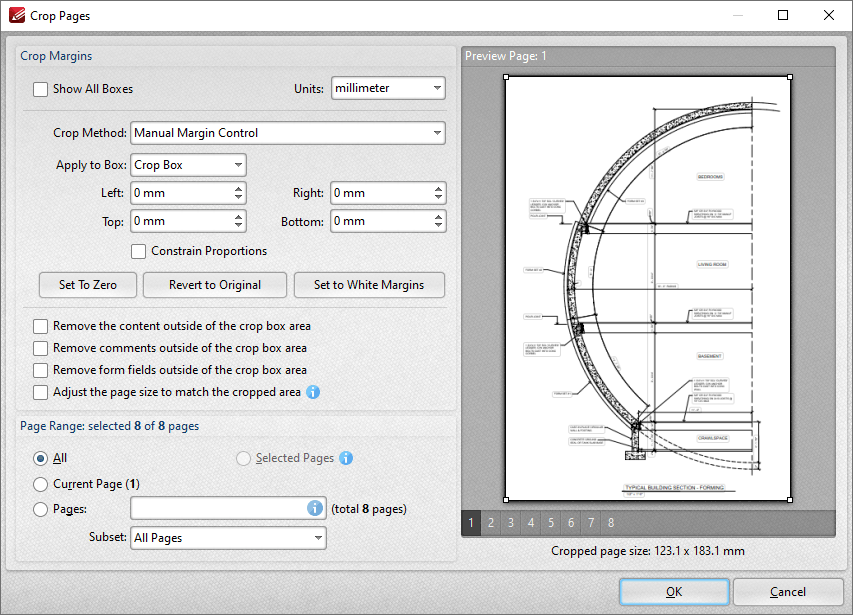
Figure 2. Crop Pages Dialog Box
PDF documents define five boundaries that control the imaging process: the Crop Box, Bleed Box, Trim Box, Art Box and Media Box. PDF-XChange Editor uses these boxes to determine areas when the Crop Pages feature is used. Use the Apply to Box dropdown menu, detailed below, to display the editing boxes in the preview pane, then click and drag boxes and/or use the number boxes to adjust their dimensions. Further information about editing boxes is available here. The following options are available in the Crop Pages dialog box:
•Click Show All Boxes to view the Crop Box, Bleed Box, Trim Box and Art Box in the preview pane. (Please note that the Bleed Box, Trim Box and Art Box use the same dimensions as the Crop Box by default.
•Use the Crop Method dropdown menu to determine the crop method used:
•Manual Margin Control enables the user to determine the cropping margins. Click the text of menu entries in the Apply to Box dropdown menu to view them in the preview pane. Click and drag boxes in the preview pane, or use the number boxes, to adjust their dimensions. Select the check boxes of menu entries in the Apply to Box dropdown menu to include them in the Crop Pages operation.
•Remove All White Space is a predefined mode that removes all white space from documents.
•Remove Horizontal White Space/Remove Vertical White Space are predefined modes that remove horizontal/vertical white space as required.
•None adjusts the page size to the crop box without changing existing crop boxes.
•Select the Constrain Proportions box to maintain the ratio of margins. For example if the margin in the Left box is changed to 5mm then the margins in the Right, Top and Bottom boxes will also be changed to 5mm.
•Use Set to Zero, Revert to Original and Set To White Margins to apply these functions to boxes selected in the Apply to Box dropdown menu.
•Select the Remove the content outside of the crop box area box to remove content outside of the Crop box. Please note that cropping pages reduces the visible page content, but the cropped content is still present in the file's underlying code and, for example, will be visible if the document pages are increased in size. Select this option to remove cropped content from the file.
•Select the Select the Adjust the page size to match the cropped area box to define the Media box with the same dimensions as the Crop box.
•Use the Page Range settings to determine the page range of cropped pages:
•Select All to crop all pages.
•Select Current Page to crop only the current page.
•Select Pages to create a custom page range, as detailed here.
•Use the Subset option to select All Pages, Odd Pages Only or Even Pages Only.
Click OK to crop pages.
Click Crop Page Tool to crop documents manually. The Crop Tool dialog box will open:
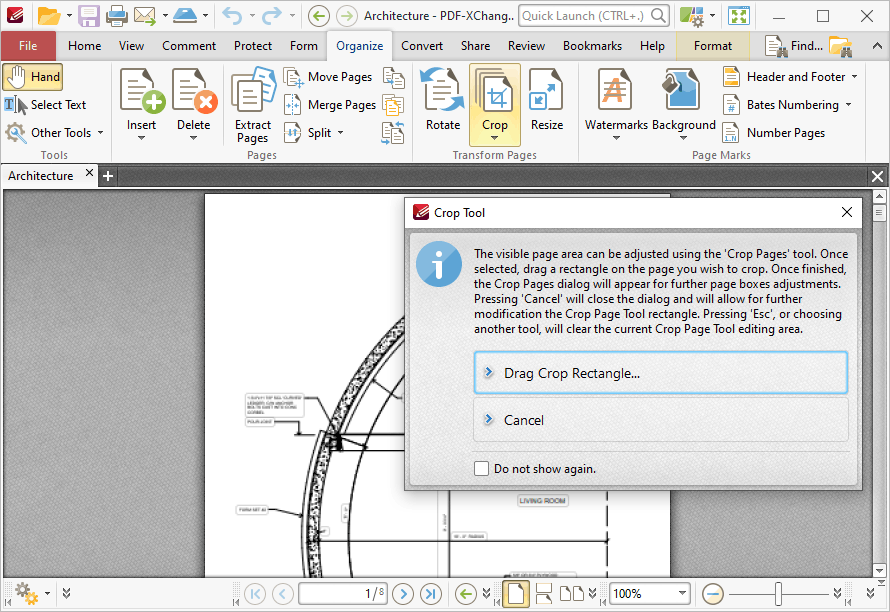
Figure 3. Crop Page Tool, Crop Tool Dialog Box
Click Drag Crop Rectangle. The pointer will become a crosshairs icon. Click and drag to select the area to be cropped. When the mouse button is released, the dialog box detailed in (figure 2) will launch. Configure the parameters as detailed above and then click OK to crop documents.
Click Remove Cropped Content to remove cropped content from documents. Please note that content is not removed by default. Cropping pages reduces the visible page content, but the content remains available (and takes up memory) unless the Remove Cropped Content option is used.