 Add Check Boxes to Documents
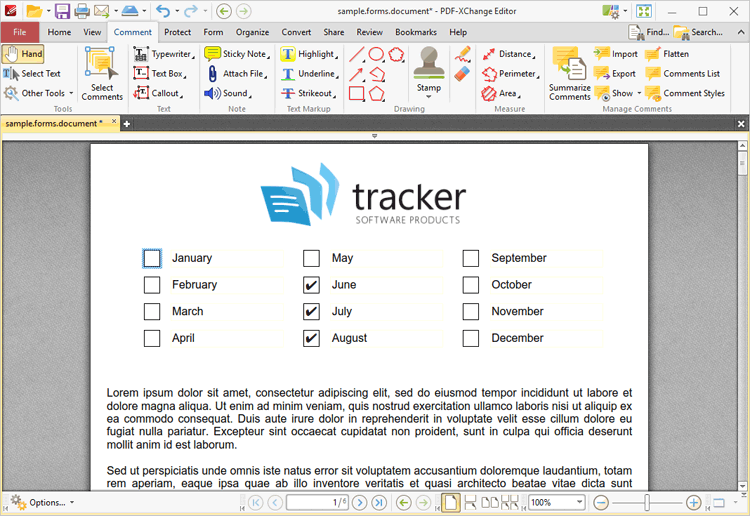
Check boxes enable the selection of predefined options:
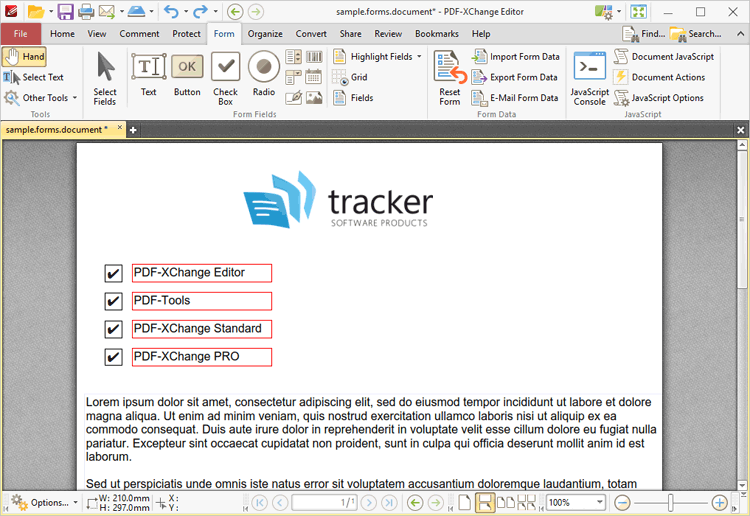
Figure 1. Example Check Boxes
The functionality of PDF-XChange Editor enables a wide range of dynamic customization for check boxes. Click the dropdowns below for further information:
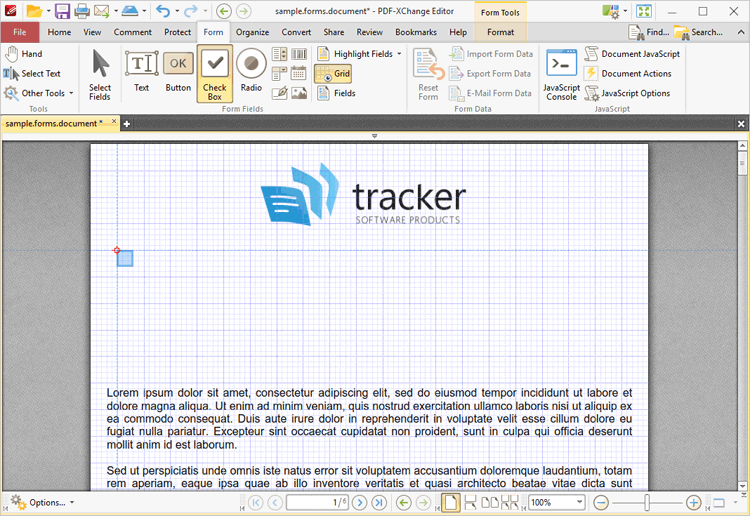
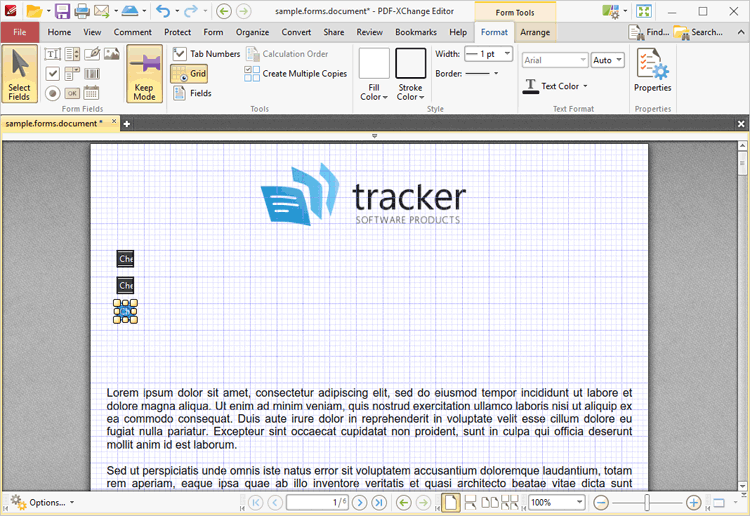
1. Click the Form tab, then click Check Box. A blue square will be displayed beneath the pointer. This square represents the check box:
Figure 2. Active Check Box Tool
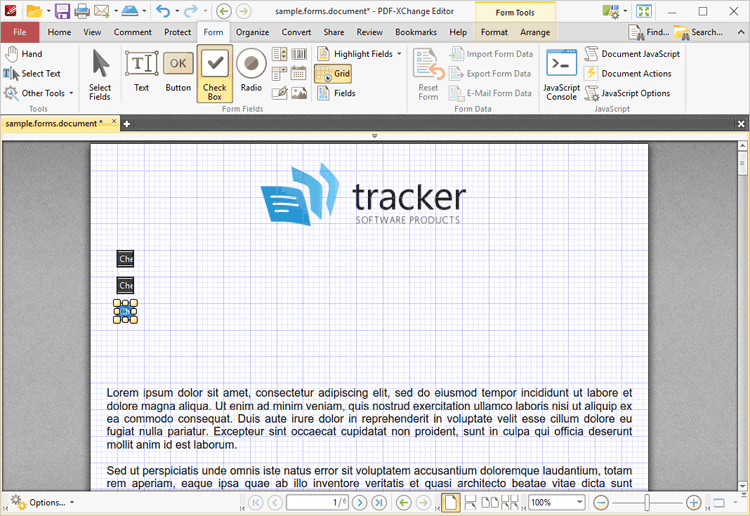
2. Move the square to the desired location and then click to add the check box to the document. Added check boxes appear as detailed below:
Figure 3. Added Check Boxes
•Click and drag the yellow control points to resize check boxes. •Use the options in the Format Tab to determine the style and appearance of selected check boxes:
Figure 4. Format Tab, Check Boxes
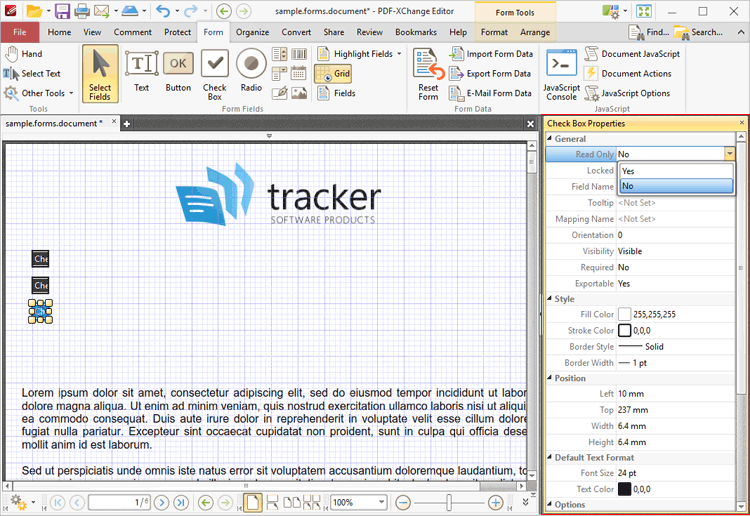
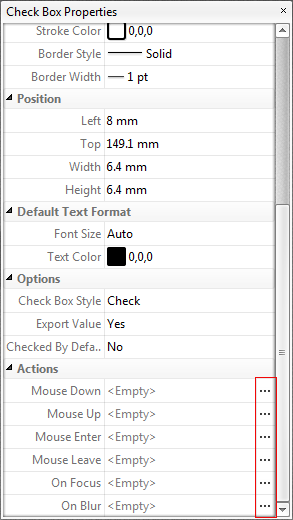
•Click Select Fields to select and edit form fields. •Click the options in the Form Fields group to enable alternative form field formats. •Click Keep Mode to create multiple check boxes consecutively. If this option is disabled then PDF-XChange Editor will revert to the designated default tool after the creation of a single check box. •Click Tab Numbers to show/hide the tab order numbers of form fields. •Click Calculation Order to show/hide the order in which calculations are performed when there is more than one form field that contains a value calculation. Further information about value calculations is detailed below. •Click Grid to enable/disable the grid, which is used to assist in the accurate placement of form fields, as detailed in (figure 4). •Click Create Multiple Copies to create multiple copies of selected form fields, as detailed here. •Click Fields to show/hide the Fields pane, which is used to view/edit form fields. •Click Fill Color to determine the fill color of the check box. •Click Stroke Color to determine the border color of check boxes. •Click Width to determine the width of check box borders. •Click Border to determine the style of check box borders. •Select an option in the Font Size dropdown menus to determine the size of the check mark used in check boxes. •Use the Text Color dropdown menu to determine the color of the check mark used in check boxes. •Click Properties to open the Check Box Properties pane, which enables the customization of additional elements of check boxes and is detailed below.
|
The following example will detail how to create a check box list for the months of the year:
1. Click the Form tab, then click Check Box.
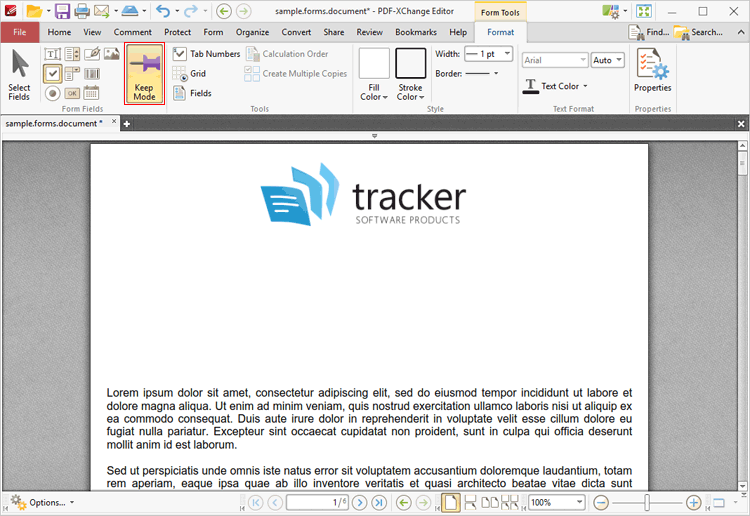
2. Click the Format tab, then click Keep Mode:
Figure 7. Format Tab, Keep Mode Highlighted
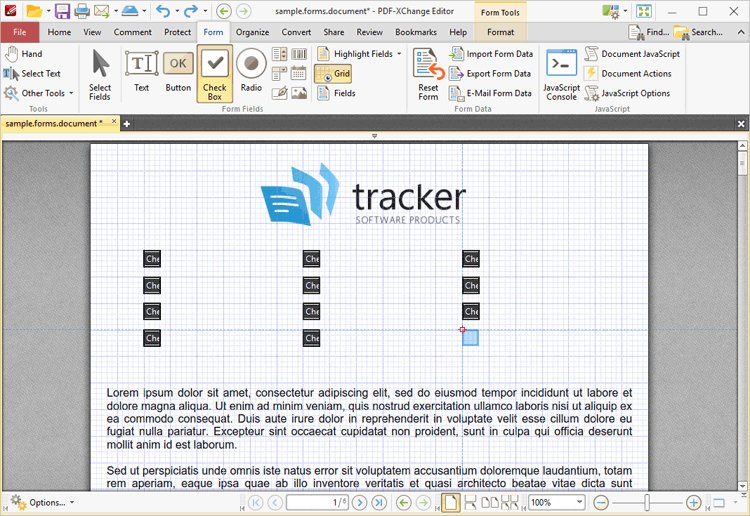
3. Press Ctrl+' to enable the grid in order to assist in the accurate placement of check boxes, then click to place check boxes in the document:
Figure 8. Adding Check Boxes
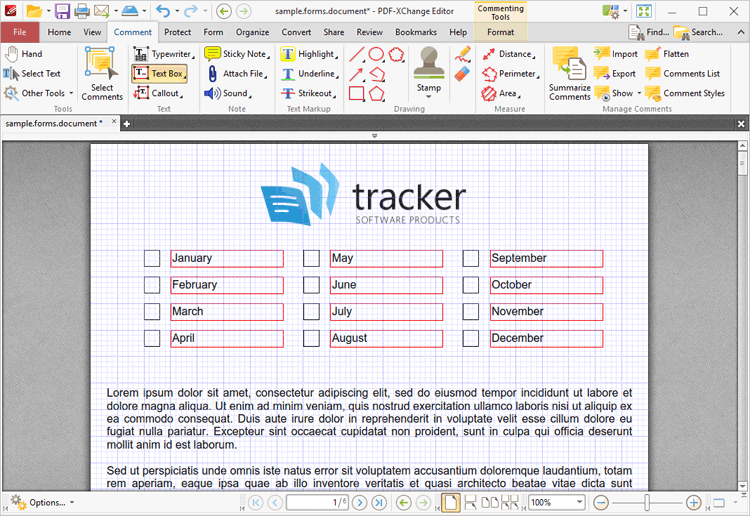
The next step is to add text box labels for the check boxes:
4. Click the Text Box Tool in the Comment tab, then click to add text boxes and enter the names of the months of the year:
Figure 9. Comment Tab, Text Box Tool Selected
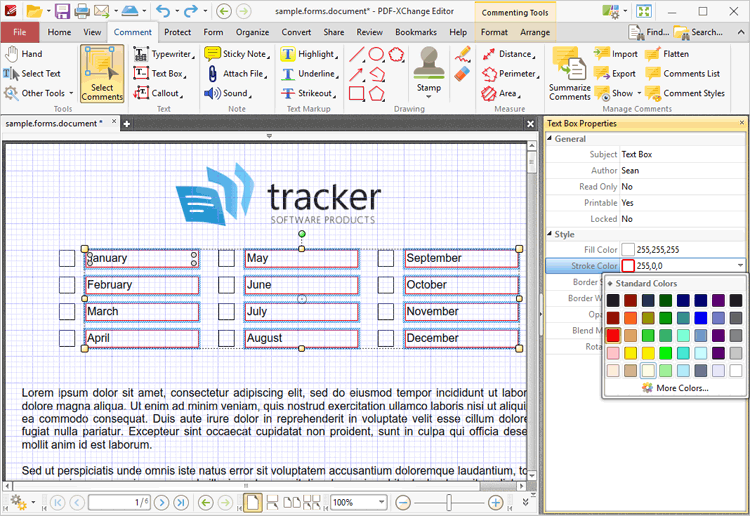
The text boxes can be customized as desired - for example the stroke color can be changed as follows:
5. Click Select Comments, then group-select the text boxes. Press Ctrl+' to open the properties pane, then change the Stroke Color property to white:
Figure 10. Comment Tab, Select Comments Highlighted, and Stroke Color Options in the Text Box Properties Pane
When all desired customizations have been made, press Ctrl+' to disable the grid. The check box list is then complete. Click the Hand Tool to select/clear check boxes:
Figure 11. Completed Check Box List |