 Add Buttons to Documents
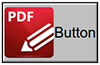
Buttons enhance the dynamics of documents and allow users to trigger predefined events:
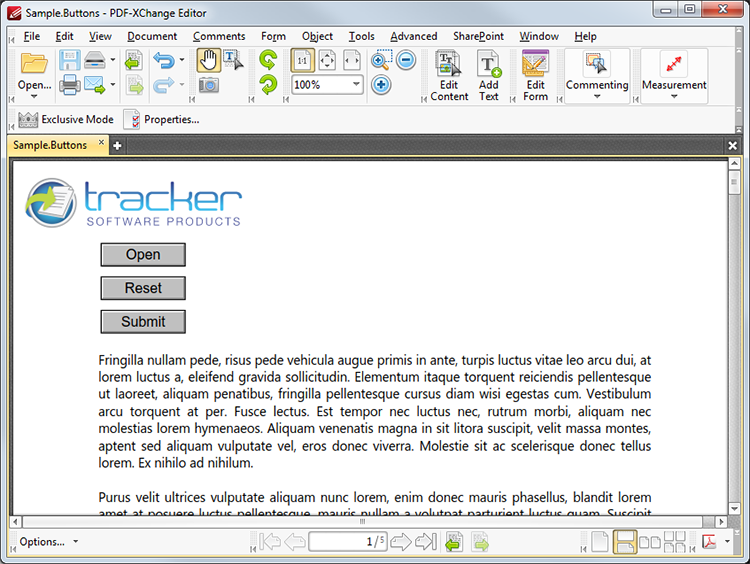
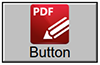
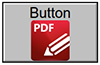
Figure 1. Example Buttons
The functionality of PDF-XChange Editor enables a wide range of customization for buttons, as detailed below. Click the dropdowns for further information:
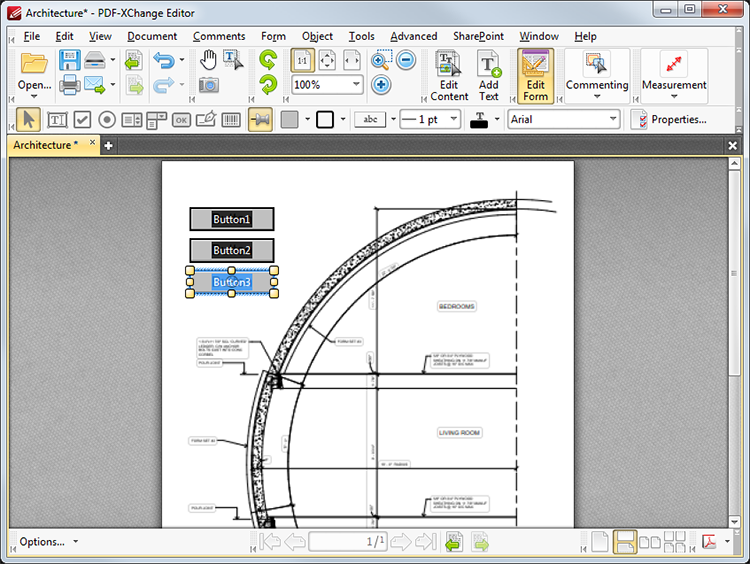
1. Click Edit Form, then click the Button icon in the Form Toolbar (these locations are highlighted in the image below). A blue rectangle will be displayed at the location of the pointer. This rectangle represents the button:
Figure 2. Active Button Tool
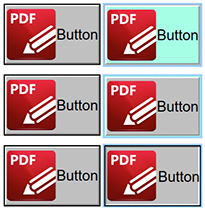
2. Move the rectangle to the desired location and then click to add the button to the document. (Use the editing aids detailed here to assist in the precise placement of buttons). Added buttons appear as below:
Figure 3. Added Buttons
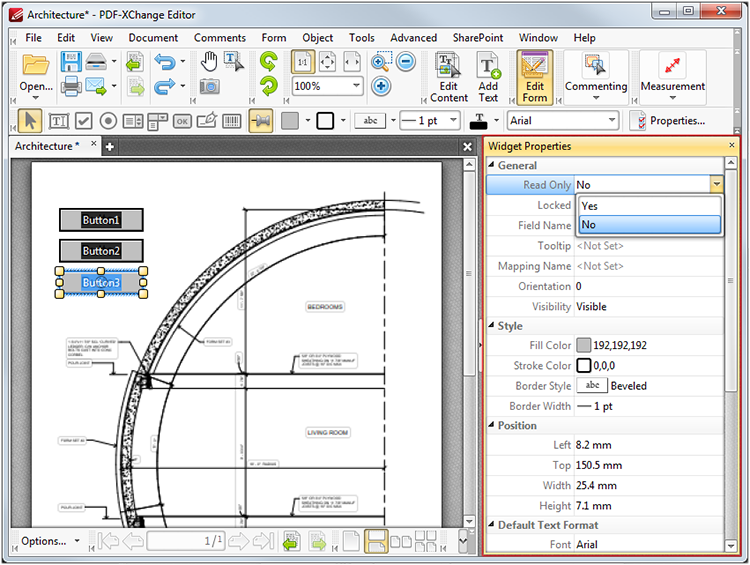
•Click and drag the yellow control points to resize buttons. •Use the options in the Properties Toolbar to determine the style and appearance of buttons: •Fill Color determines the color used to fill buttons. •Stroke Color determines the border color of buttons. •Border Style determines the style of button borders. •Border Width determines the width of button borders. •Text Color determines the color of text in buttons. •Font determines the font of text in buttons. •Properties launches the Widget Properties pane, which enables the customization of additional elements of buttons.
|

The following example will detail the creation of a button that contains an icon and text, and activates a link to the PDF-XChange website when it is clicked:
1. Click Edit Form, then click the Button icon in the Form Toolbar (these locations are highlighted in the image below). The blue rectangle that represents the button will be displayed:
Figure 8. Active Button Tool
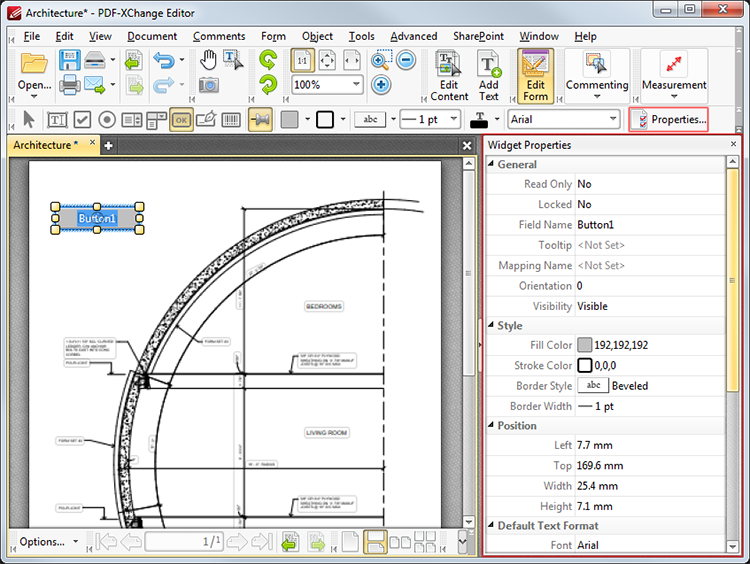
2. Click to add the button, then click Properties in the Properties Toolbar to open the Widget Properties pane:
Figure 9. Active Button Tool, Widget Properties Pane
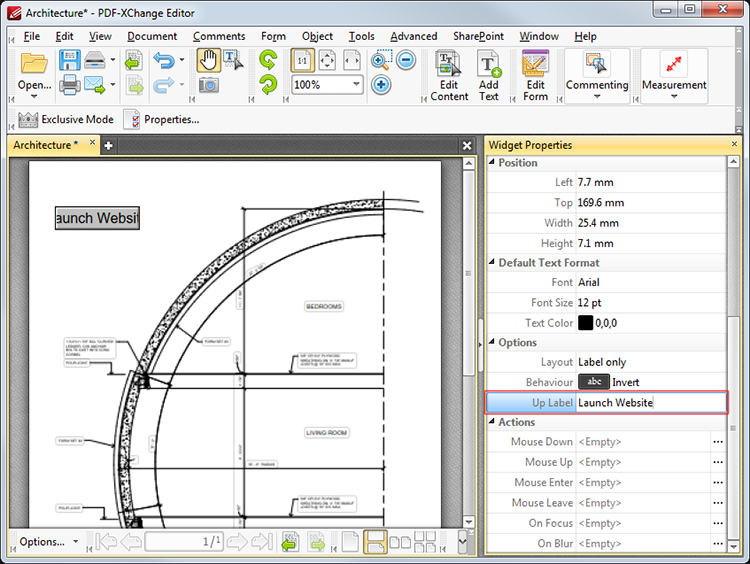
3. Scroll down the Widget Properties pane to the Up Label property, and then change its value to "Launch Website":
Figure 10. Active Button Tool, Up Label Property Highlighted
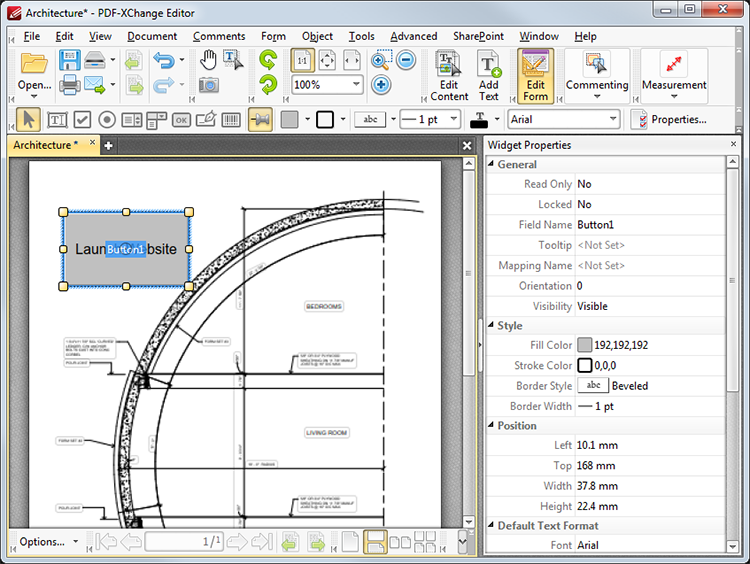
The button now needs to be resized, as the text does not fit comfortably within it:
4. Click Edit Form, then click the button to select it. Yellow control points will appear around the button. Click and drag the control points to resize the button:
Figure 11. Resized Button
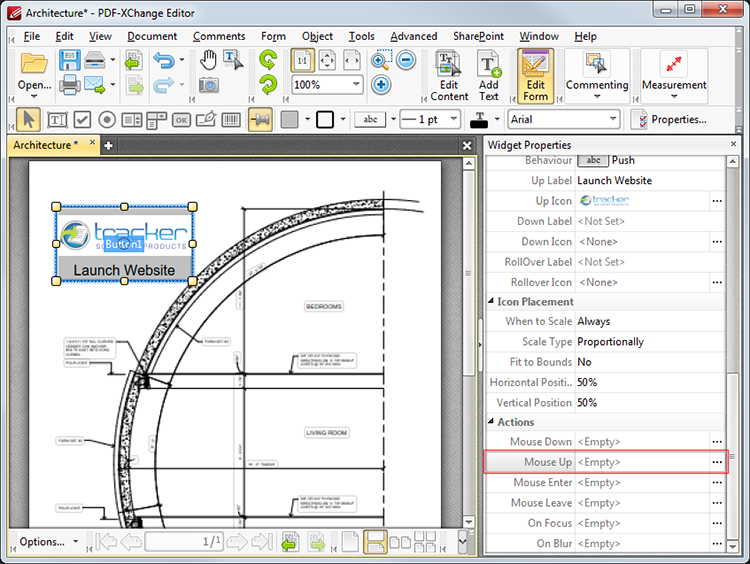
The next step is to add an icon to the button:
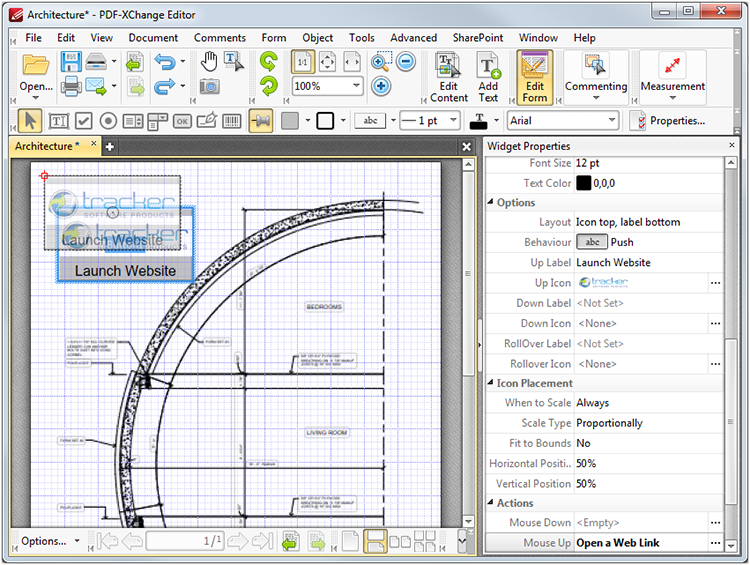
5. Click Edit Form, and then select the button to view its properties in the Widget Properties pane. Move to the Options tab, then select Icon top, label button. The Up Icon property will appear. Click the ellipsis icon on the right of the Up Icon property to select the desired icon from the local computer:
Figure 12. Widget Properties Pane, Options Properties
The next step is to add the action to the button:
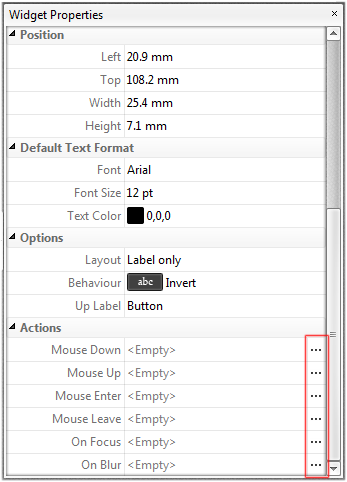
6. Click Edit Form, and then select the button to view its properties in the Widget Properties pane. Scroll down the Widget Properties pane to the Actions tab, then click the ellipsis icon on the right of the Mouse Up property:
Figure 13. Widget Properties Pane, Mouse Up Property
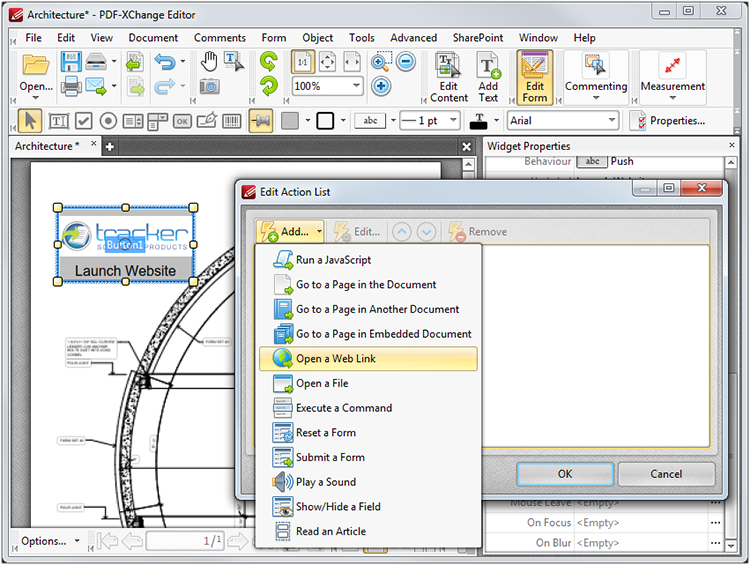
The Edit Action List dialog box will open.
7. Click Add and then click Open a Web Link in the submenu:
Figure 14. Button Tool, Edit Action List Dialog Box
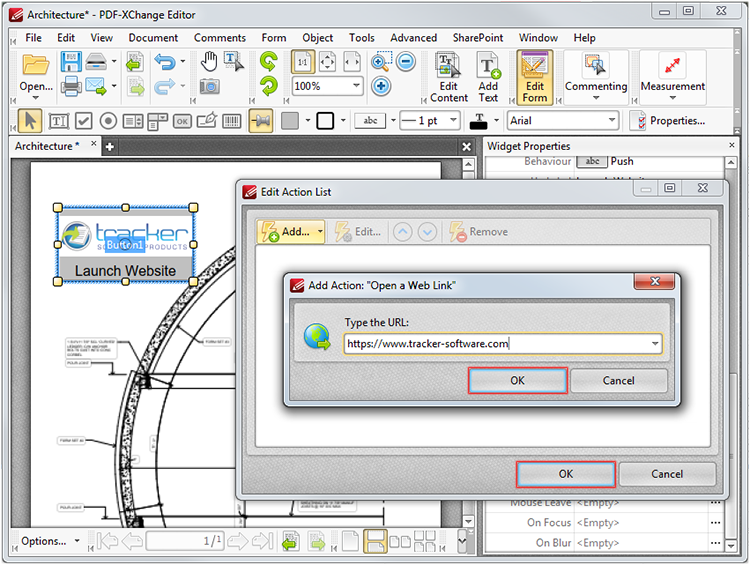
The Add Action: "Open a Web Link" dialog box will open.
8. Enter the desired internet location for the button to launch when it is clicked and then click OK in both dialog boxes:
Figure 15. Button Tool, Add Action: "Open a Web Link" Dialog Box
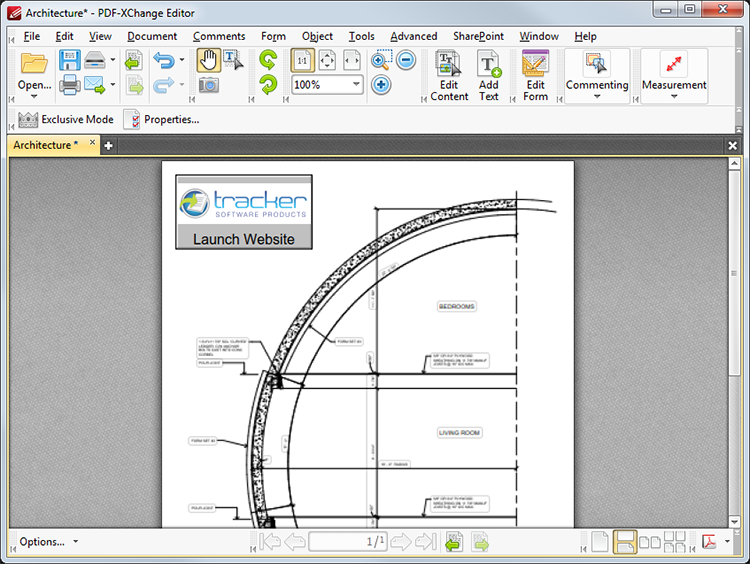
9. Press Ctrl+' to activate the grid in order to reposition the button precisely, then click and drag it to a better location:
Figure 16. Button Repositioning
10. Press Ctrl+' to disable the grid. The button is then complete and will launch the PDF-XChange website when it is clicked:
Figure 17. Completed Button |