 Create Documents
PDF-XChange Editor can be used to create new PDF documents in multiple ways. See below for instructions on how to:
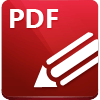
1. Click File in the Menu Toolbar.
2. Hover over New Document.
3. Select With Blank Pages. The New Empty Document dialog box will open:
Figure 1. New Empty Document Dialog Box
4. Determine parameters as detailed here.
5. Click OK.
The keyboard shortcut for this operation is Ctrl+N.
|
1. Click File in the Menu Toolbar.
2. Hover over New Document.
3. Select From Image File(s). The Images To PDF dialog box will open:
Figure 2. Images to PDF Dialog Box
4. Determine parameters as detailed here.
5. Click OK.
|

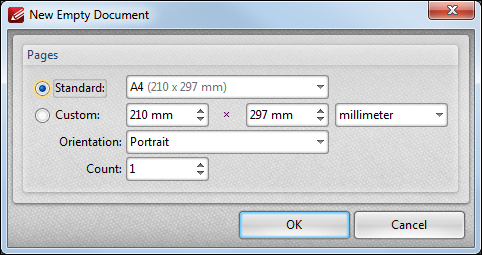
1. Click File in the Menu Toolbar.
2. Hover over New Document.
3. Select From Markdown. The Convert Markdown To PDF dialog box will open:
Figure 3. Markdown To PDF Options Dialog Box
4. Determine parameters as detailed here.
5. Click OK.
|
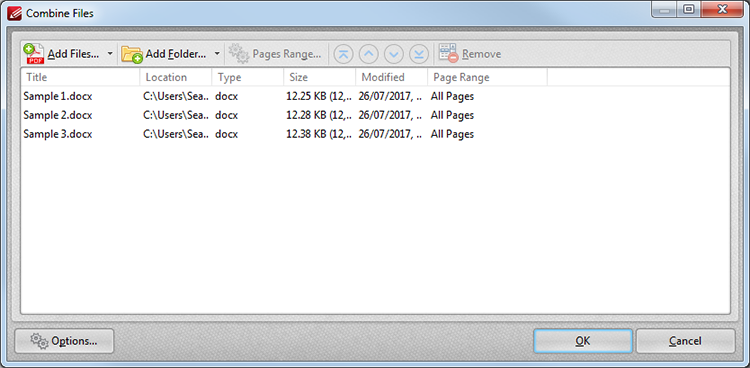
1. Click File in the Menu Toolbar.
2. Hover over New Document.
3. Select Combine Files into a Single PDF. The Combine Files dialog box will open:
Figure 4. Combine Files Dialog Box
4. Determine parameters as detailed here.
5. Click OK.
|
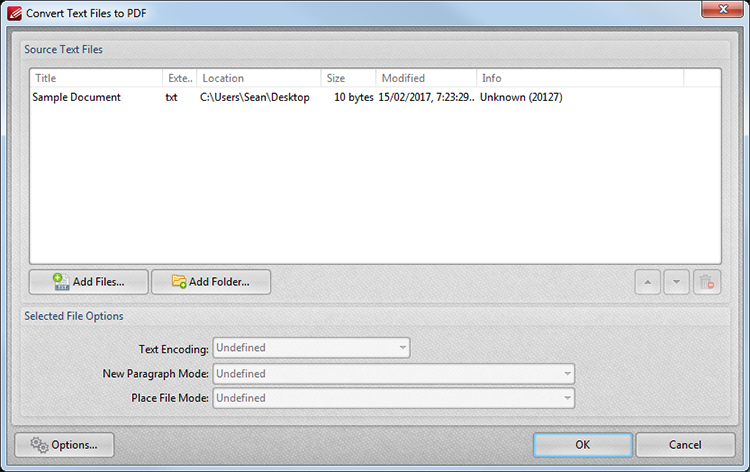
1. Click File in the Menu Toolbar.
2. Hover over New Document.
3. Select From Text Files. The Convert Text Files to PDF dialog box will open:
Figure 5. Convert Text Files to PDF Dialog Box
4. Determine parameters as detailed here.
5. Click OK.
|
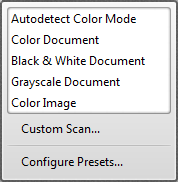
1. Click File in the Menu Toolbar.
2. Hover over New Document.
3. Hover over From Scanner. The following submenu will be displayed:
Figure 6. Scan Submenu
4. Click either a preset mode (these are displayed in the white area) or Custom Scan.
5. Determine parameters and initiate the scan as detailed here.
|
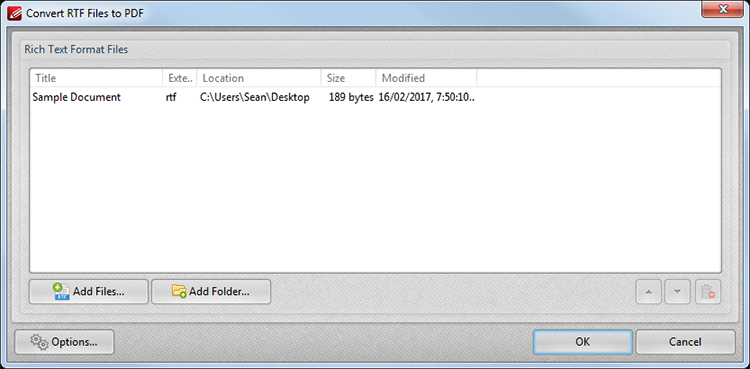
1. Click File in the Menu Toolbar.
2. Hover over New Document.
3. Select From Rich Text Format (RTF) Files. The Convert RTF Files To PDF dialog box will open:
Figure 7. Convert RTF Files to PDF Dialog Box
4. Determine parameters as detailed here.
5. Click OK.
|