 Scanner Presets
When the Scanner Presets tab is selected the following options are available:
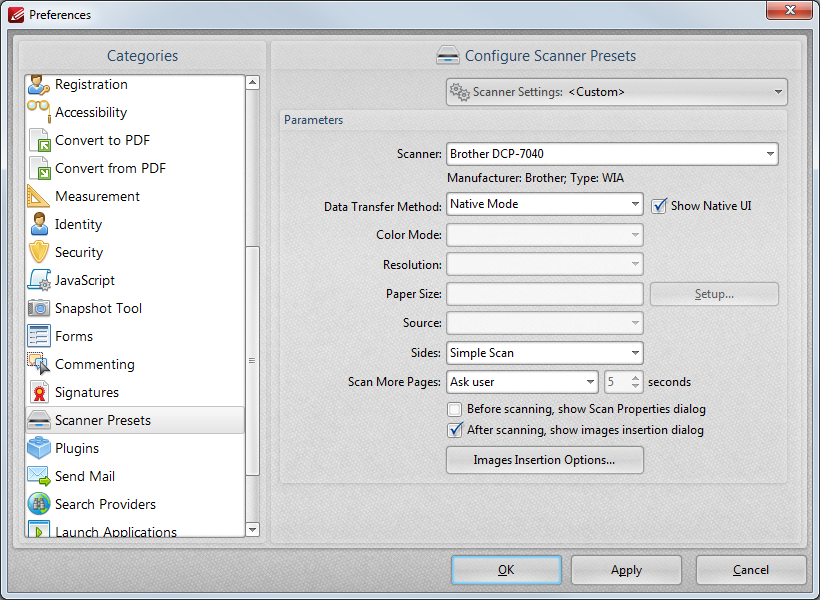
Figure 1. Preferences Dialog Box. Scanner Presets Tab Selected
These settings determine the presets for scanning:
•Click the Scanner Settings menu to select a preset scanning mode.
•Click the Scanner menu to select a scanner to use.
•Click the Data Transfer Method menu to select either Native Mode or Memory Mode:
•Native Mode uses a single memory buffer. This is the default and fastest mode, and is compatible with the broadest range of scanners.
•Memory Mode enables the use of multiple memory buffers. This is a useful function in cases where memory is low and/or when large images are being scanned.
•The Show Native UI box is selected by default, which means the user interface of the device driver is used. This is the most reliable option, and the scanner will select certain parameters of the scan itself: Color Mode, Resolution, Paper Size and Source. Clear the Show Native UI box to customize these options:
•Color Mode has four options: Auto detect, Color, Grayscale and Black & White. These refer to the format of scanned documents.
•Click the Resolution menu to select the dpi (dots per inch) of scanned documents.
•Paper Size refers to the size of the paper used when scanning. Click Setup for further options, which are as follows:
•The Automatic option determines the paper size automatically.
•The Standard option contains standard sizes such as those used by the ISO and ANSI.
•The Custom option can be used to enter custom dimensions.
•Source has three options Auto, Flatbed and Feeder. These refer to the type of scanner being used.
•Click the Sides menu to determine which sides of documents are scanned. There are three options: Simple Scan, Manual Duplex and Manual Duplex Reversed. Click the arrow for an explanation of these options.
•Click the Scan More Pages menu to select the setting for when additional pages are scanned.
•Select the Before scanning, show Scan Properties dialog box to view scan properties before scans take place.
•Select the After scanning, show images insertion dialog box to view the images insertion dialog box after the scan has taken place. This enables the customization of images and images settings.
•Click the Images Insertion Options button to determine further options for inserted images. Those options are explained here.
When custom settings have been entered they can be saved using the Scanner Settings menu. Click Save Current Settings to create a custom profile for subsequent use. Click Manage to manage previously saved profiles and Delete to remove the profile currently selected.
Click Apply to apply changes and OK to save changes.